
At this time I don’t have any current projects so I figured this would be a good time to build up the archives. So I’m gonna do some post of older projects!
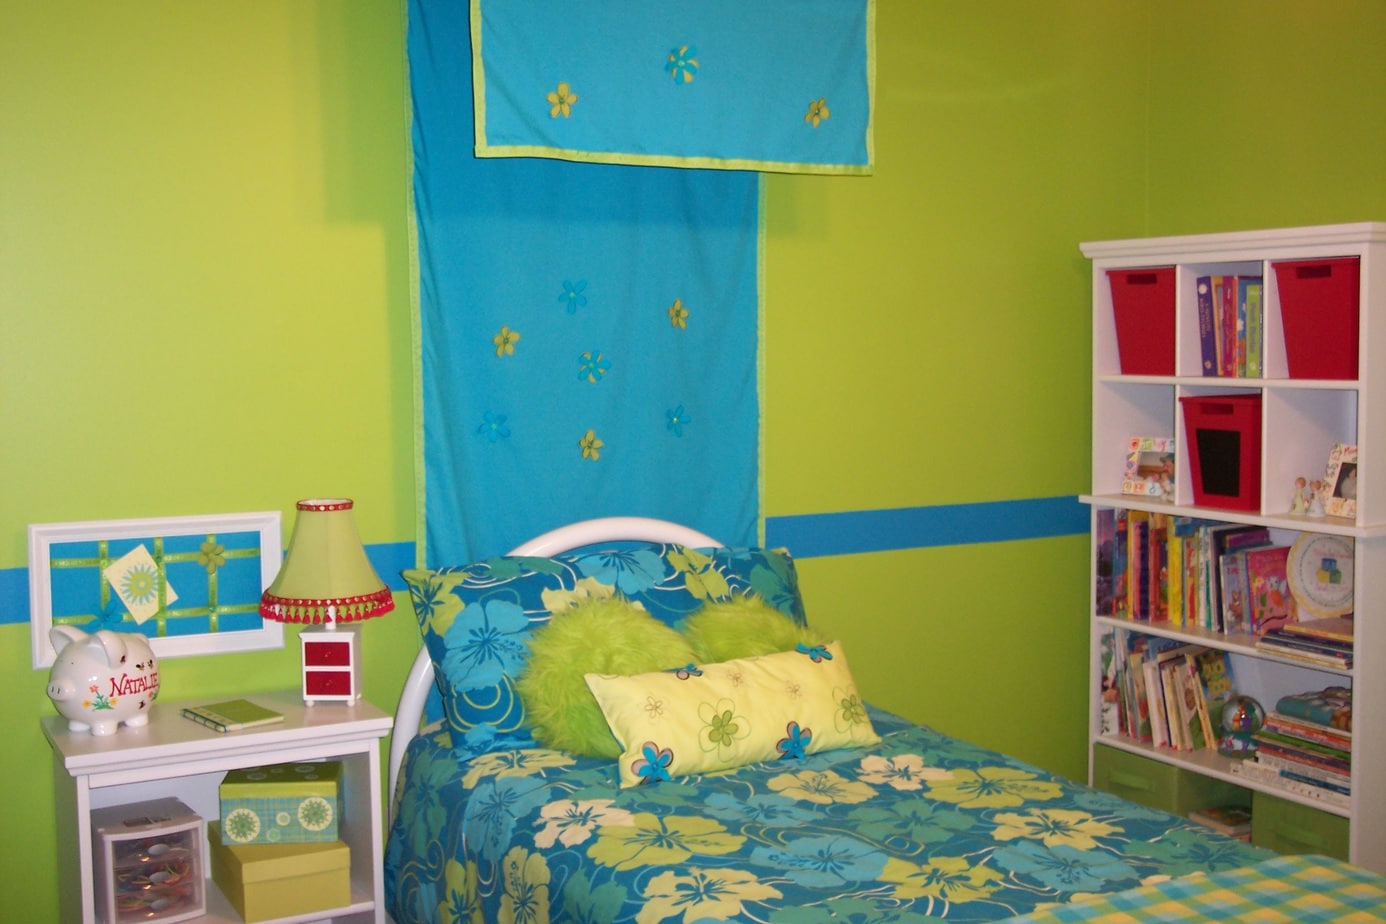
My sister-in-law and myself did a room makeover for my niece Natalie. The makeover was a surprise for her birthday and she loved it! As you know I like to do everything on a budget. The basis of the whole project started with the comforter which my sister-in-law found at a yard sale. My tip here is to find the main fabric you want to use then base your paint colors, accessories and coordinating fabrics around it.
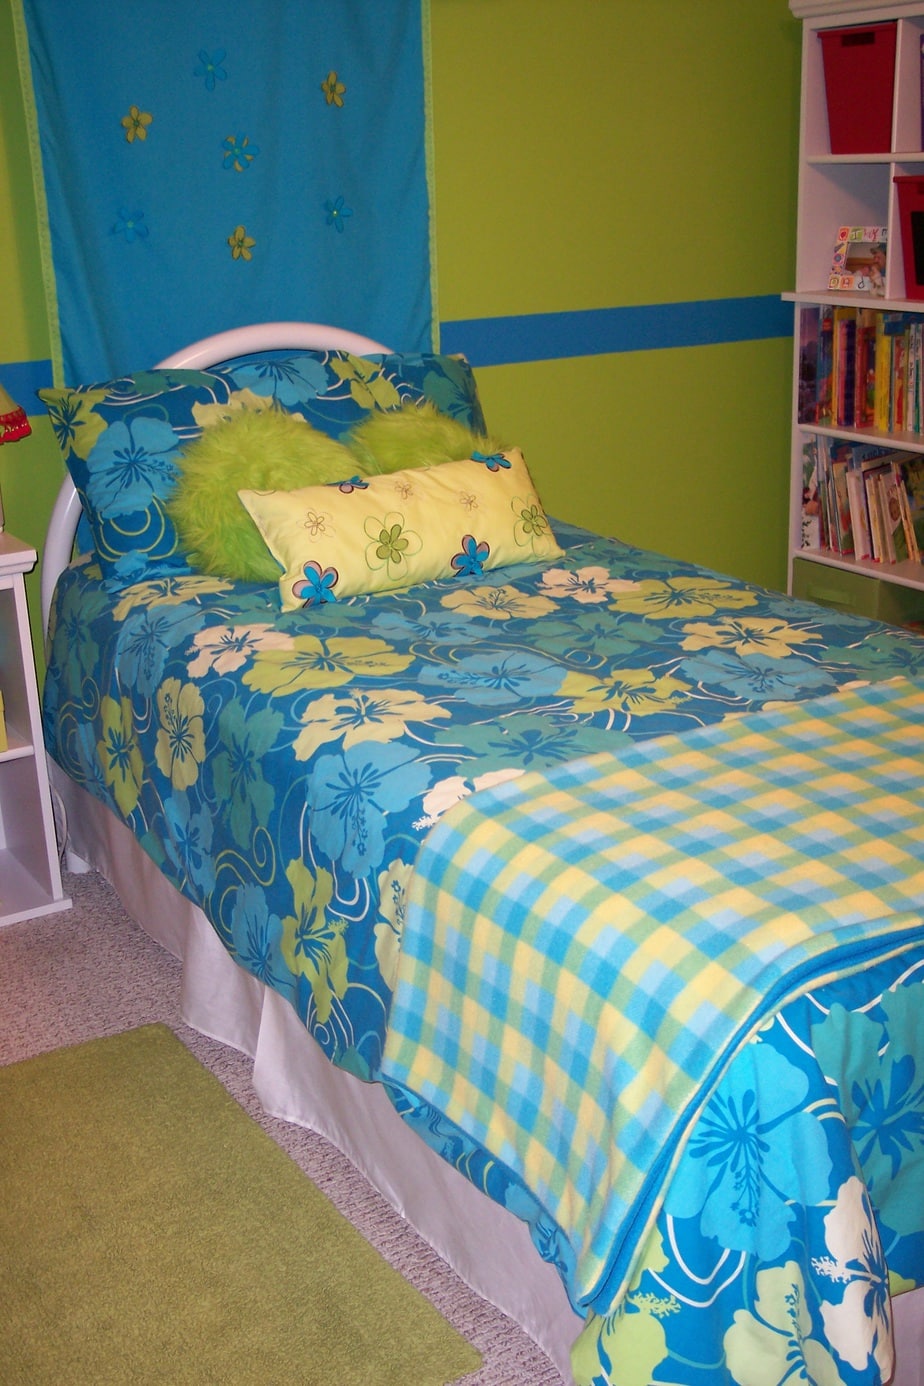
Now that we had the bedding all worked out we bought paint that coordinated. Just to break up the solid wall color we decided to add a stripe around the room. When you paint your walls the main color and let dry completely you can use painters tape to add your stripe around the room. Use your main paint color and paint over the inner part of the painters tape and let dry. Once its dry go back in with the coordinating paint color and fill in between the painters tape. By doing this you will have a crisp paint line with no bleed through. This is especially important on textured walls.
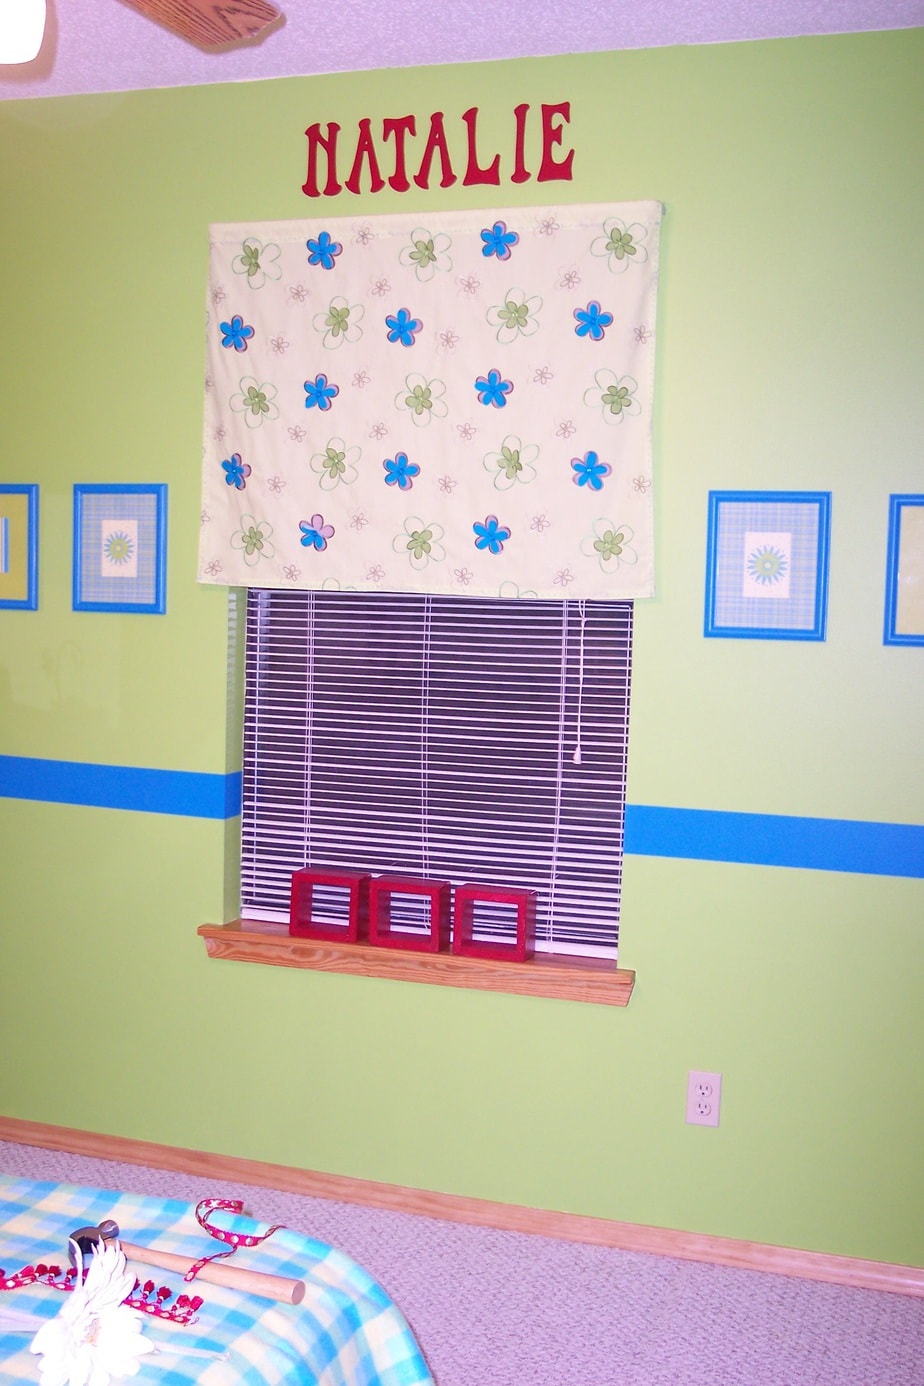
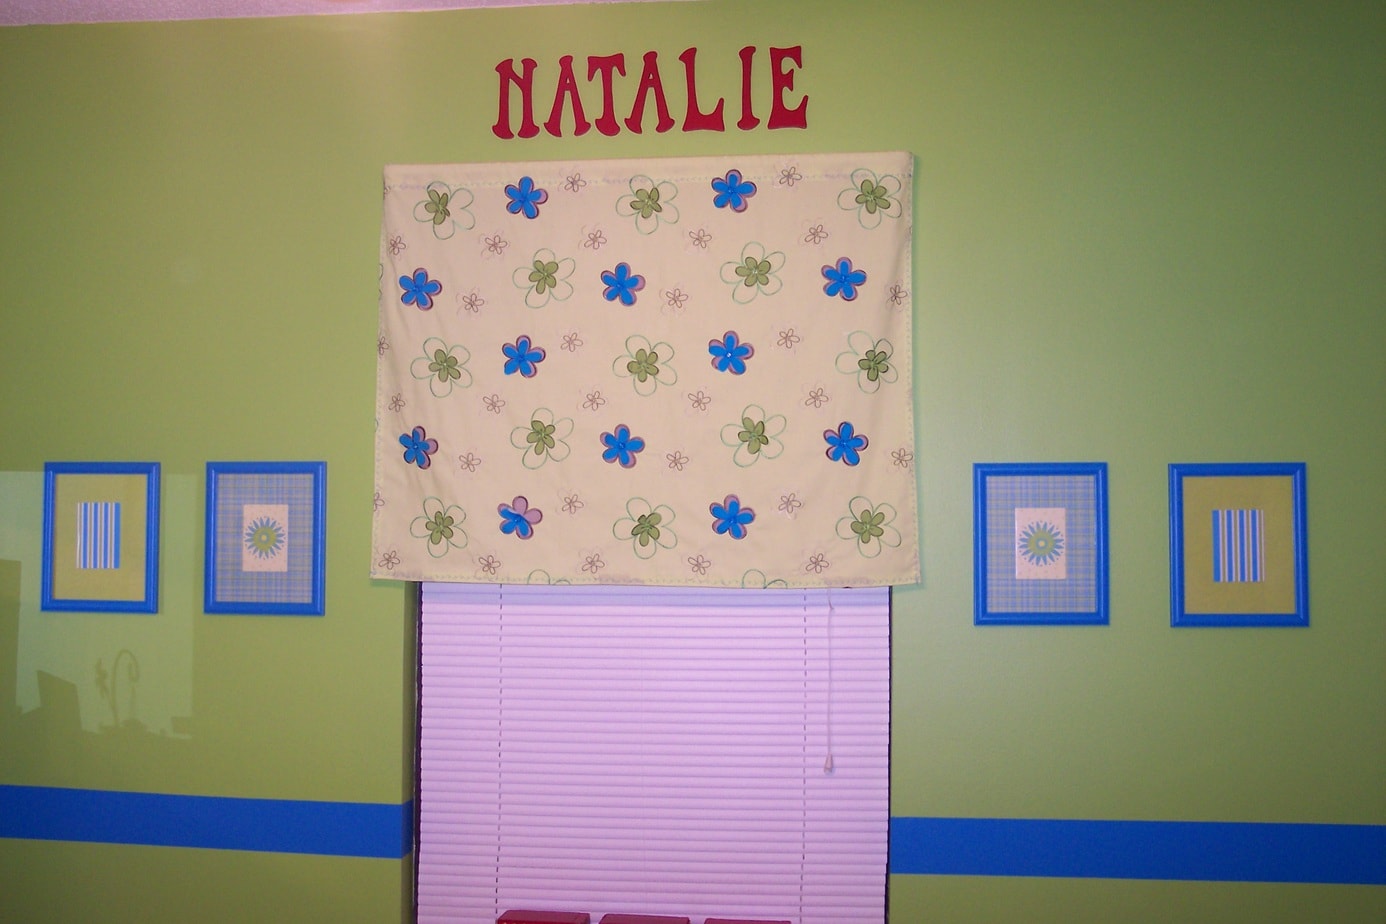
I found some really cute coordinating fabric. As you will see in a later picture of a pillow, the flowers on the valance actually are an embellishment. The flowers are not just a print on the fabric. That fabric was probably the biggest splurge. The valances were super easy to sew. Just made a hem on three sides and a rod pocket at the top. Here we also took wooden letters from Hobby Lobby and painted them red for a pop of color onto all of that blue and green. You know, go to the opposite side of the color wheel, cause that’s how we roll..lol! 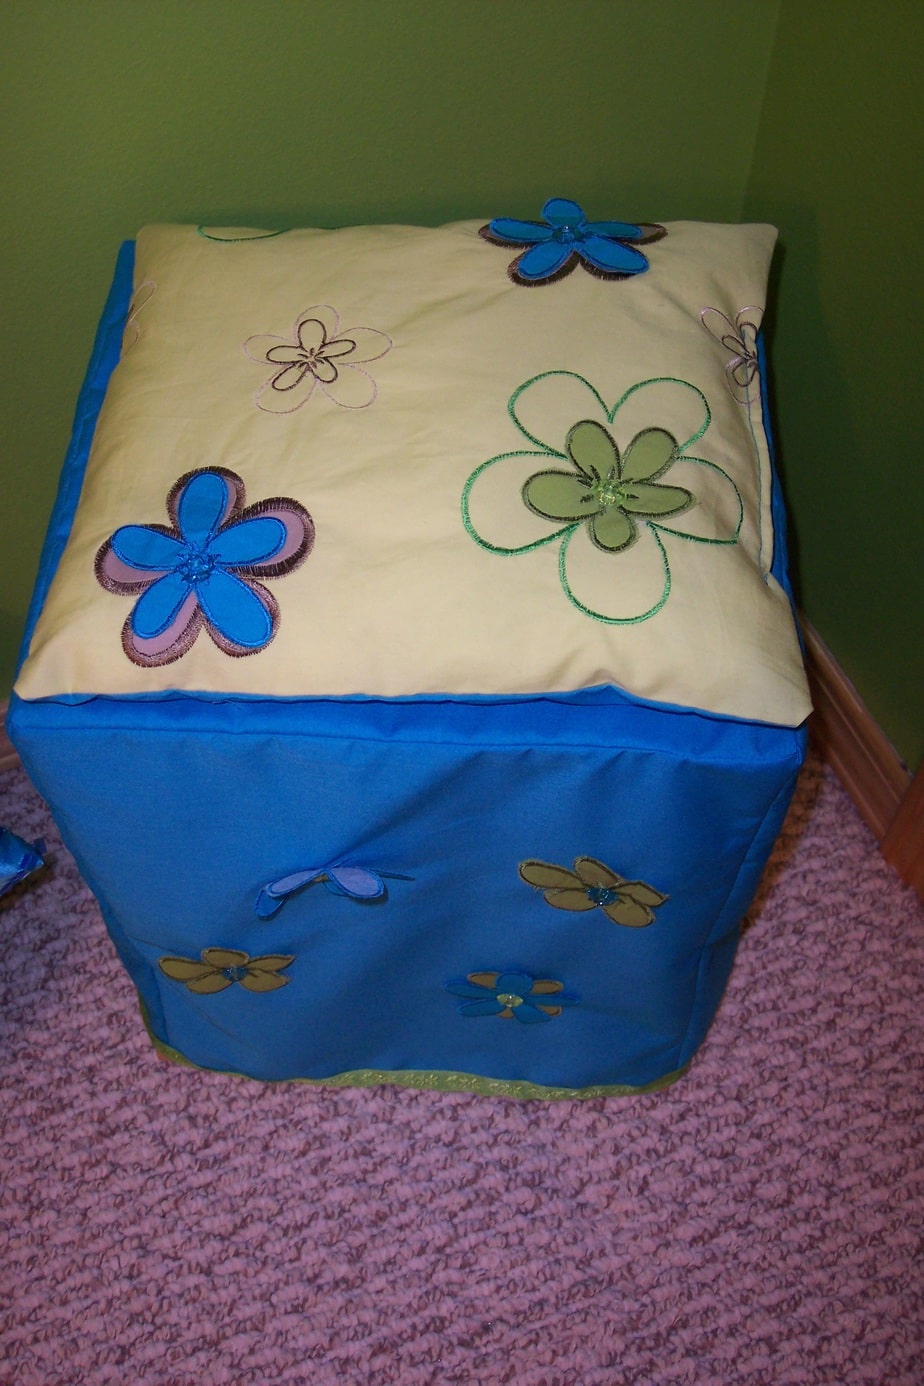
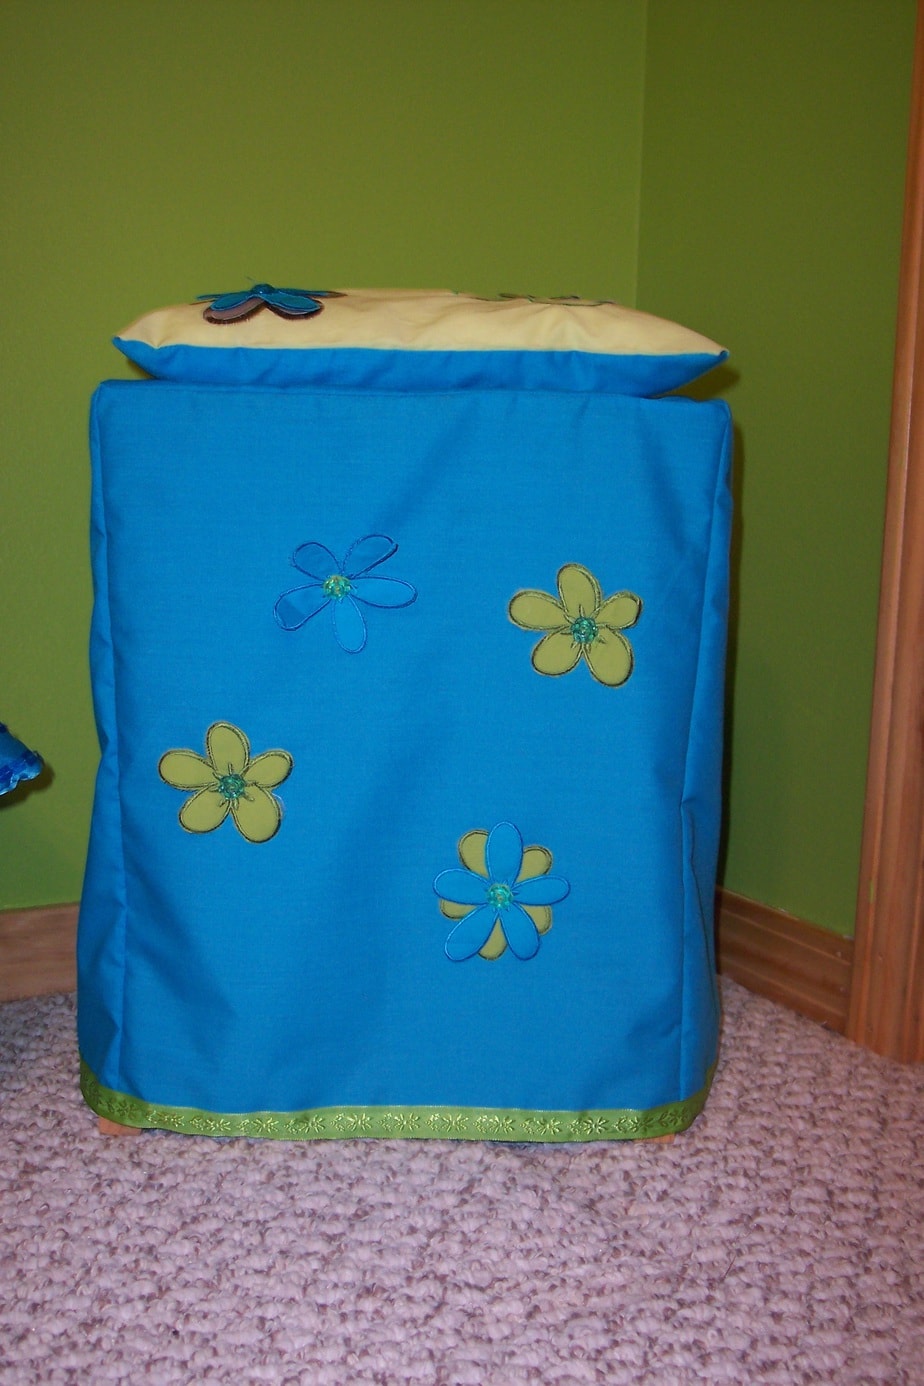
Here I took a small stool and made a slipcover that just slid right over the top. I took some of the left over valance fabric and removed the flower embellishments and hand sewed them onto the coordinating slipcover and the bed canopy. I used another small piece of the expensive fabric and made a little cushion. I used the expensive fabric just for the top and the least expensive fabric on the underside. If you click on the picture it should blow it so you see more of the flower detail.
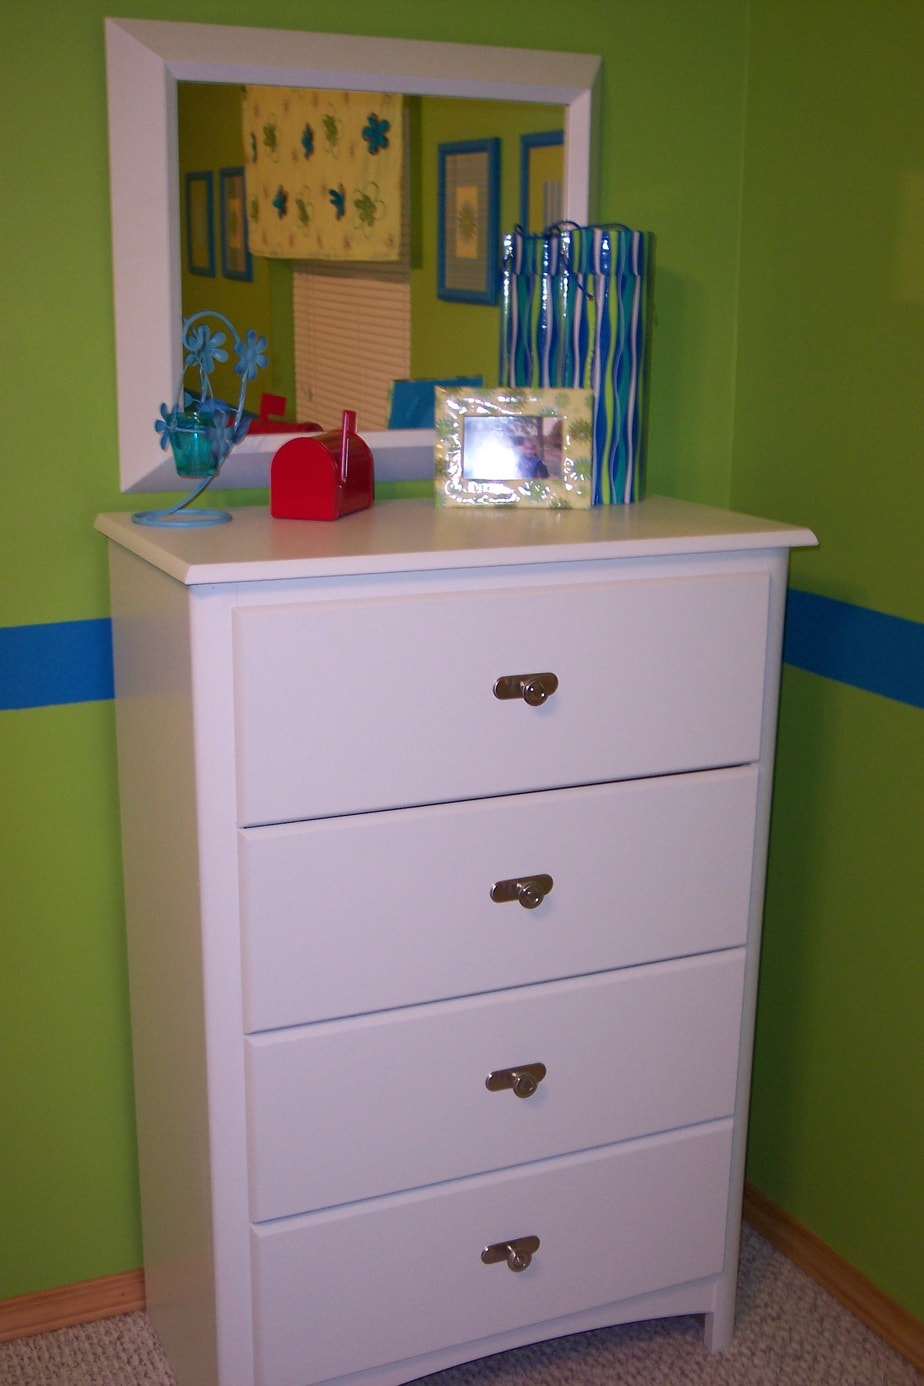
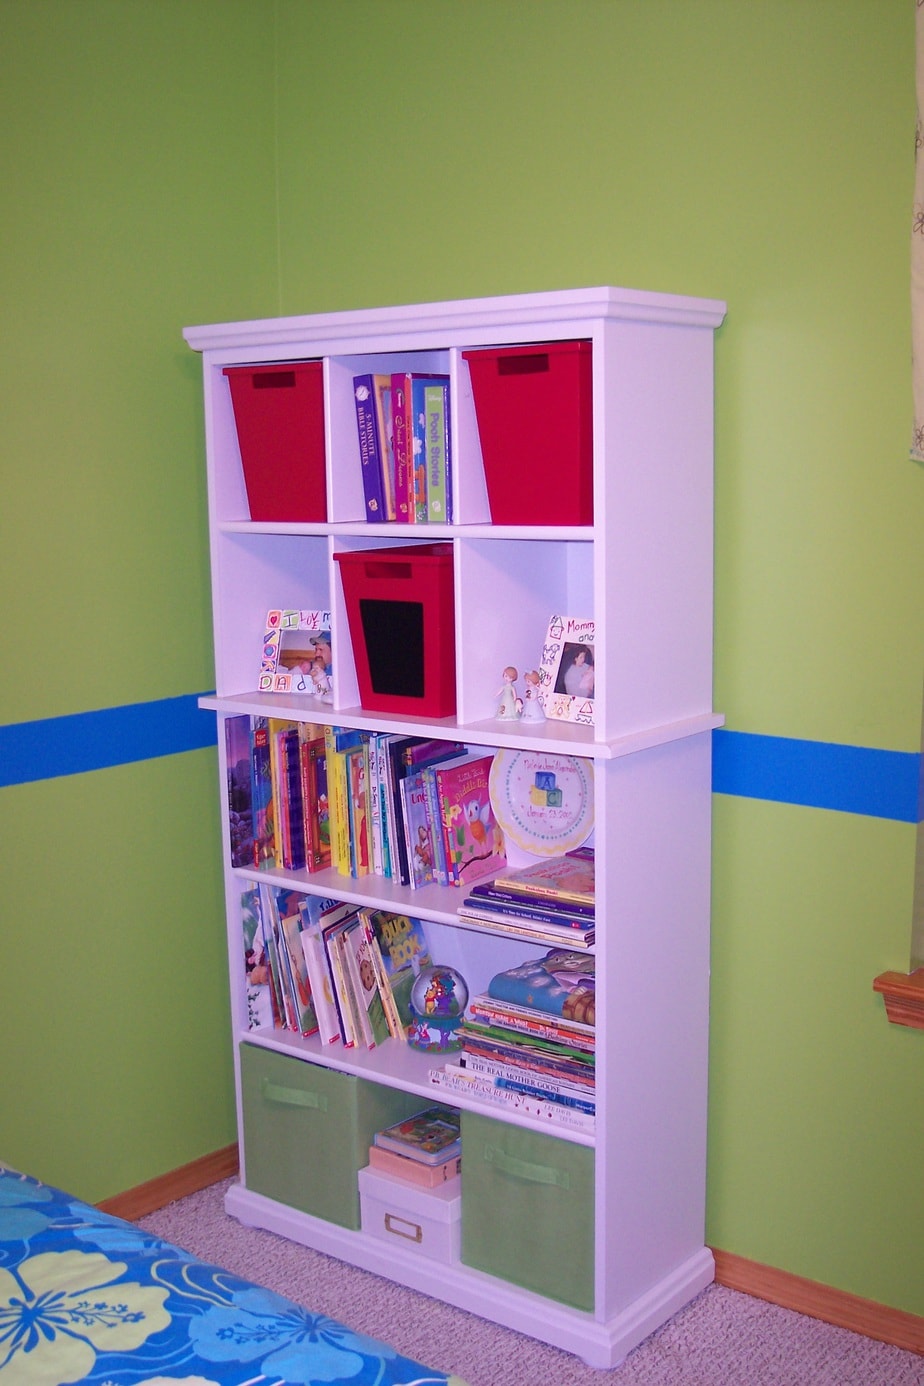
Here we repainted a dresser white with paint we already had and changed the hardware. Brandy did buy the bookcase new. Then we added some coordinating baskets just to give it a punch of color.
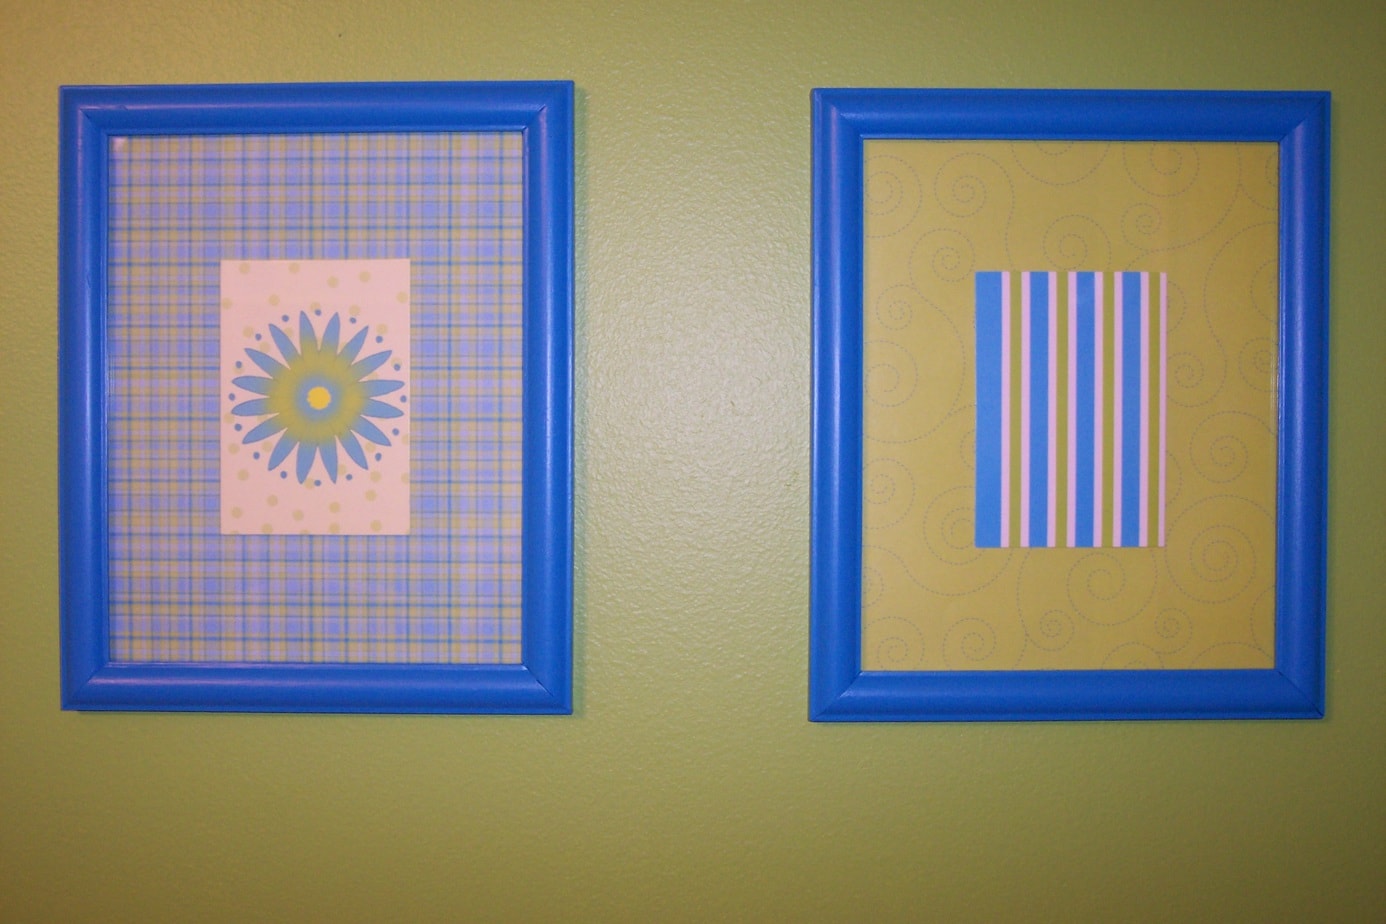
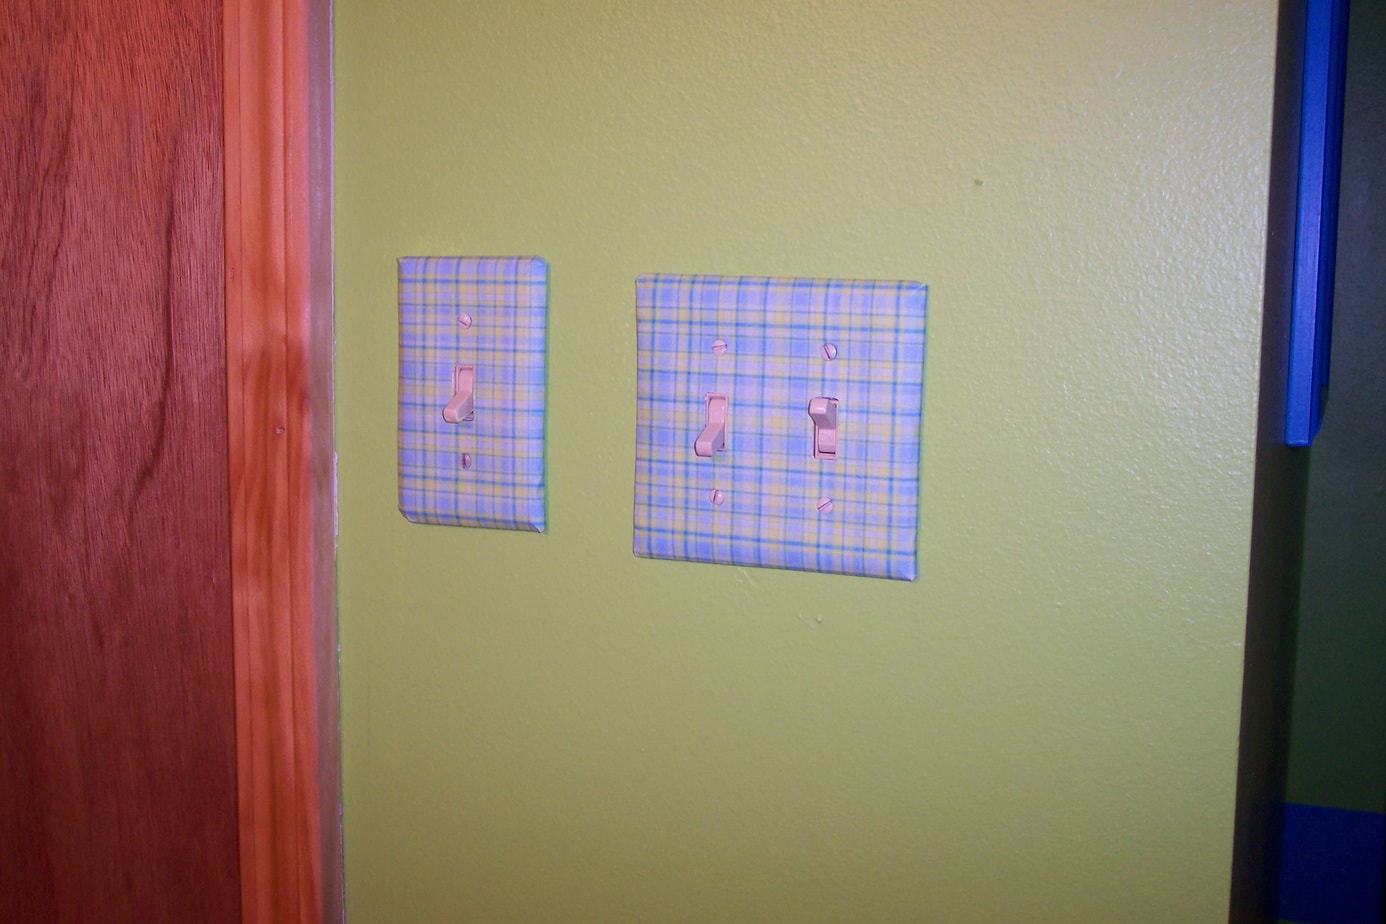
I got lucky and found thank you note cards at the Dollar Tree that matched our colors. We painted some yard sale frames to match the design. Then put the note cards on coordinating scrapbook paper and framed them up. Super cute and very inexpensive. The light switch plates were covered with scrapbook paper and mod podge.
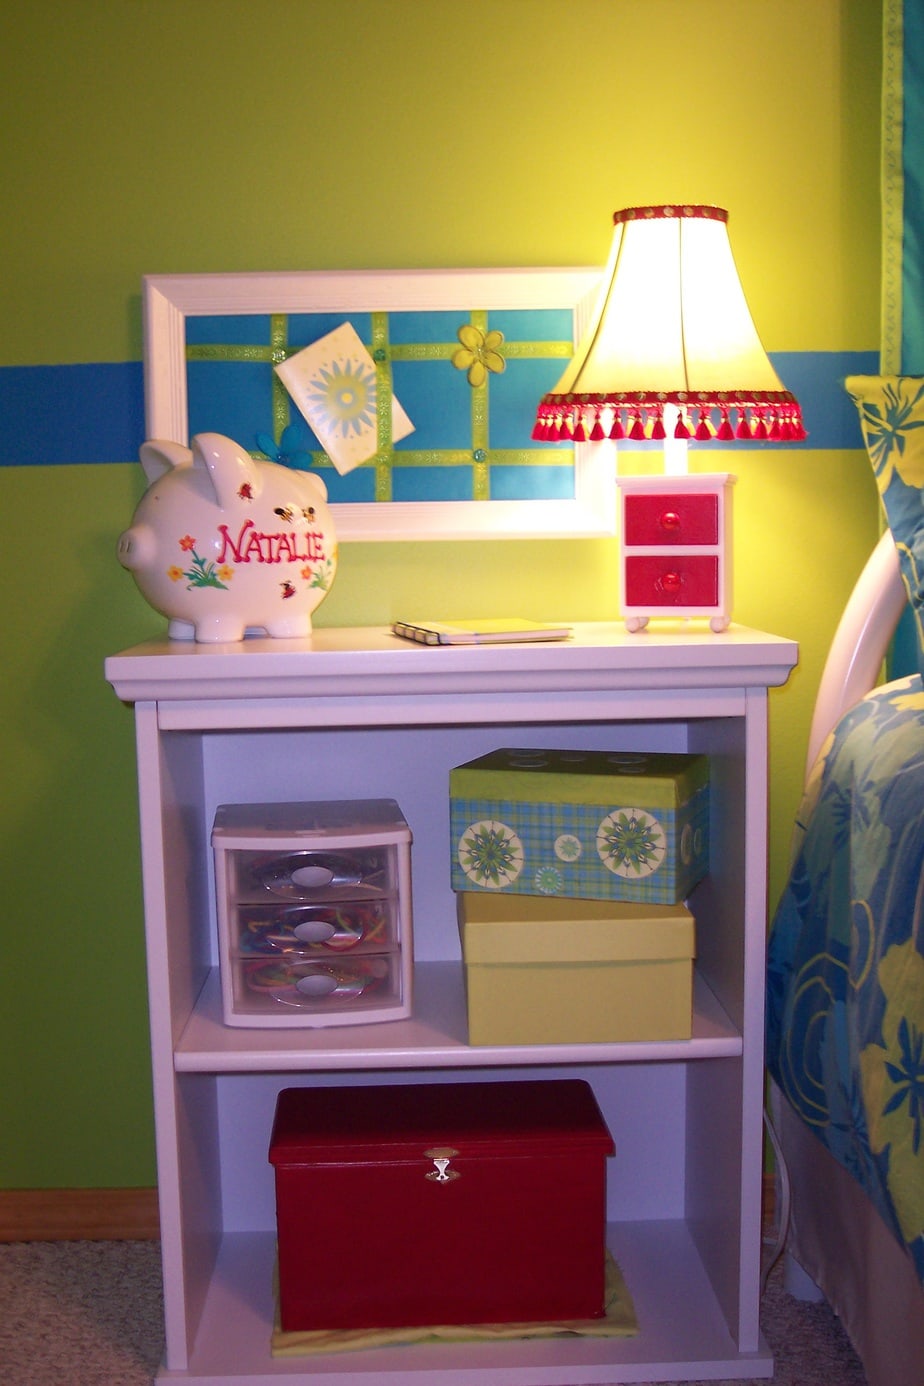

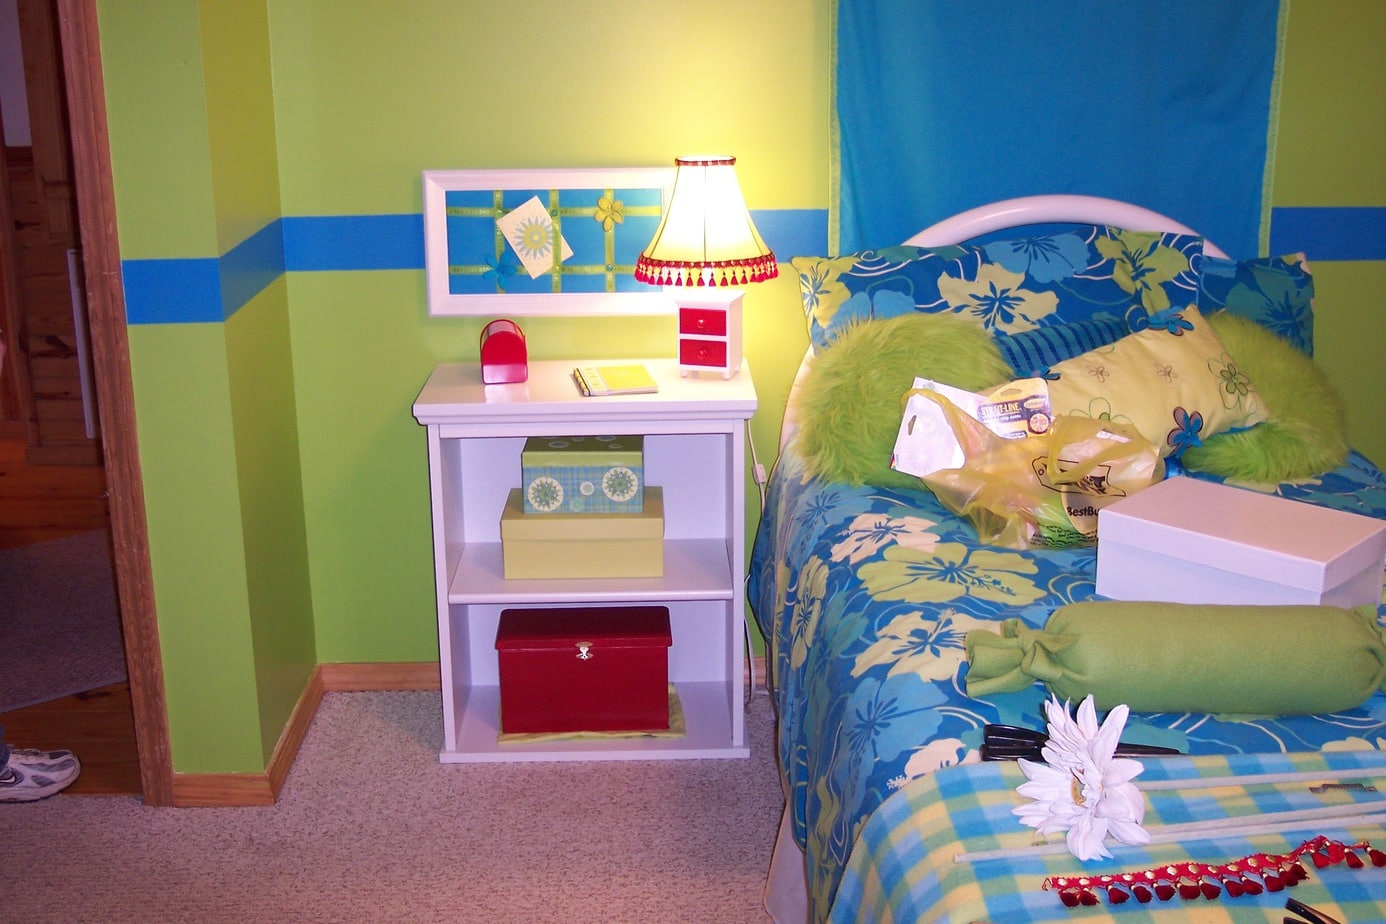
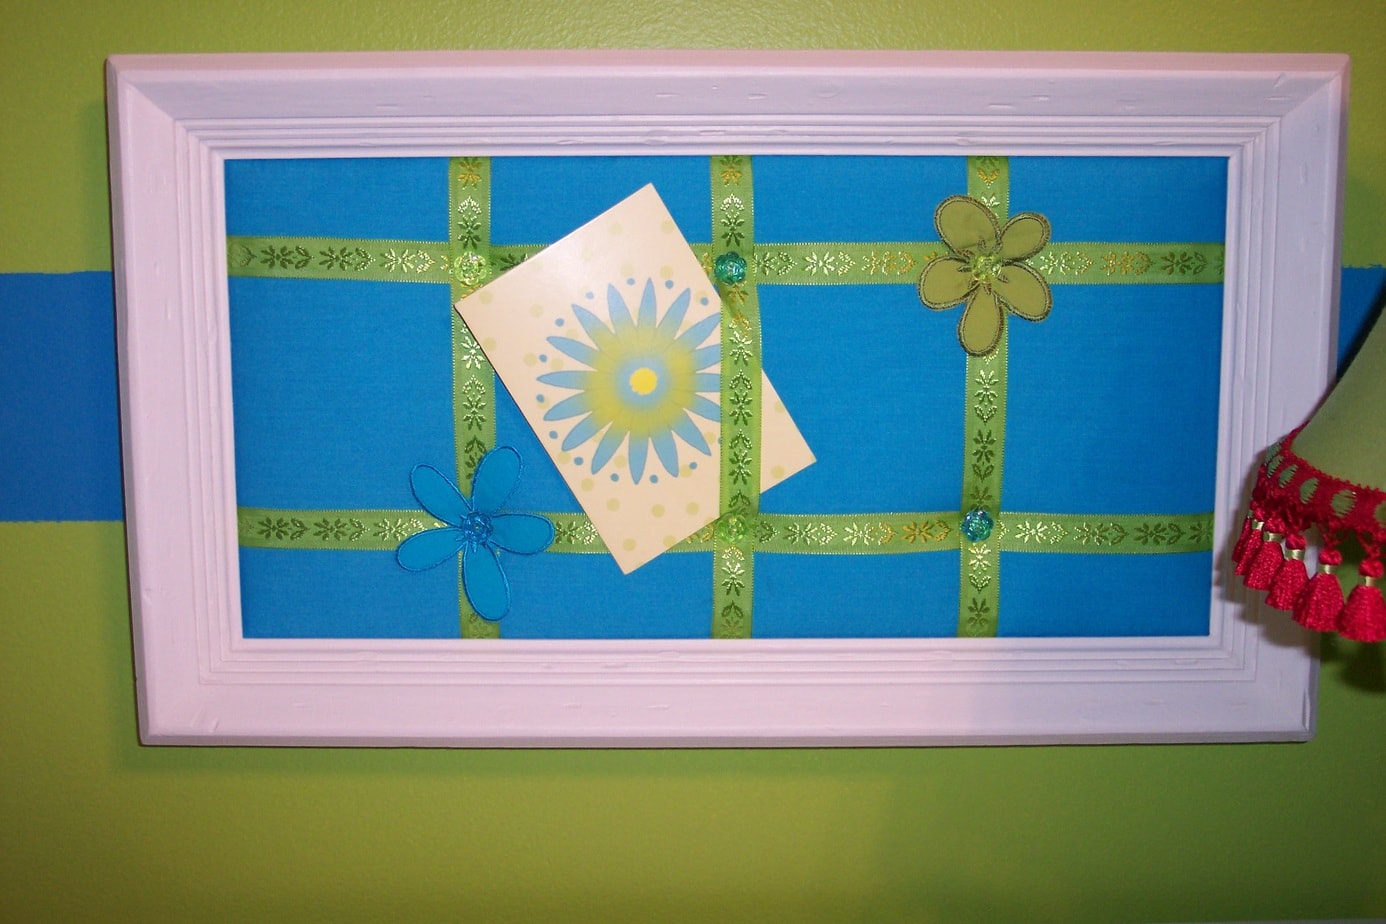
I took a couple of storage boxes and mod podged them with scrapbook paper then placed them on the night stand shelf. I had another one of those yard sale frames that I painted white. Then I cut a piece of cardboard to size and covered with batting and fabric. I hot glued some of the flowers from the valance fabric to some ribbon and made a crisscross pattern over the fabric covered cardboard. All that was left to do was hot glue the ribbon to the back of the cardboard. Voila cute as a button message board. The lamp was super easy. We already had the shade so I just hot glued some cute trim around the bottom edge and painted the drawer fronts red.
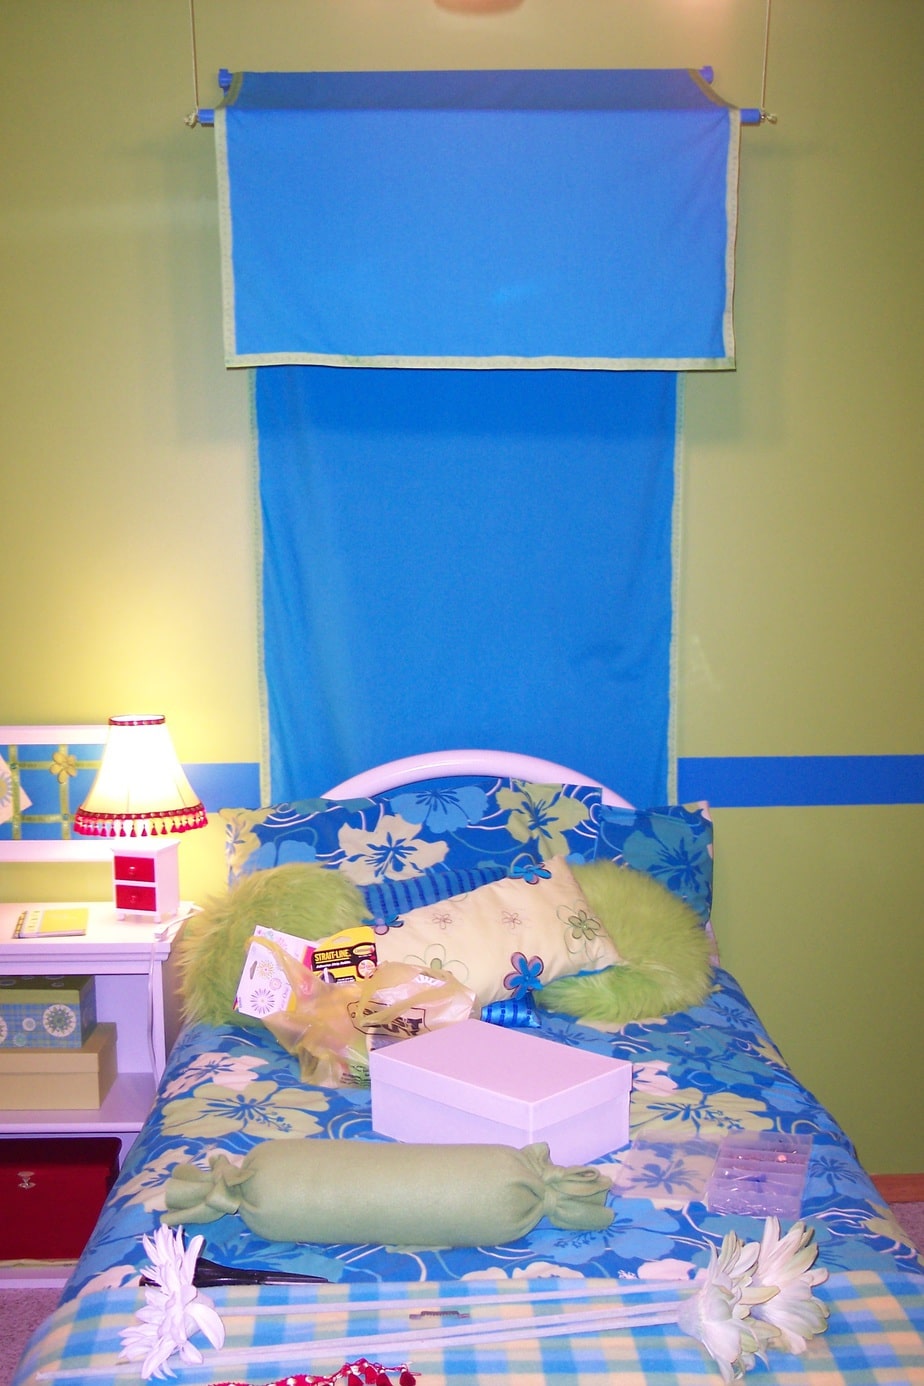

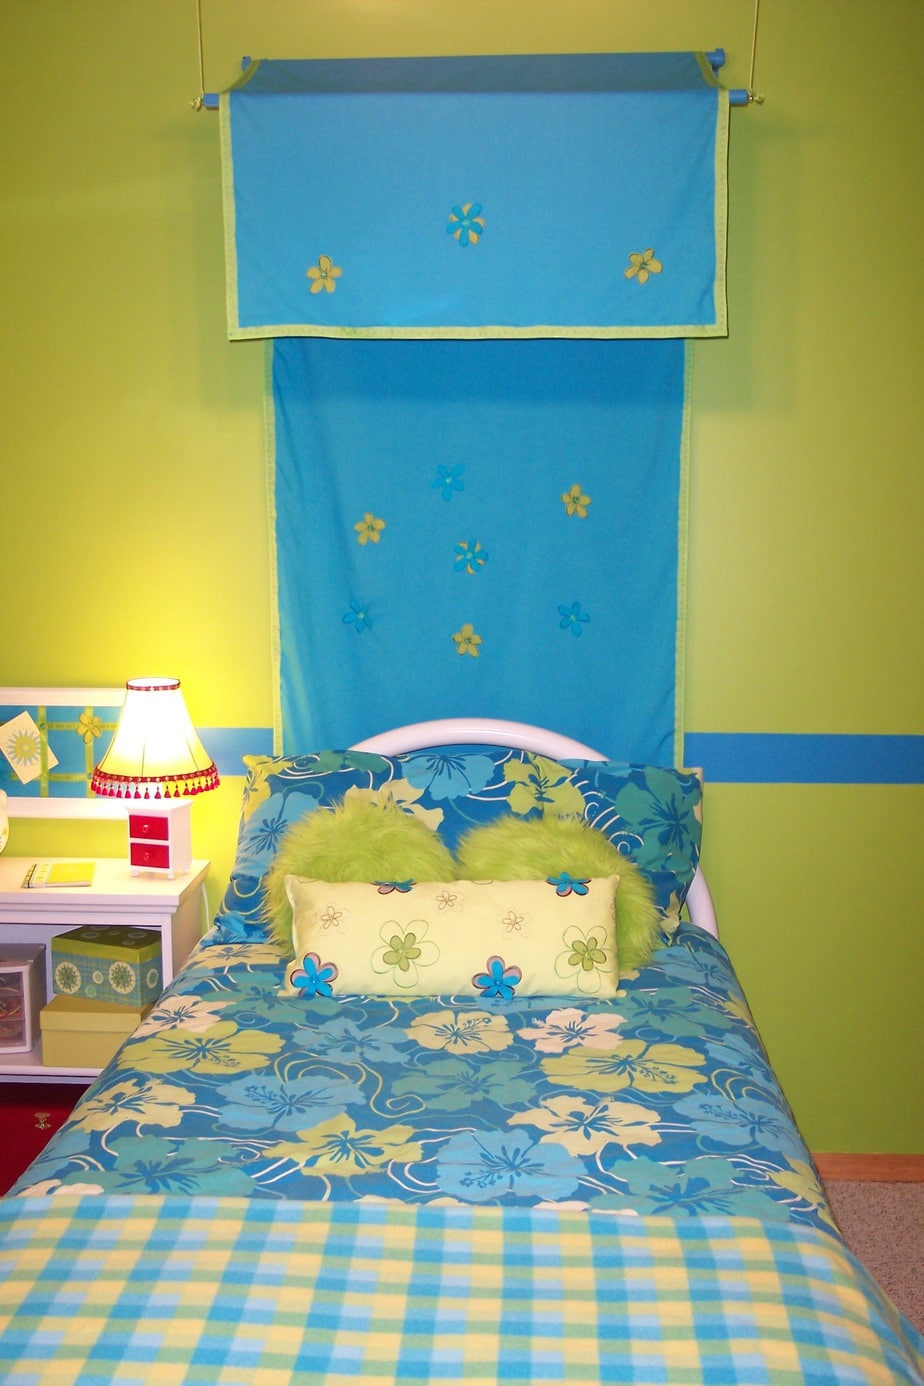
Last but not least was the Pottery Barn inspired canopy! I would say that the hardest part, well maybe not the hardest but defiantly time consuming, was sewing the ribbon trim to the edge of the fabric. I picked a pretty flower stitch just to add the extra detail. I once again used some of the flower embellishments from the valance fabric and sewed them in different spots to add a touch of whimsy. I so wish I would have taken a close up picture of the ribbon and the flowers. Oh well, live and learn! I took some L brackets, a dowel rod, a couple eye hooks and some string and painted them to match. The L brackets held the dowel rod. We tied string to eye hooks in the ceiling then tied them to another rod and draped the canopy over both rods. I bet now with all the command hooks and products out there you could do this in a way without having to put holes in your wall.
 I hope yall enjoy this post and these ideas as much as I enjoyed creating all these wonderful projects for the best niece in the whole wide world! Love you Natty Patty!
