
It’s almost March 2nd and I am continuing the series “All Things Dr. Seuss” with projects and pictures of how my child’s school celebrates this wonderful day! I would love to hear how you and your children celebrate Dr. Seuss’s birthday!
I have been a member of the PTO since my son started kindergarten. By being part of the PTO, I’ve been blessed to help come up with ideas, themes, and projects. One of my all time favorite projects was Read Across America week in conjunction with Dr. Seuss’s birthday!
“Oh! the Places You’ll Go!”-Dr. Seuss
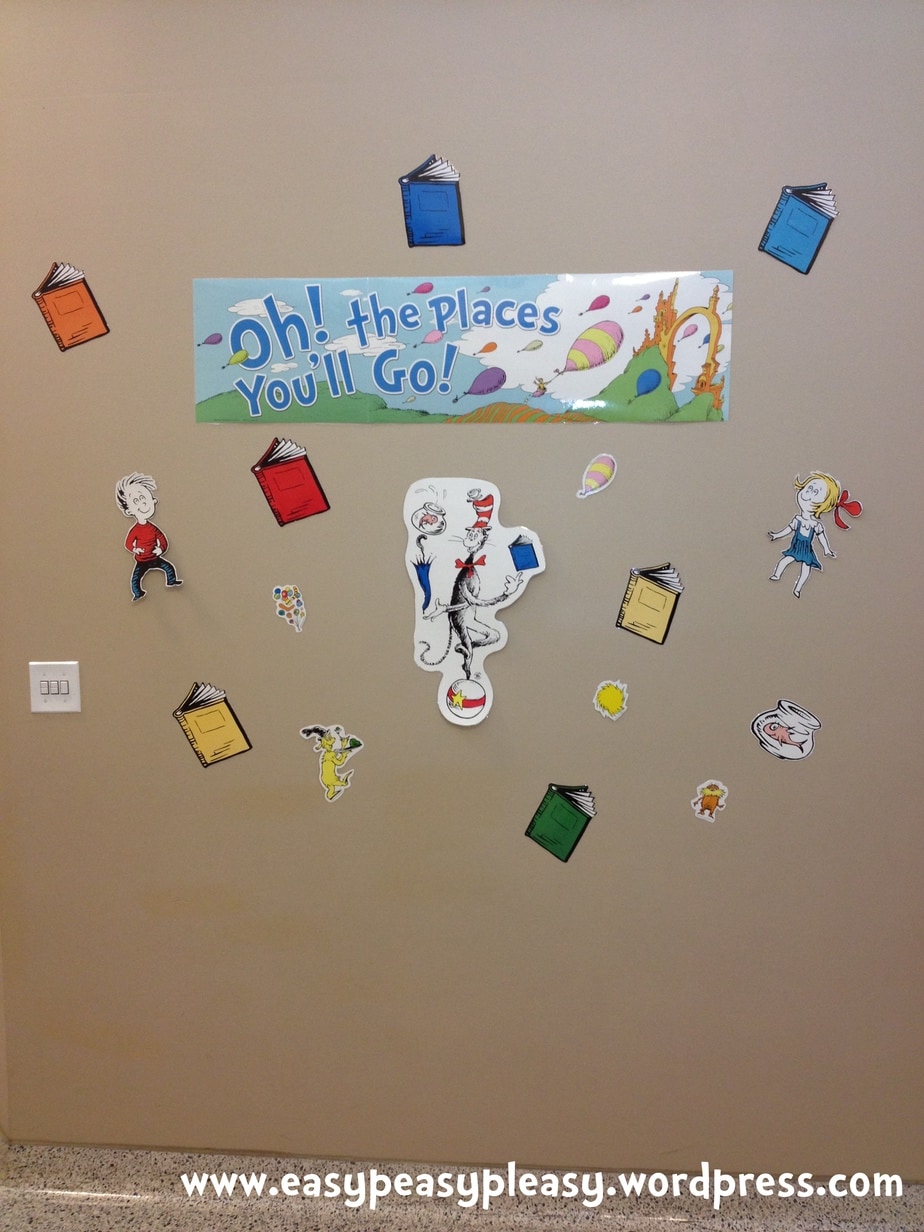
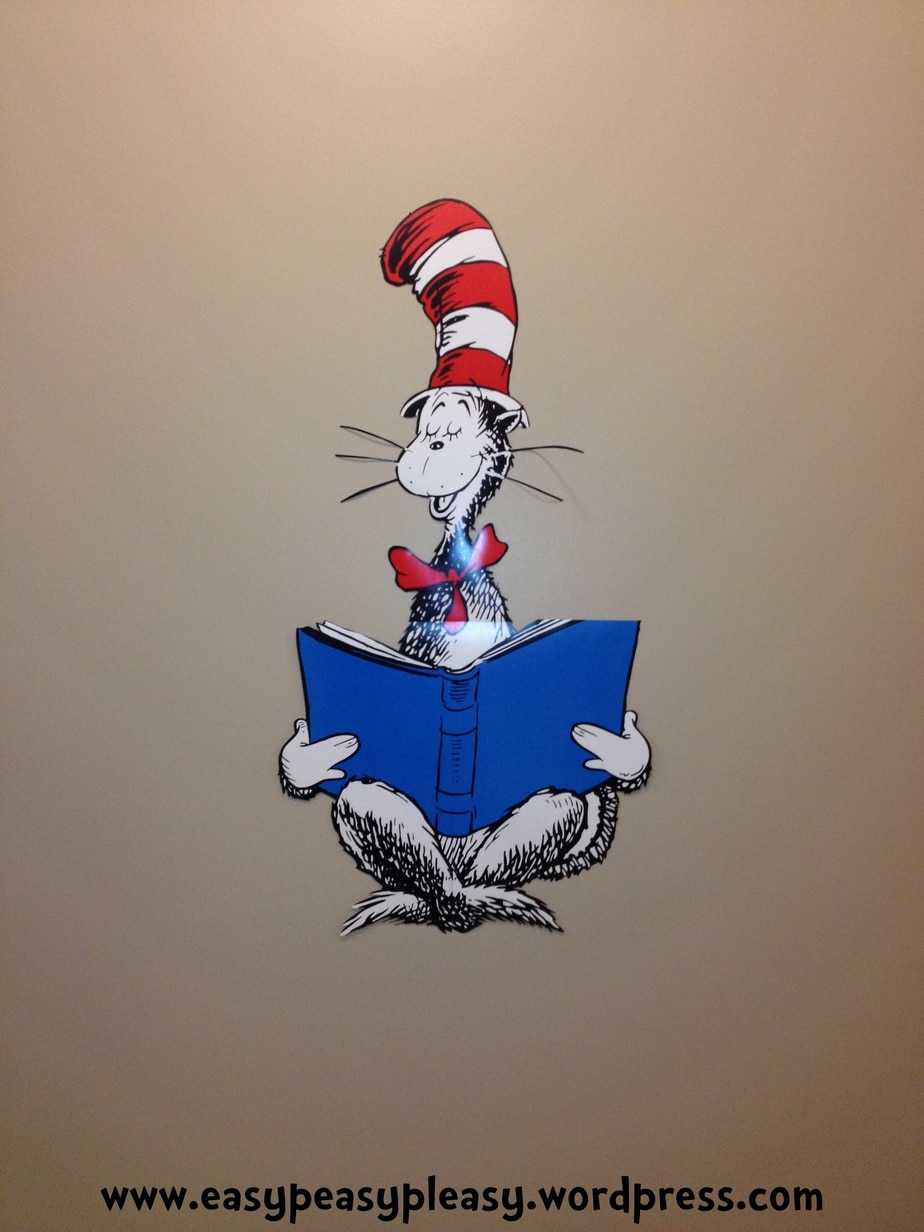
Dr. Seuss couldn’t have said it better! Your imagination can go many places and it did! We started our theme with Dr. Seuss’s Cat in the Hat!

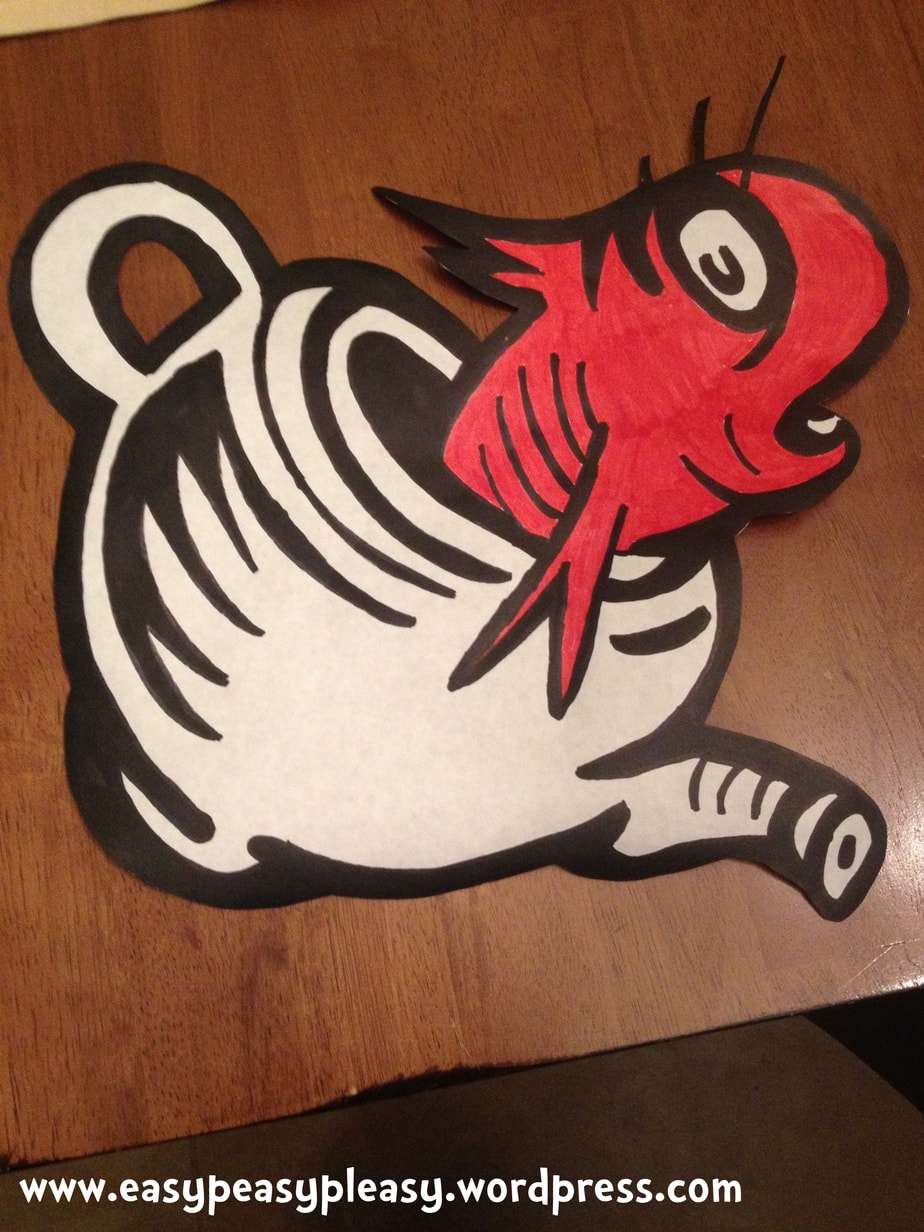
Somethings we purchased and somethings we made! We pulled out the old style projectors to create a lot of the scenes. The objective was to make it look like you were walking through Dr. Seuss books.
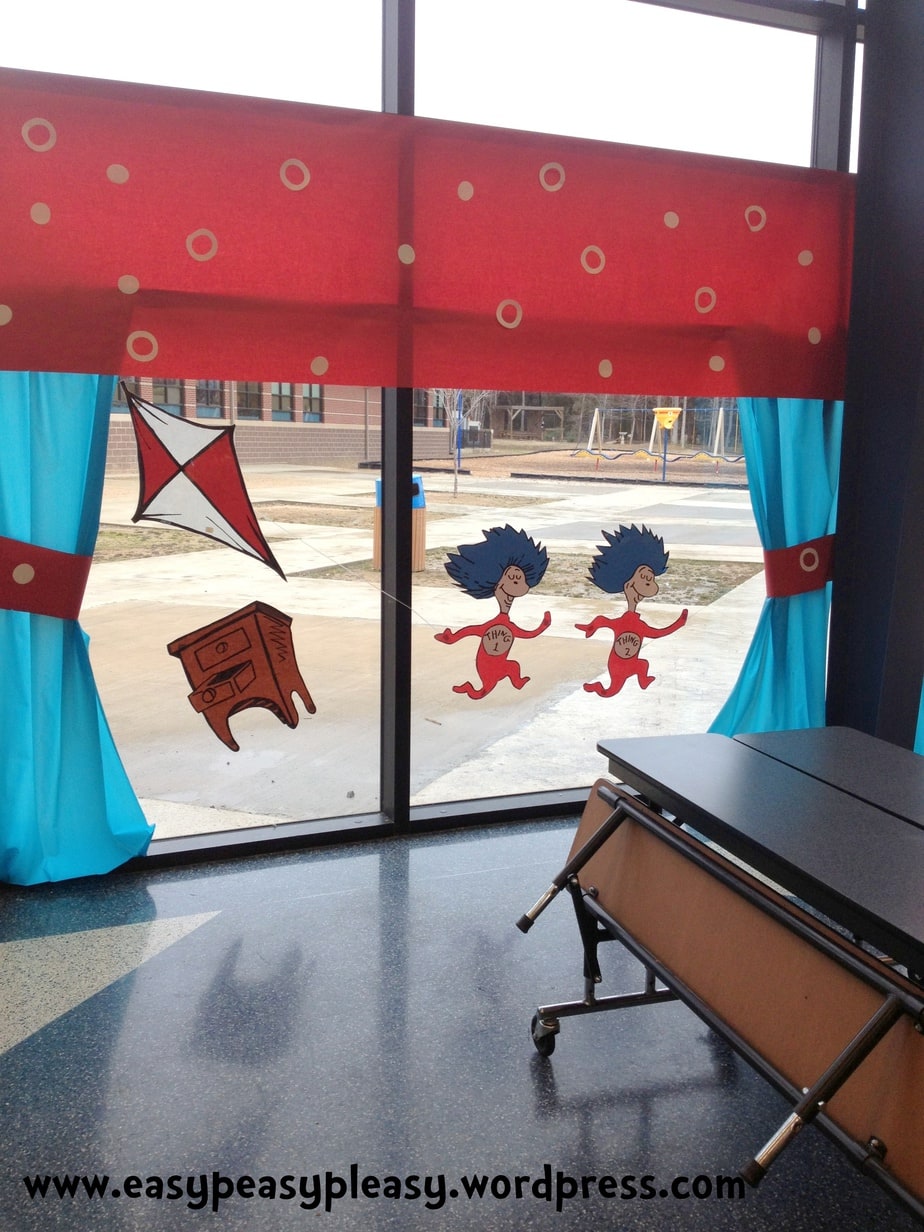
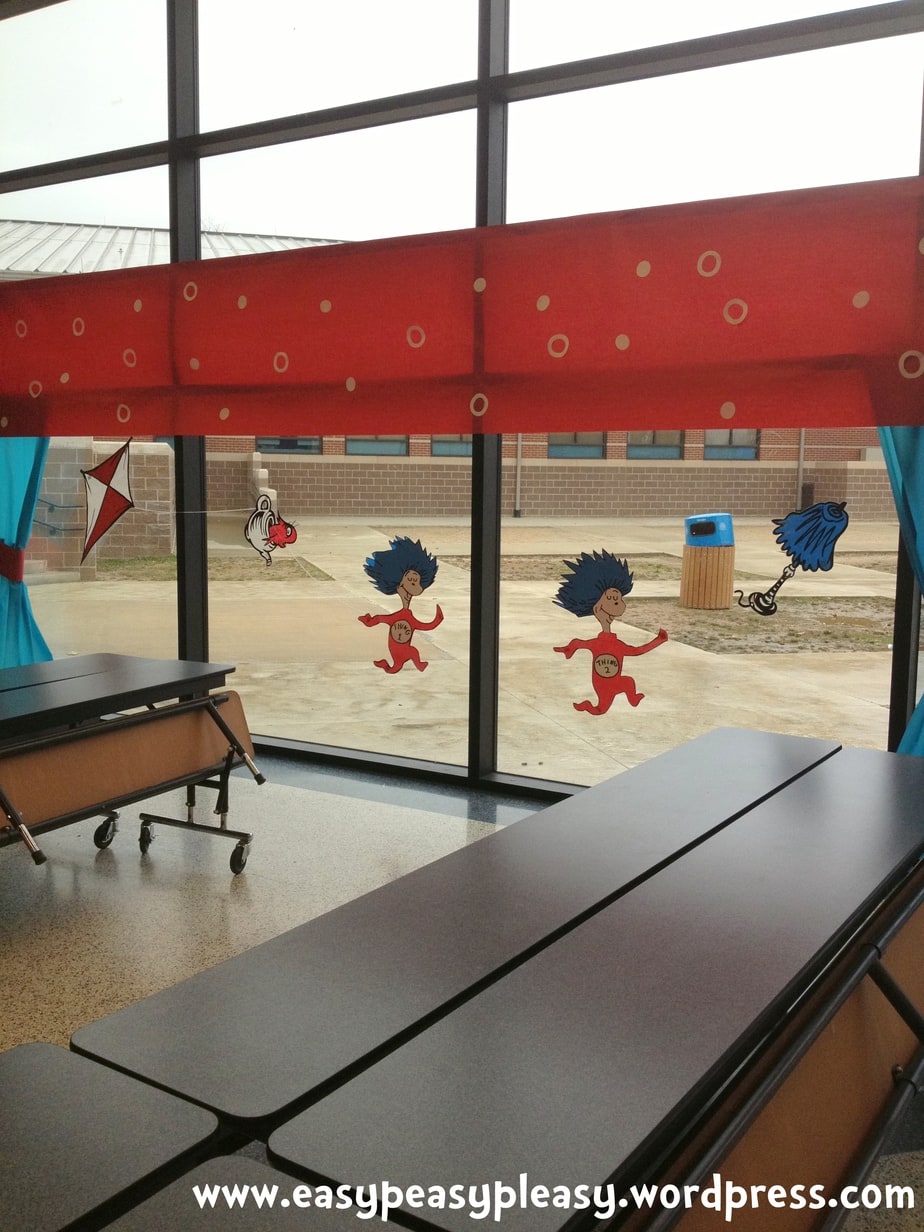
In the cafeteria we have huge floor to ceiling windows. We took a big roll of red paper that every school workroom has and used it to make a valance on the windows. Then, we took a roll of plastic tablecloth that we purchased from a local party store and taped them up to look like curtains on the windows. We used the curtains to add separation to each scene. Our school has a die cutter that we used to make the circles and polka dots.
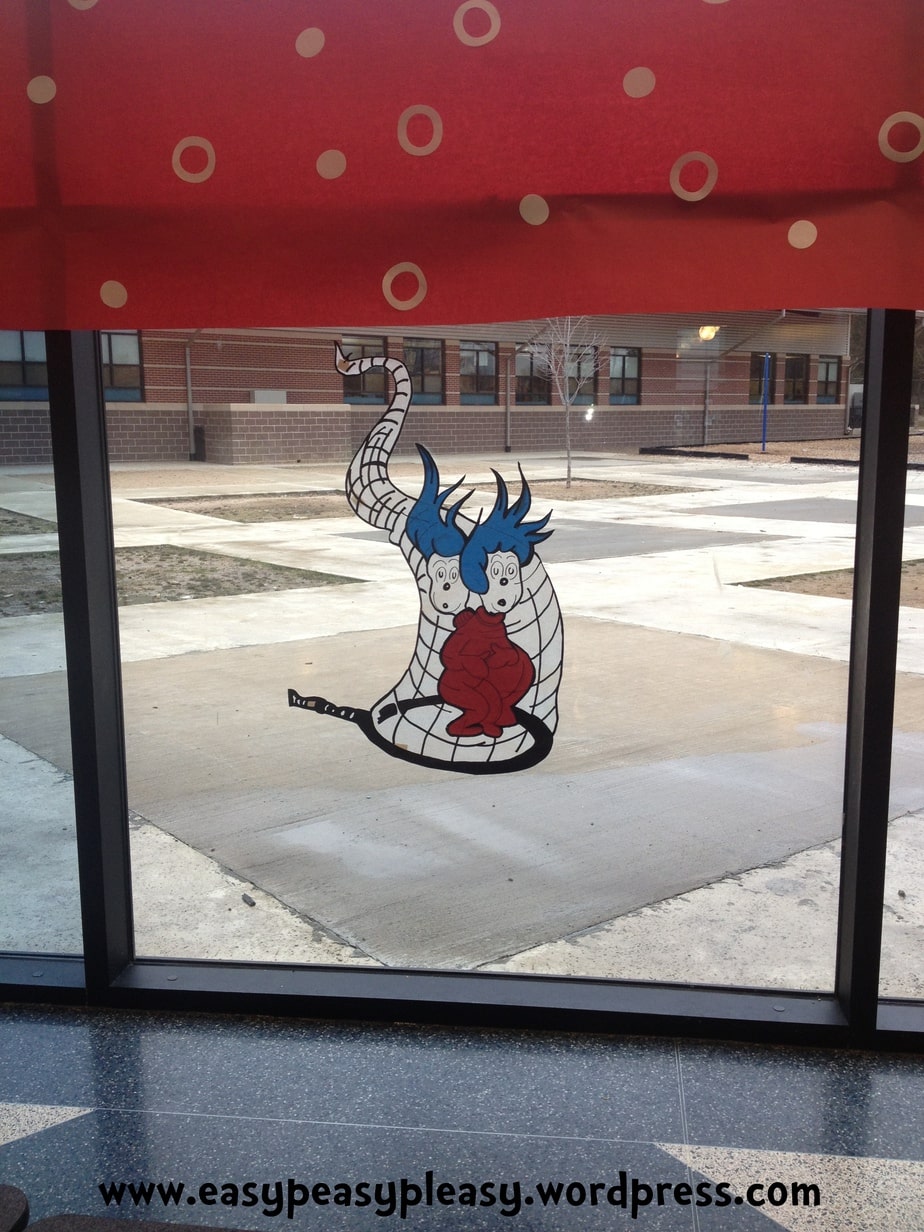
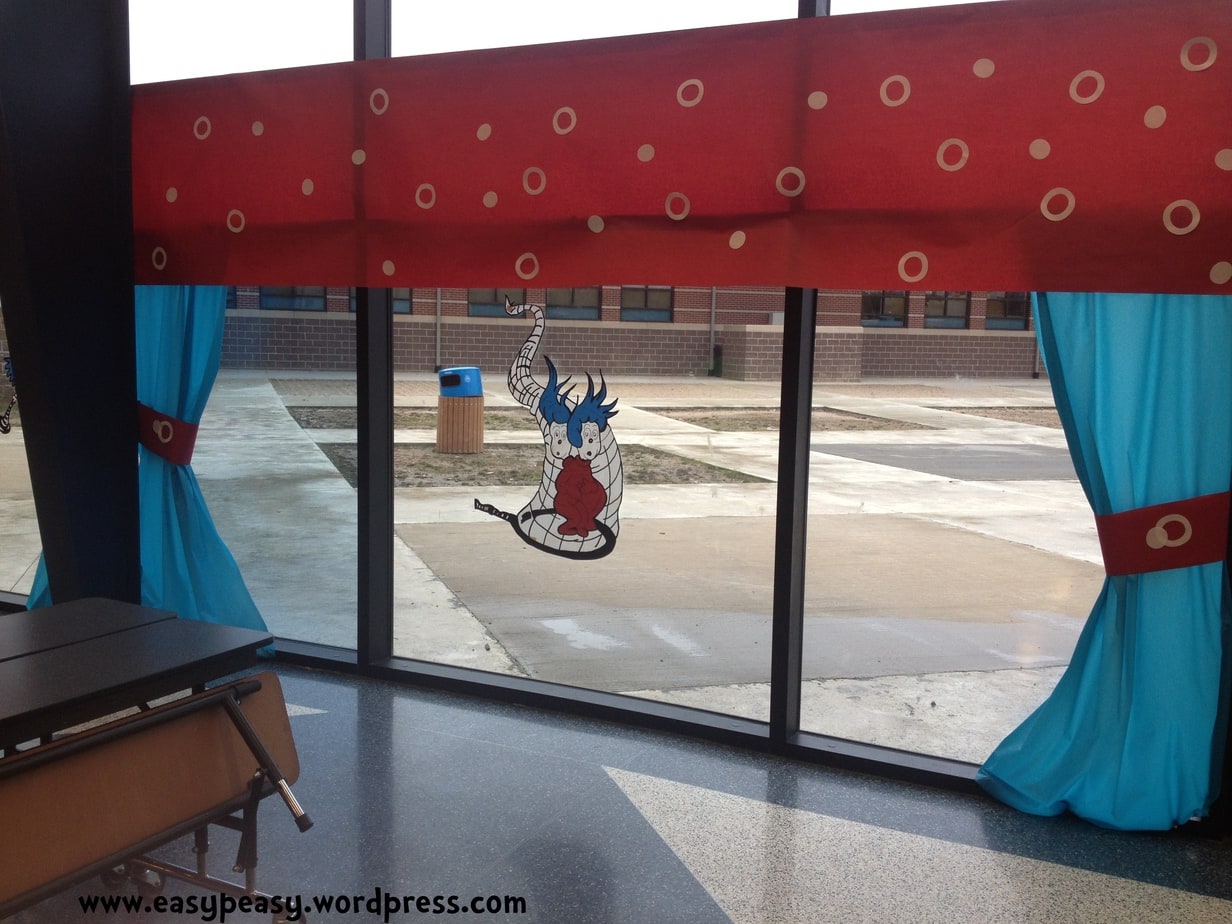
All the scenes were made using the old style projectors, big rolls of paper, and a lot of Sharpies!
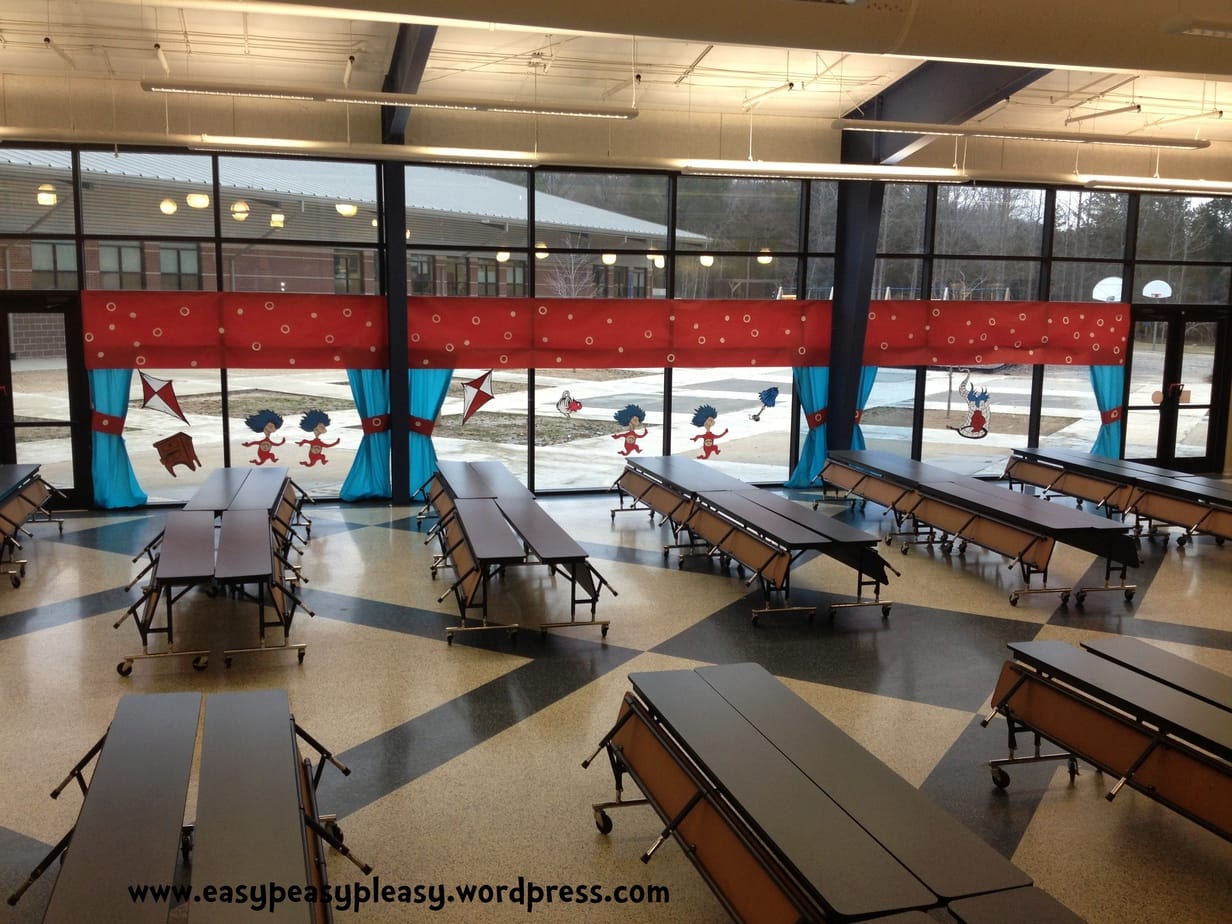
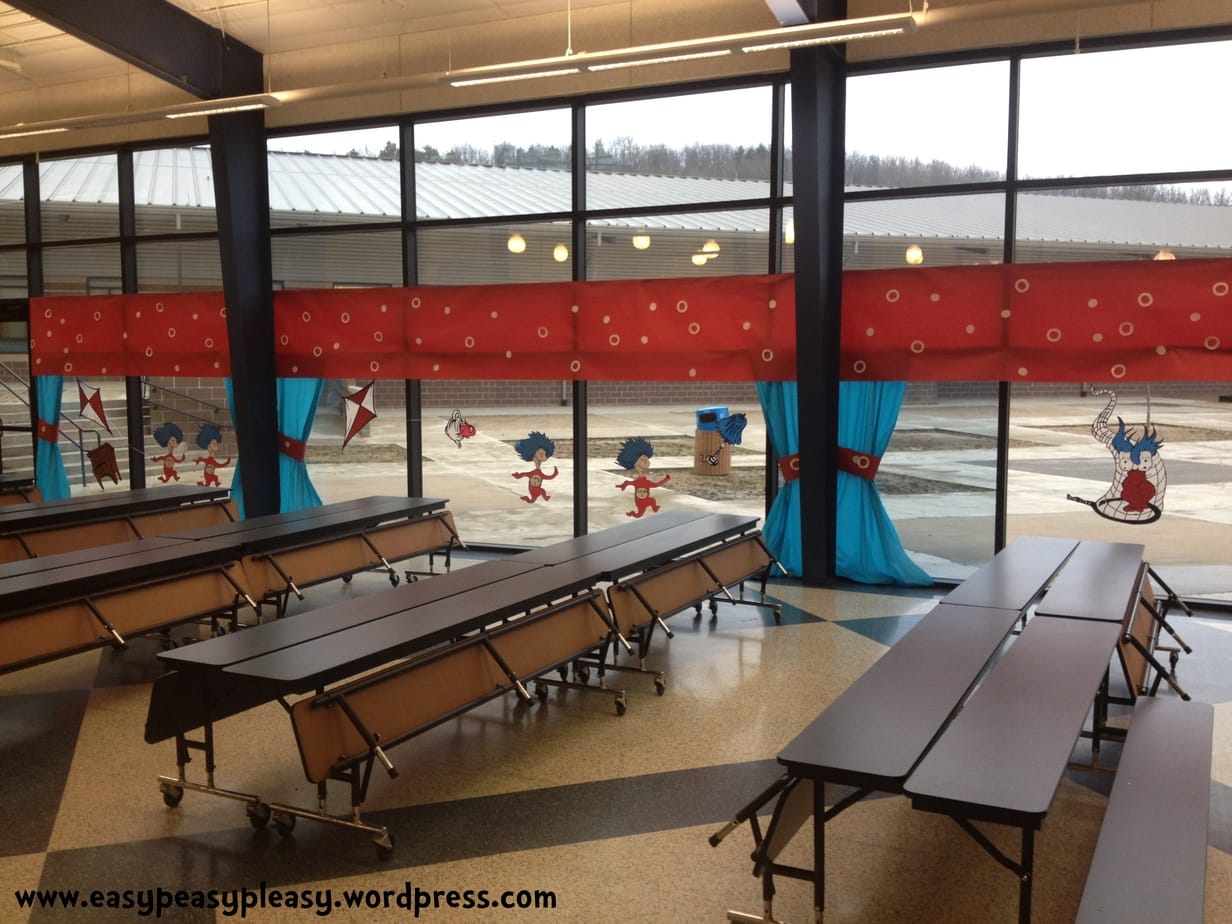
This is an overall view of how the scenes looked. Hopefully, this gives you an idea of how big the scenes were.
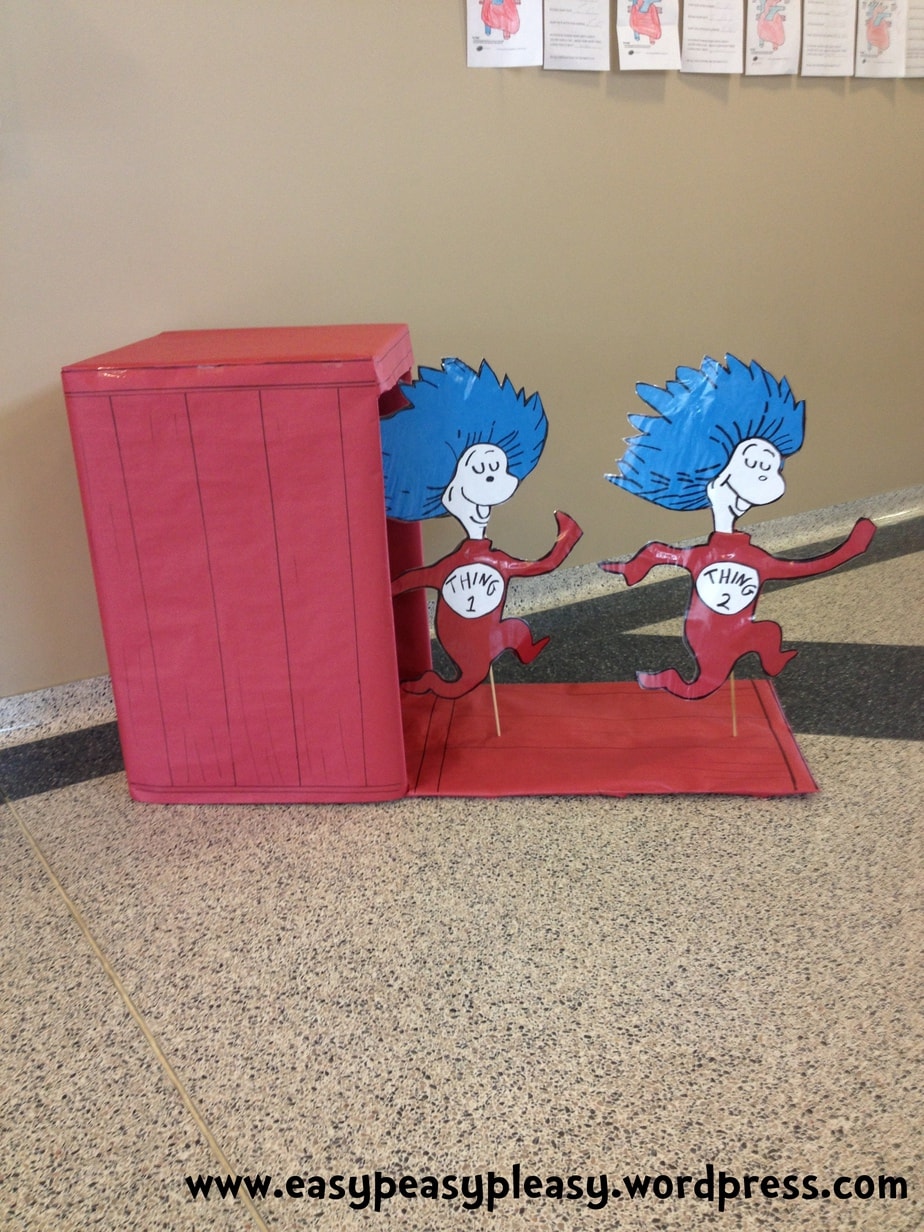
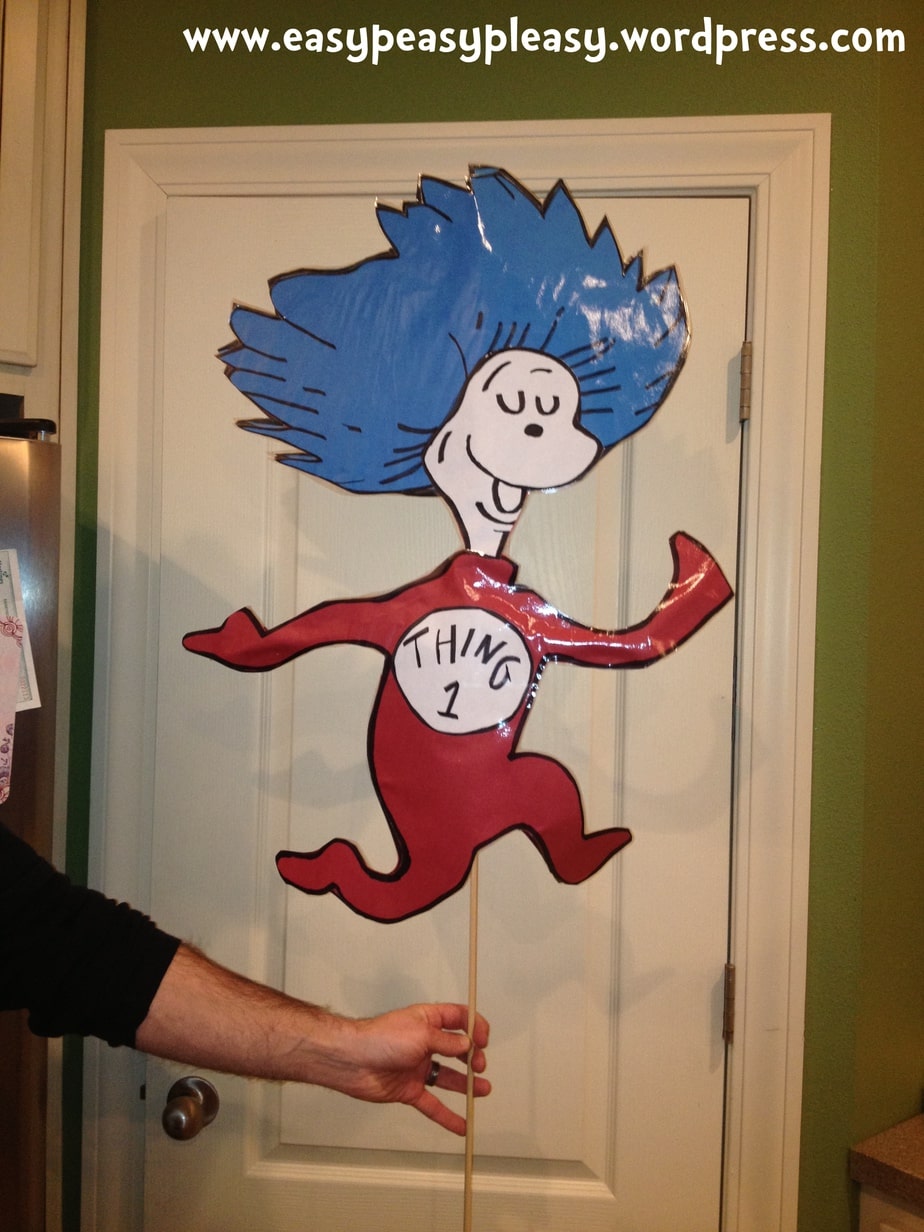
Thing 1 and Thing 2 are running out of the box. This project was pretty easy. We made Thing 1 and Thing 2 a front and a back with the projector. Then, we just taped a wooden dowel in between the front and back piece. I cut a cardboard box open but where the opened piece was still attached to the box (so only 3 sides were cut). Then, I placed styrofoam on the opened piece of the box and covered it with red paper. I used a Sharpie to draw lines and add wood grain. Finally, I stuck Thing 1 and Thing 2 through the paper into the styrofoam. Easy Peasy!
Now onto a new Dr. Seuss book! The Lorax cannot be left out! He speaks for the trees and so do we! Actually, we really do, our school is a Green School!

When you walk through the front doors you are greeted with a person size book cover of The Lorax. The book cover is a giant piece of cardboard wrapped with paper and paper cutouts. Then there are truffala trees, truffala trees, and more truffala trees!
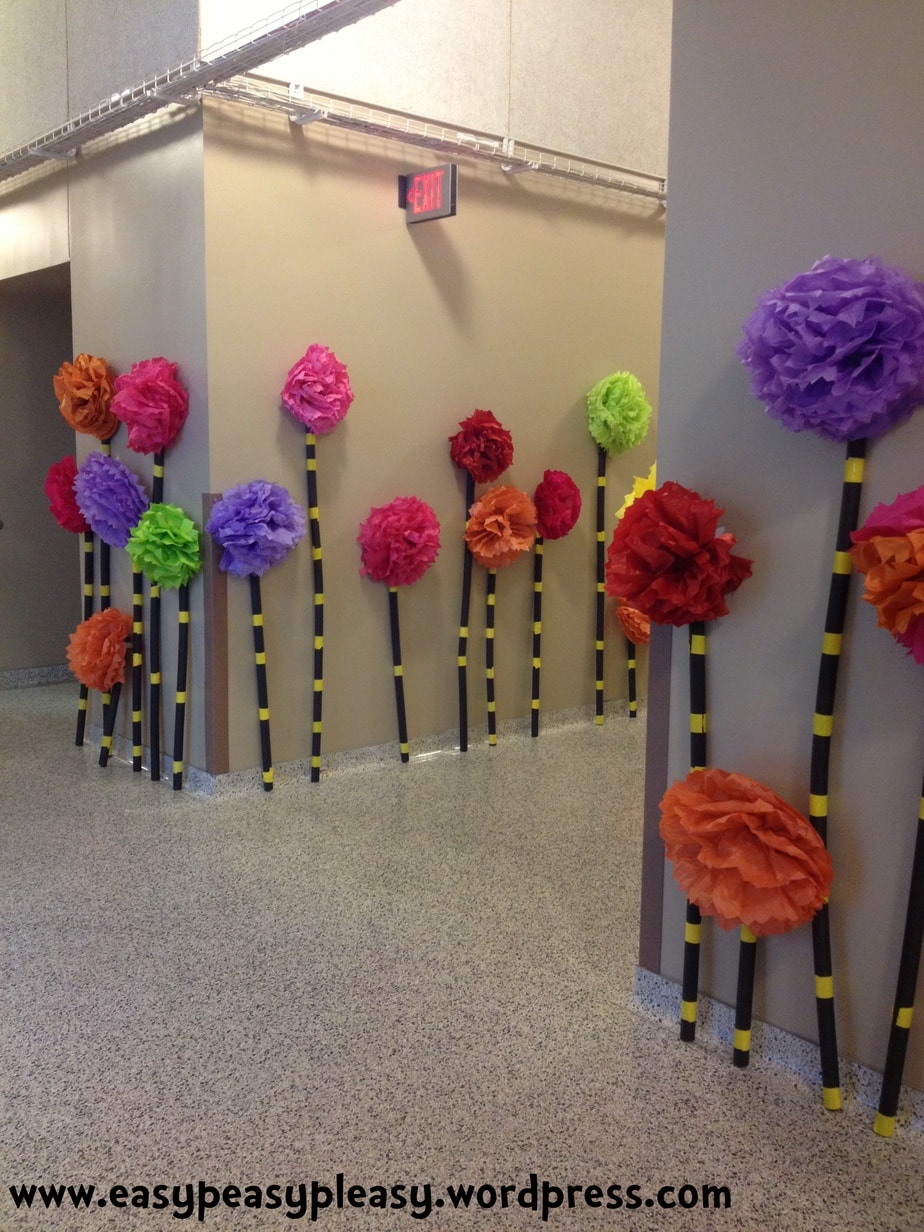
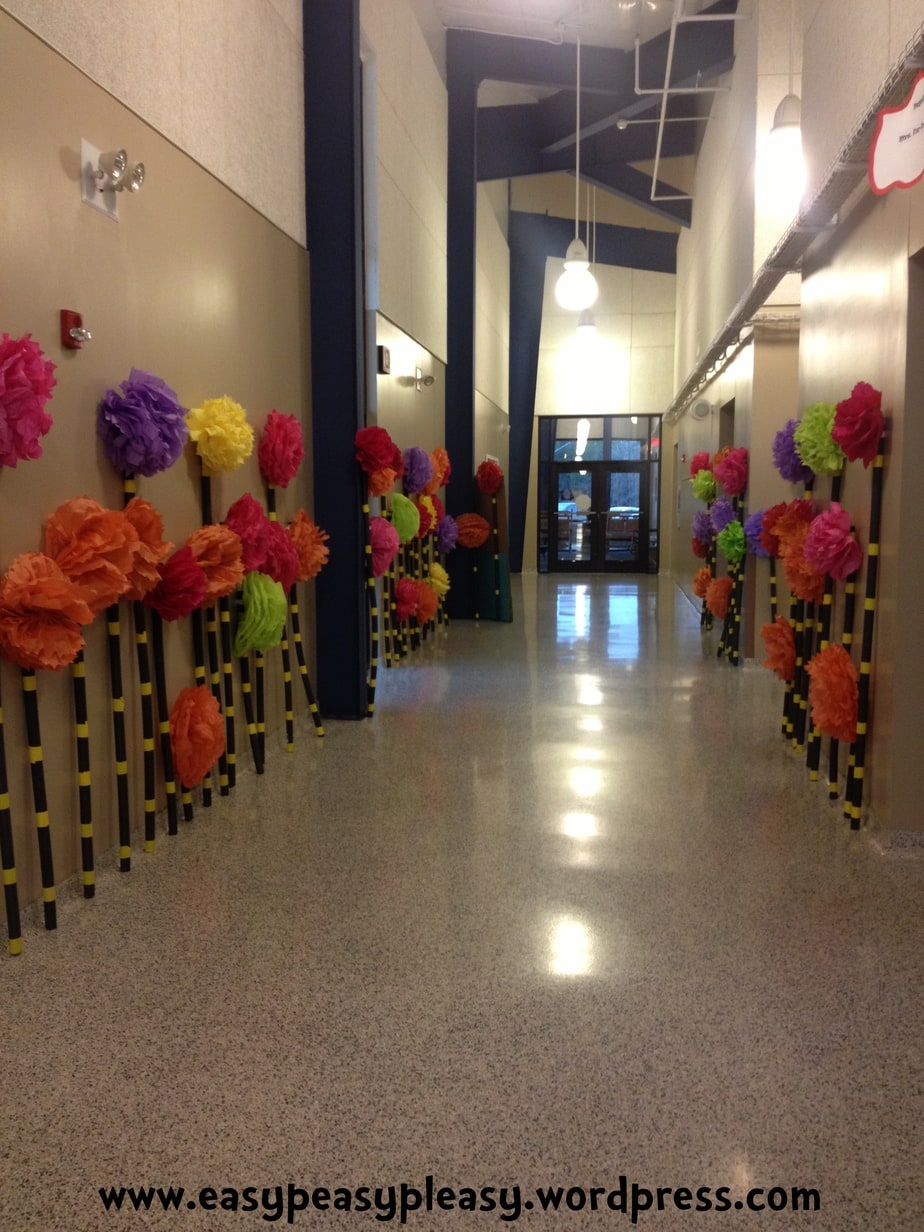
For the trees we used pipe insulator purchased from a local home improvement store. It comes in boxes just like pool noodles but it’s way cheaper than pool noodles. Plus, we could take them and cut to whatever lengths we wanted. We used some yellow Duct tape to make the stripes and made tissue poms for the tops.
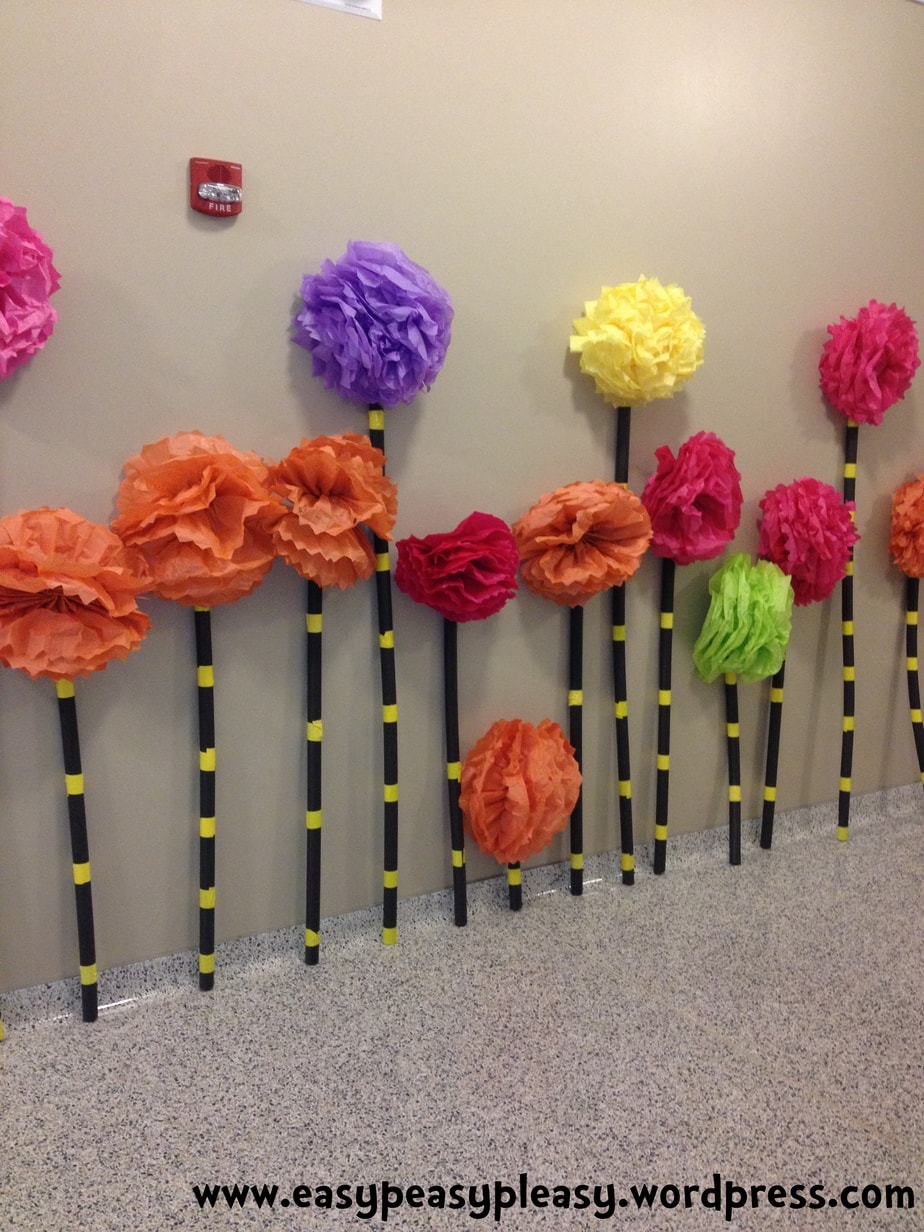
Over a two day period during the 4th and 5th grade recesses we asked for volunteers to help us make the truffala trees. The kiddos were more than happy to help and they had a lot of fun. The first day we all made the tissue paper poms. The second day we all wired on the poms and and applied the duct tape. All that was left, was to tape the trees to the walls. We used a special tape that wouldn’t damage the walls. I wouldn’t suggest duct taping the walls as this will probably damage them.
Now, if you’re saying “what a waste of money throwing all that tissue paper away after the event”, no need to worry! We saved it all! We used them again the next year! We removed the poms which are wrapped in floral wire and just wired them too hangers. The kinda hangers you have left over from the dry cleaners. I’m talking we could get 10 or so on each hanger. Then we hung the hangers from the ceiling in our PTO closet! The ceiling space wasn’t being used anyway! LOL!
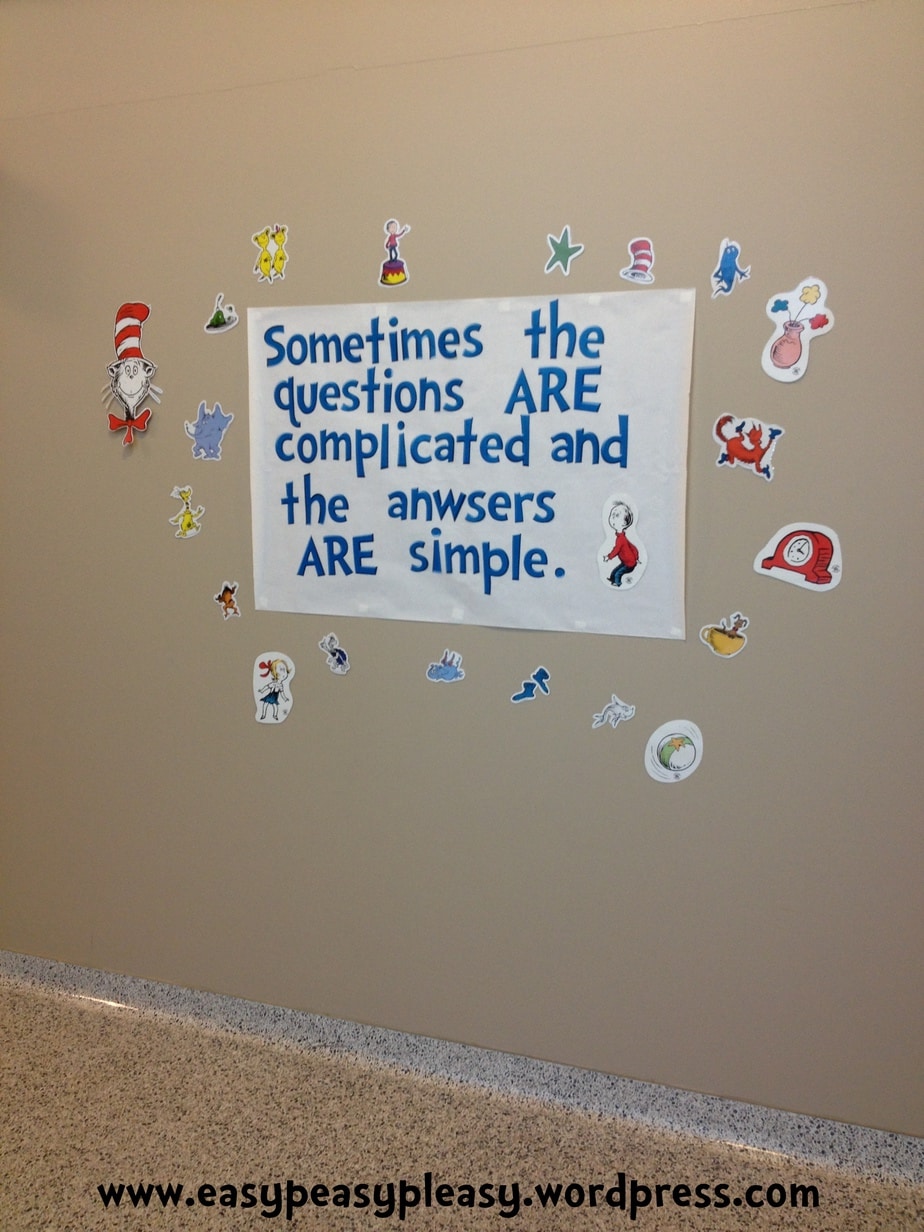
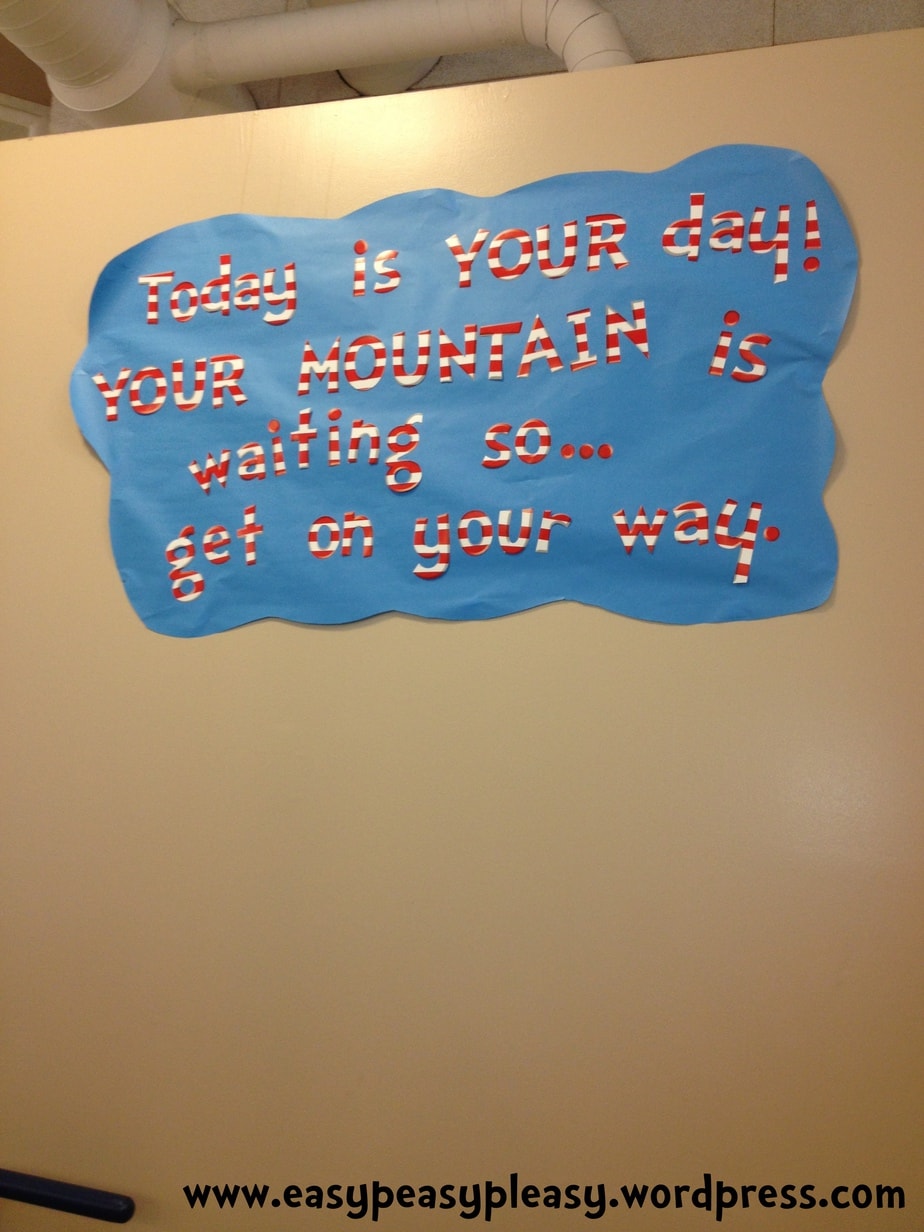
We hung Dr. Seuss quotes on the walls all over the school.

The PTO also hosted a book swap for the students so I created a flyer to go home with each child. I would be happy to share a version that can be edited if anyone wants it. Just leave a comment at the end of this post.

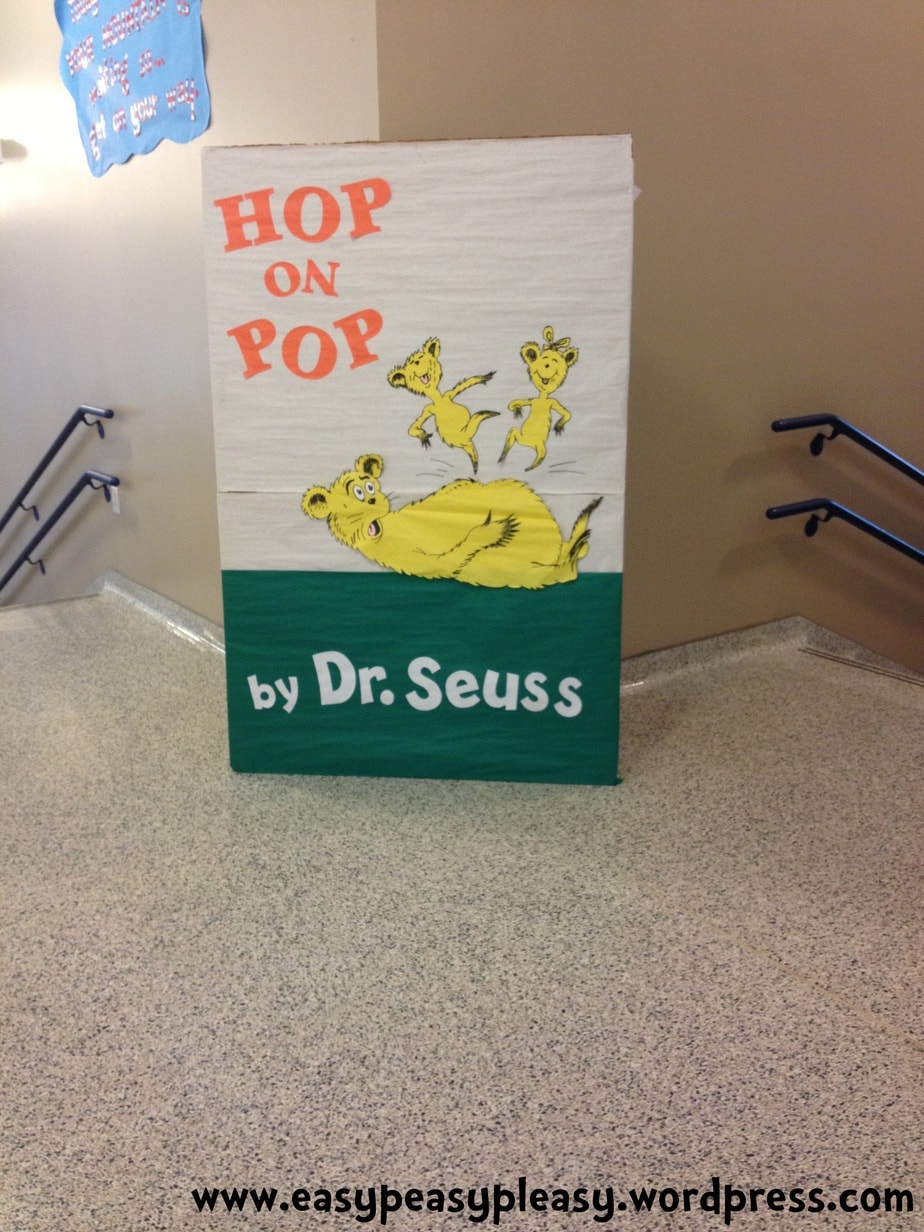
We had a few more of the giant sized Book Covers that we placed around the school.
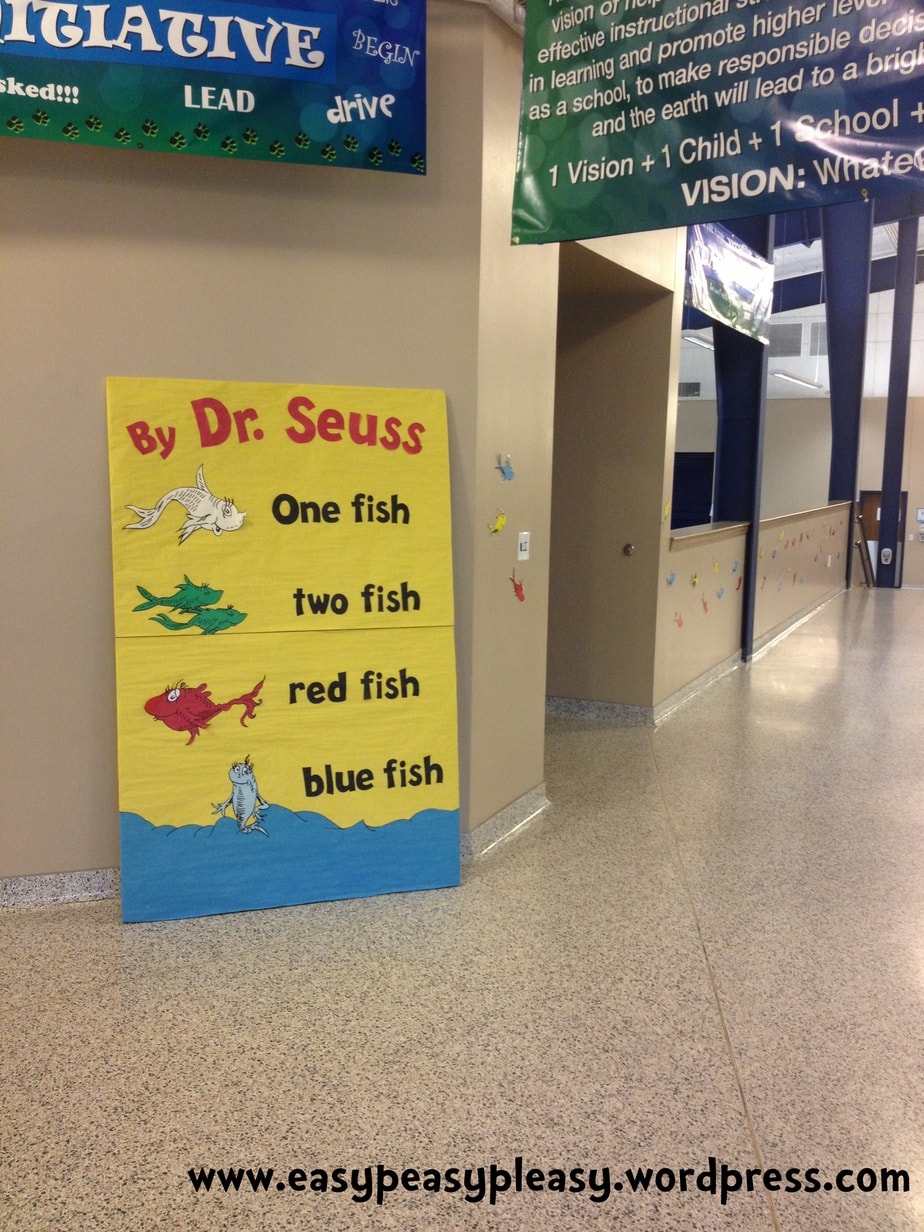

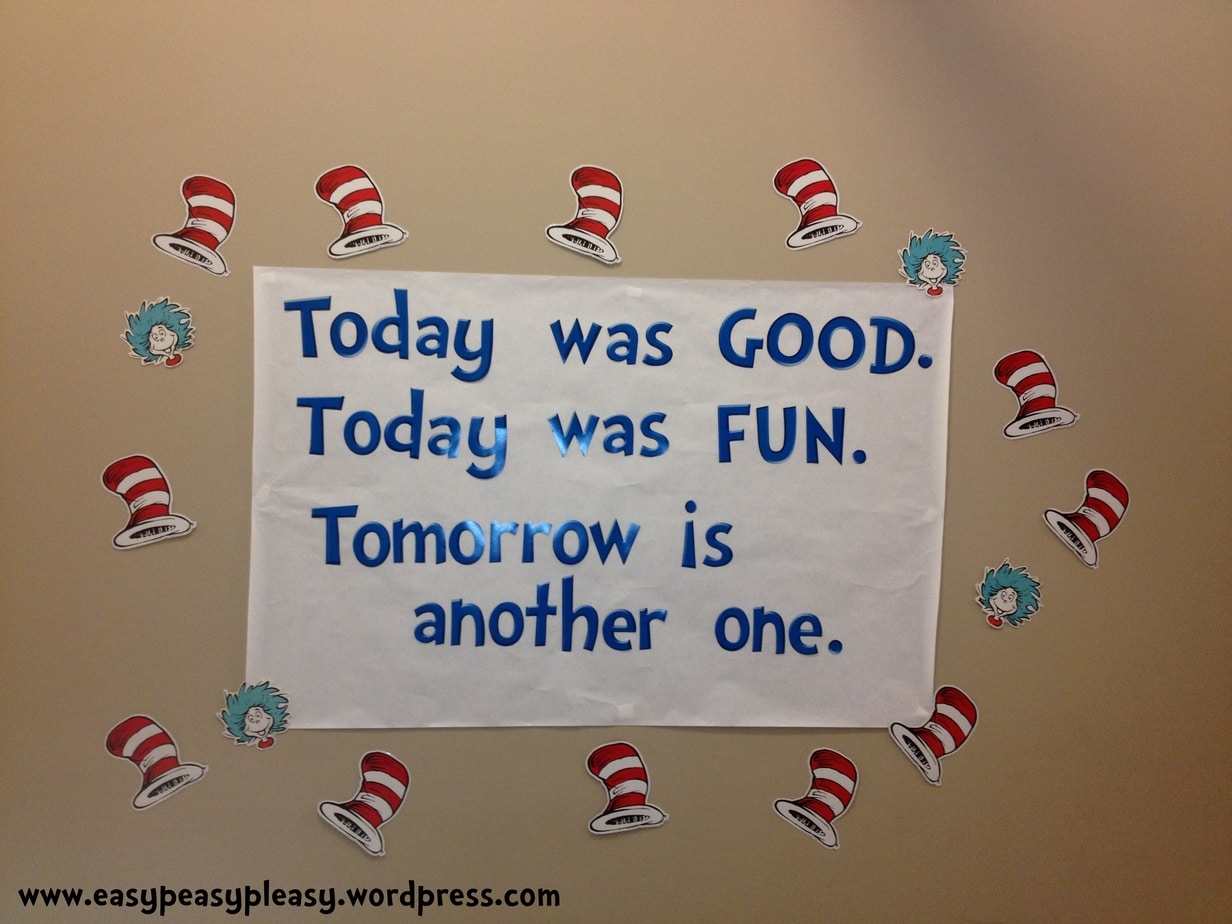
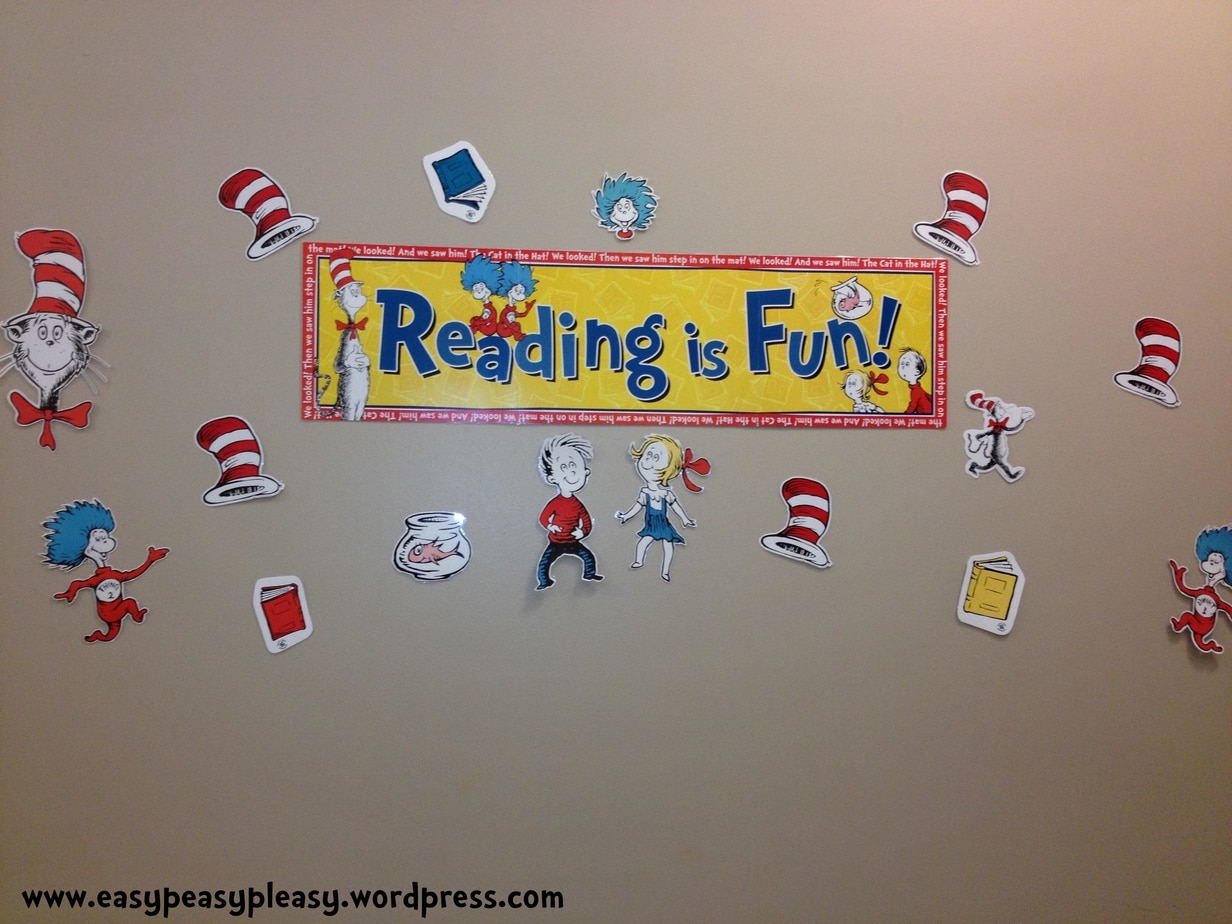
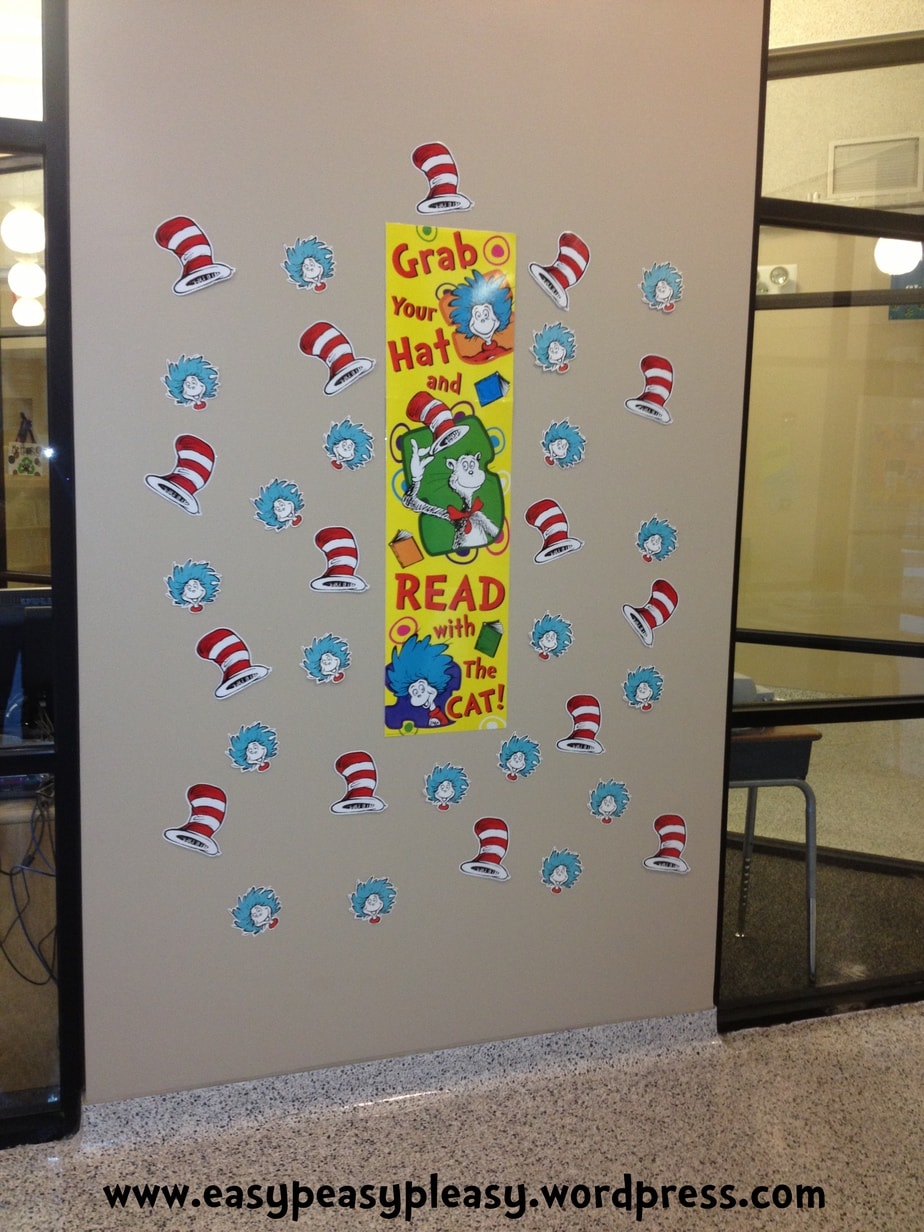
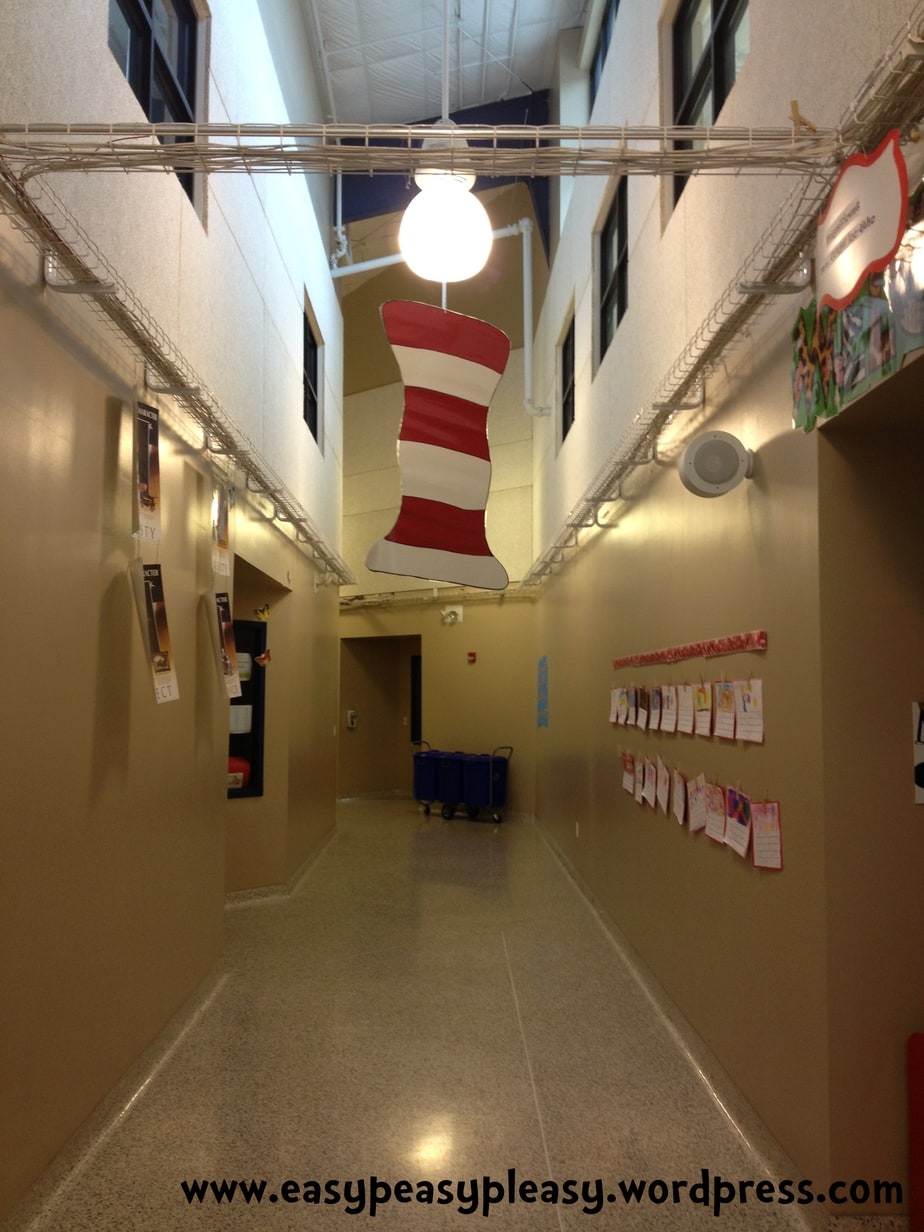
Down all the hallways, we hung the cat’s hats!
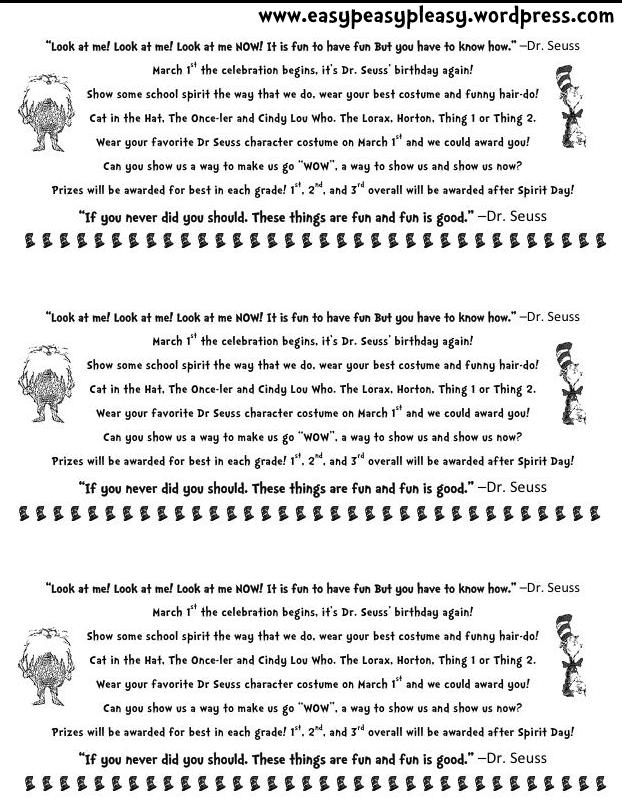
Last but not least, the PTO hosted a Dr. Seuss inspired costume contest and encouraged all the students to dress up as their favorite Dr. Seuss characters. I created a flyer to send home with all the students….
I just have to give you a peek at some of the cute costume!
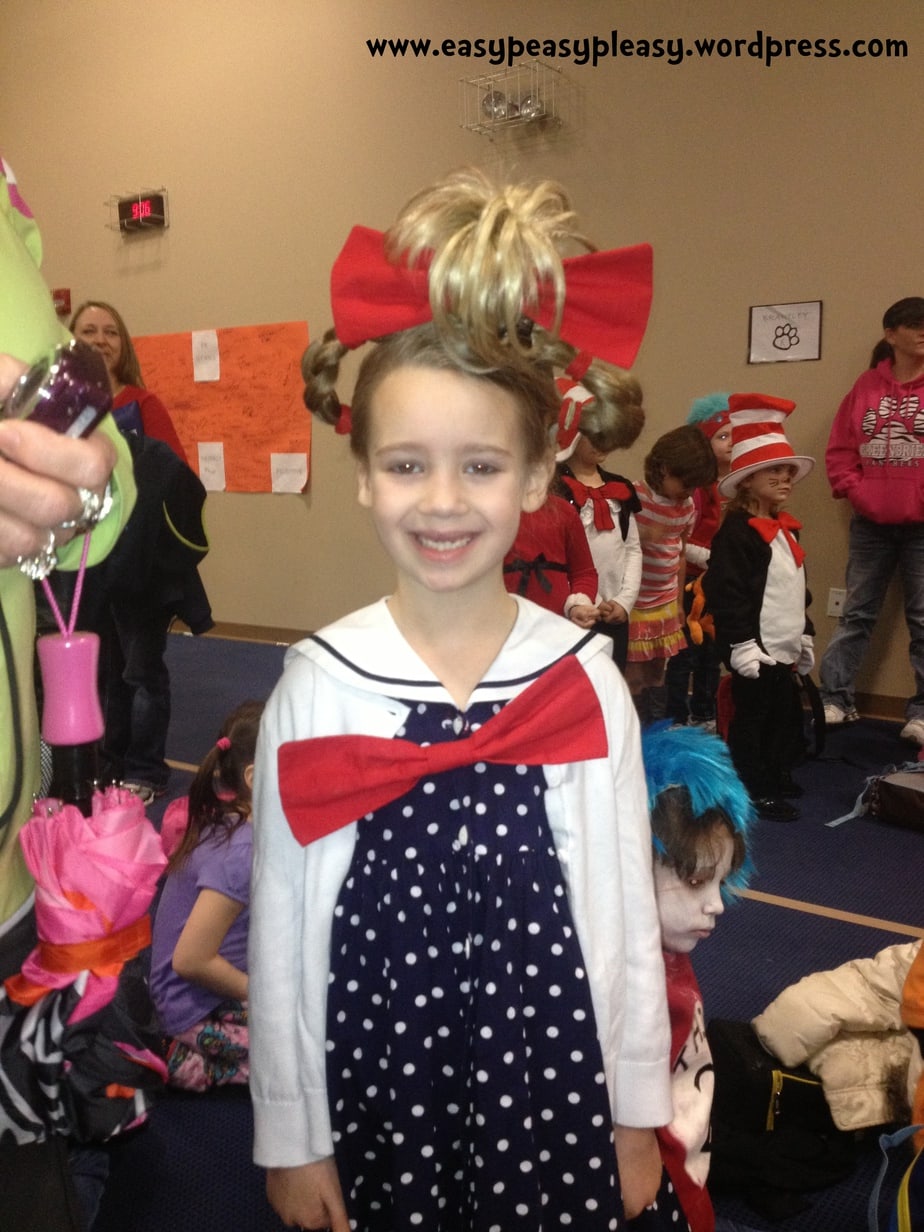
Ashton as Cindy-Lou-Who
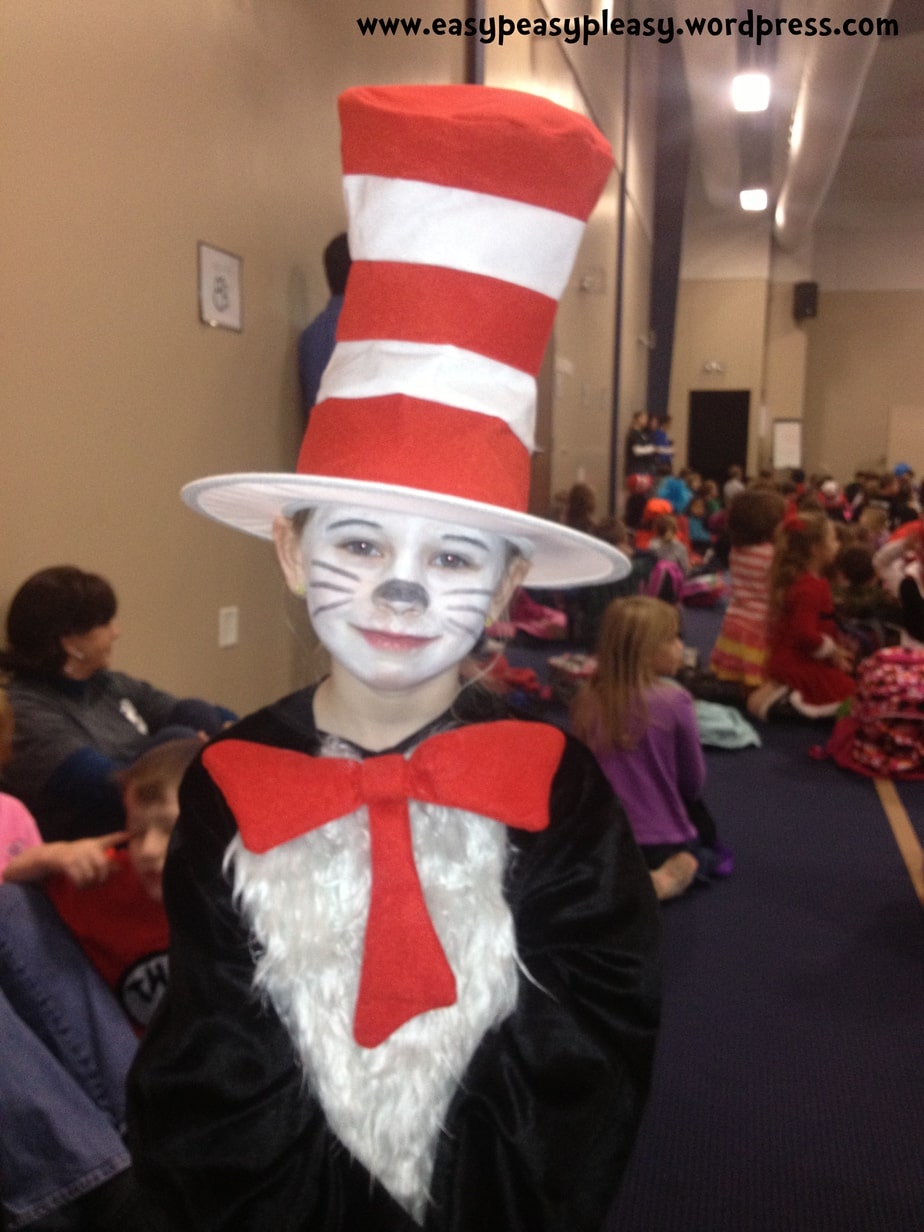
Leah as Cat in the Hat!
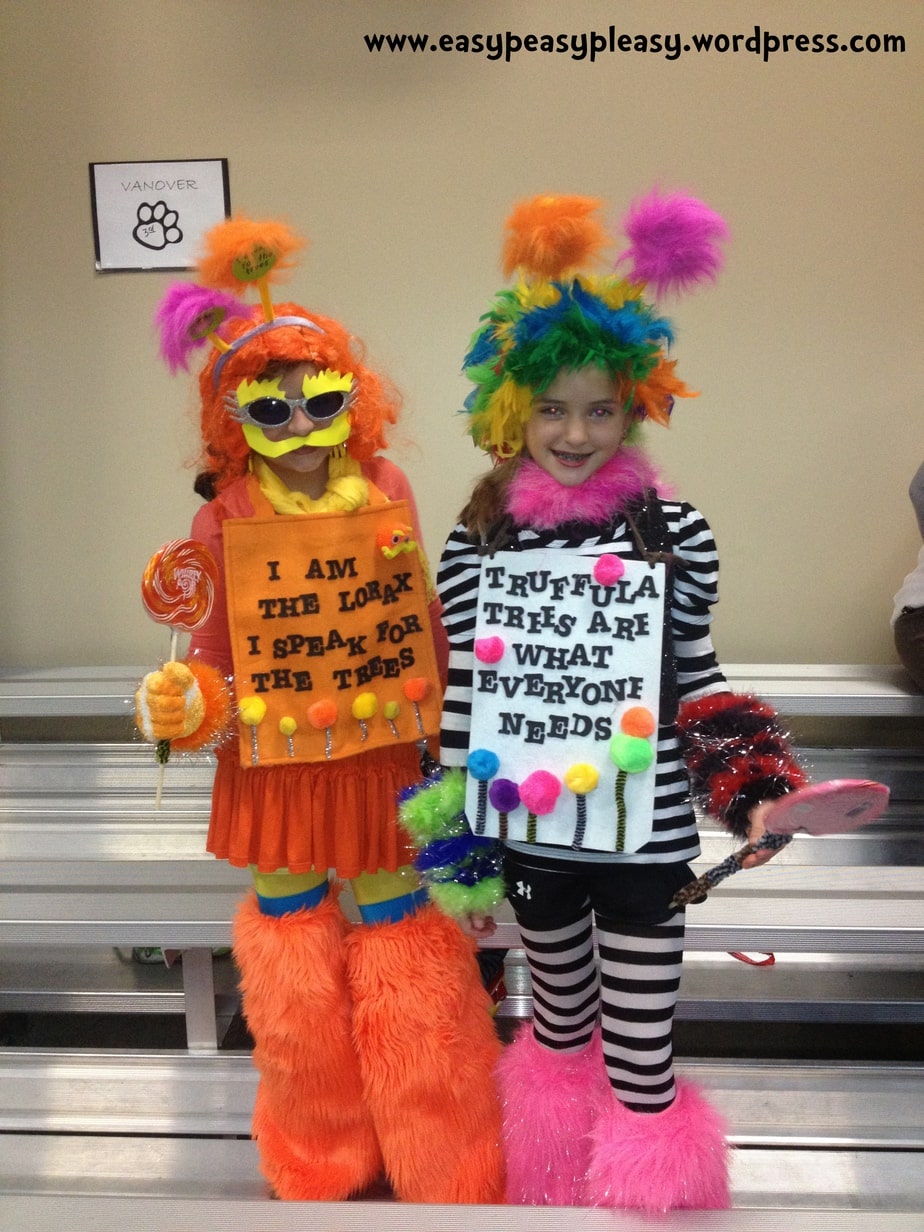
Mabree-the Lorax & Conlee-truffala trees
How cute are they!?! I have to give a shout out to the PTO! What a great event! Big Thank You! A special thanks to Sandra and Jennifer for all your help!
Any ideas you want to share? Post a comment below! Stay tuned to see what’s next in the series “All Things Dr. Seuss”! Don’t forget to follow my blog for all things Easy Peasy!

What awesome decorations I’m sure the kids will enjoy those decorations for years to come. How did you do those giant book covers ? They are spectacular I’d love to make some. Where in the world did you get those big pictures of hop on pop & the fox ect. can you explain more on the process of how you made them ? Thanks For sharing
The giant book covers were made before me but I can tell you how. The base is giant pieces of cardboard. Ask your local furniture and appliance stores for boxes. Think refrigerator boxes. I’ve used them many times for different projects and they are free! I also use the old school projectors to make the big images. You just need the projector sheets. Copy an image from a book onto a projector sheet. I tape craft paper from those giant rolls the school has onto the wall. Then use the projector to display the image onto the paper. Use a pencil to trace the image. Finally, cut out the image. You can purchase inexpensive projectors from Walmart and Amazon for home use and you don’t need the projector sheets with those. Our school has smart boards now and the images can done easily with those as well. Let me know if you need any other details! Dawn, thanks so much for stopping by and asking questions! My email is under my menu tab under contacts if you need any other info! I’m happy to help!!!