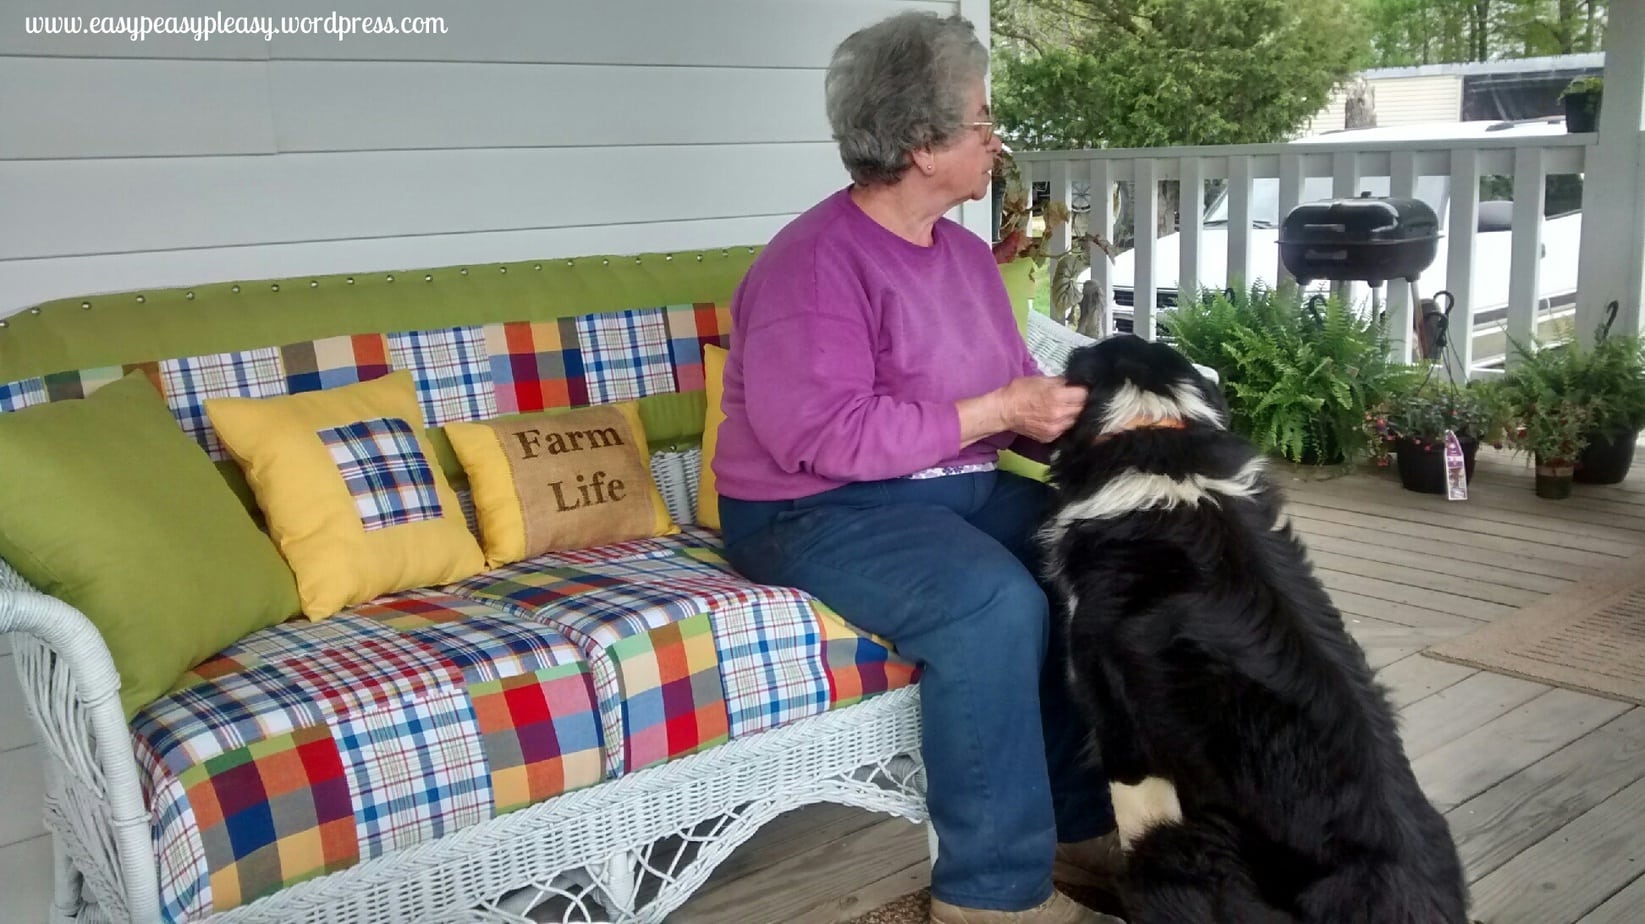
This is Mrs. Hannah. She was the original owner of this piece and has since handed it down to her daughter in law. Let me give you a little background on this piece of wicker.
Mrs. Hannah, who mind you, has recorded everything in her life tells us this piece is called a Davenport. She also tells us that she purchased this piece…wait for it… on May 27, 1971. I ask myself, how in the world can a person remember exactly when they purchased a piece of furniture that dates back 44 years? Well, I have found out since that Hannah’s husband owns a business and they have always kept ledgers of purchases. I thought this was the neatest thing. How amazing to be able to pull out a notebook from so many years ago and know exactly what you were doing at that time based on purchases. Mrs. Hannah purchased this Wicker Davenport (I sound so debonair) from a store in the little town of Shirley that was run by the Hackett’s. She bought it from Ivy Hackett for, get this, only $20. Hannah believes the piece to actually have been made in the 1920’s. It held it’s place of prominence in Hannah’s home for a number of years and then was moved to her front porch.
The wicker davenport finally found itself in a yard sale and almost found its way to the dump. My sister in law and her best friend Debbie saved it from a certain untimely death thinking surely it could be saved. Hannah told Debbie she could have it since it didn’t sell in the yard sale. Who did they call…me of course. I thought, heck yeah I’ll restore this wicker couch. It will be a great DIY project to post on my blog. I told them to pick out and purchase the fabric they want to be used and bring it on over.
This project ended up being a more than meets the eye kinda DIY. I started out thinking this would be a great little, not much time involved DIY project. Boy was I wrong! It wasn’t so Easy Peasy but I sure was saying, “Pleasy make it Easy”, half way through. No matter what, I’ve tackled this beast and have all the DIY tips to make restoring wicker Easy Peasy with no need for the Pleasy just for you.
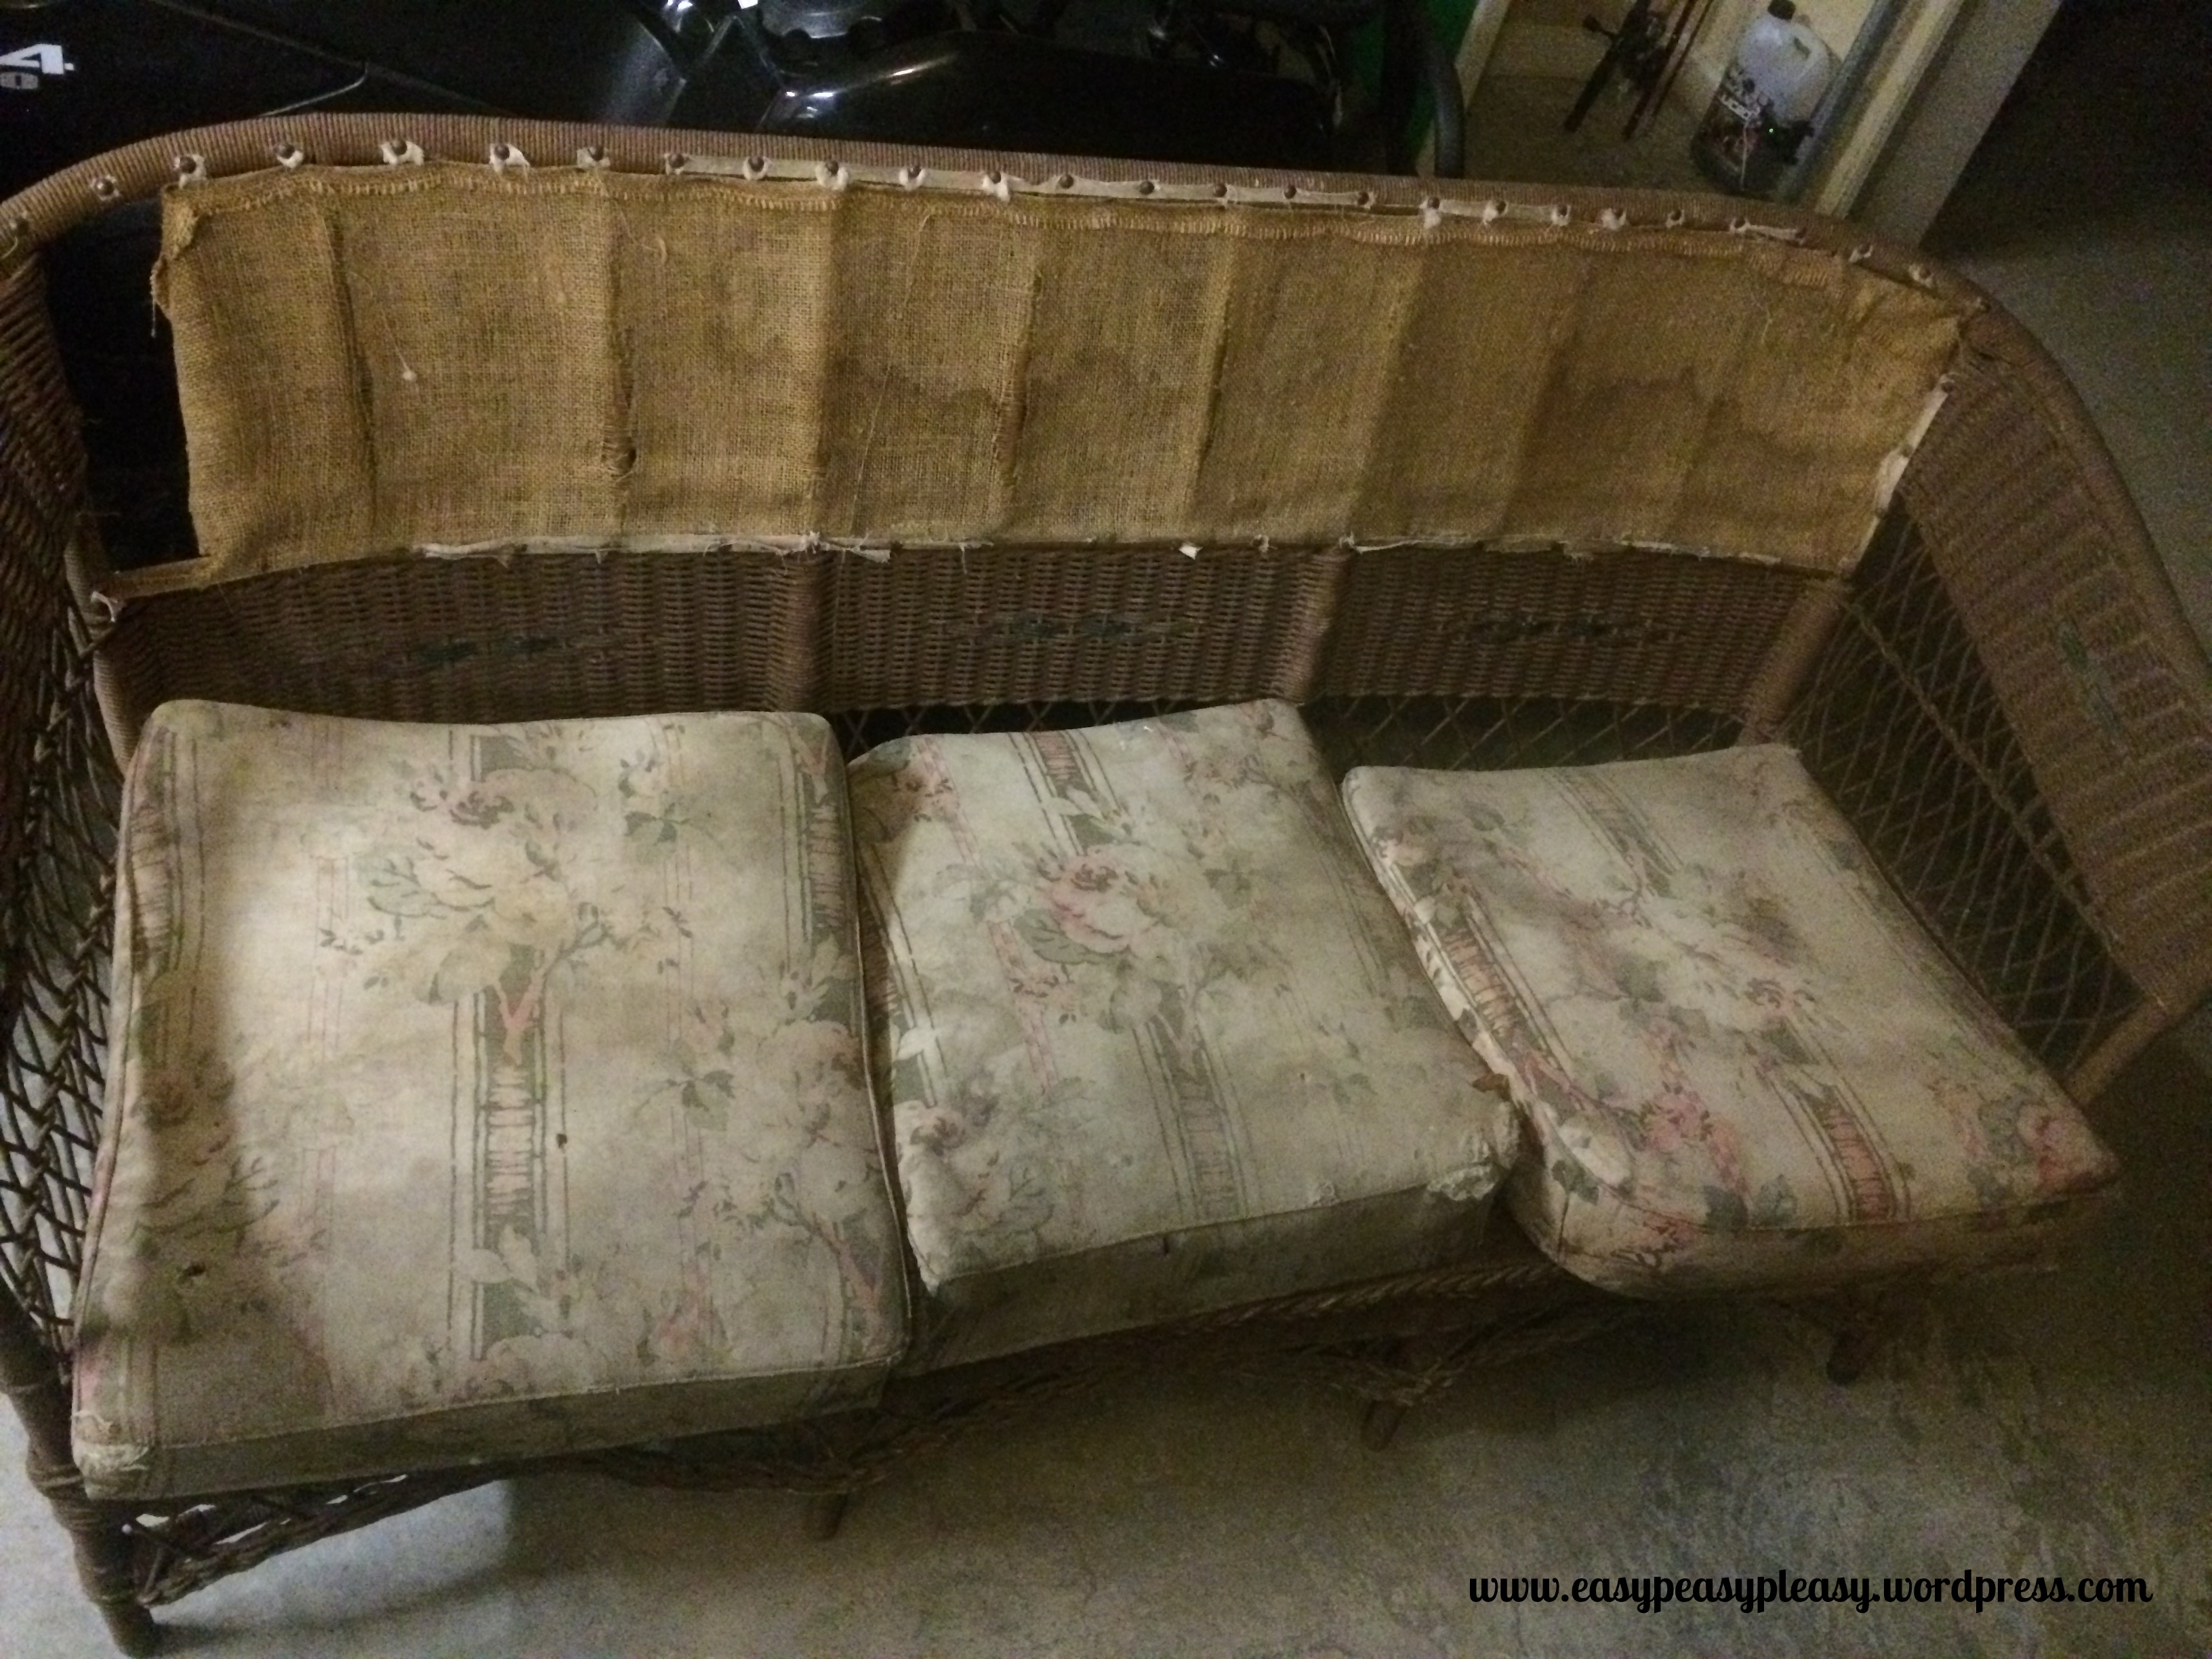
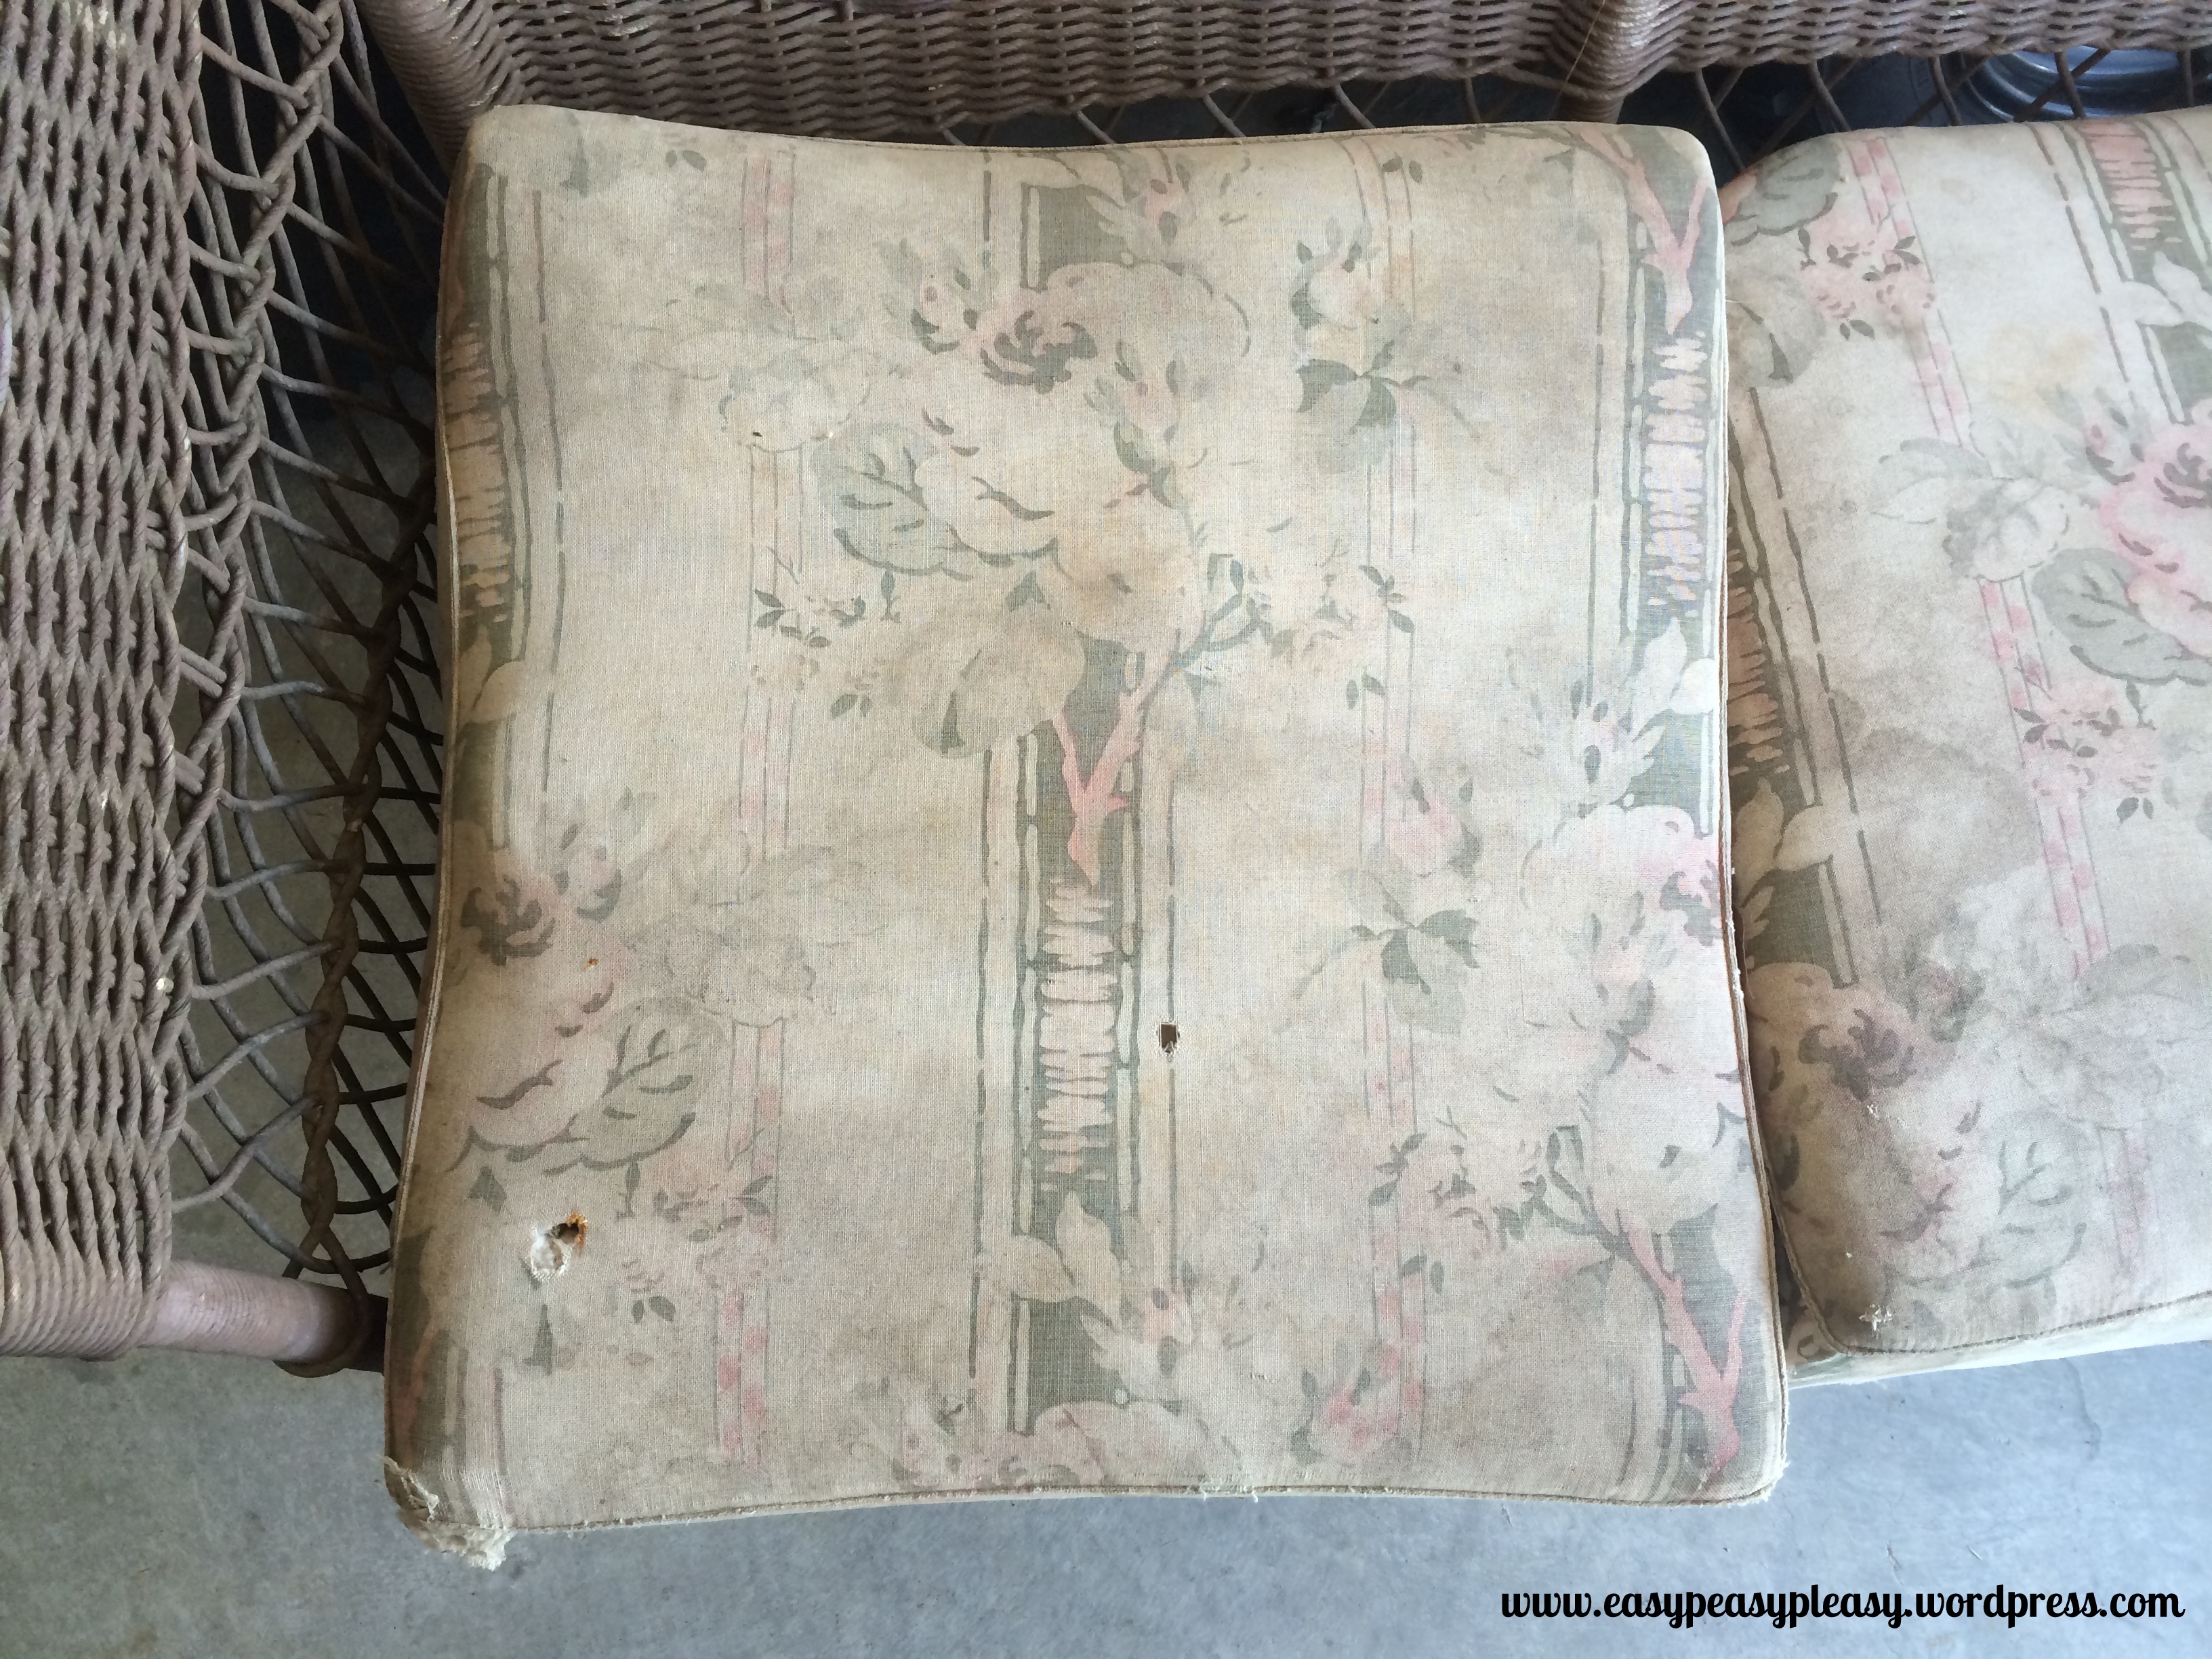
Here is a view of the condition of the wicker couch before being restored.
This wicker couch was unlike any I have ever seen before. It didn’t have normal cushions for the seat. The seats actually had springs. Nope, I have never attempted to cover a seat with springs before.
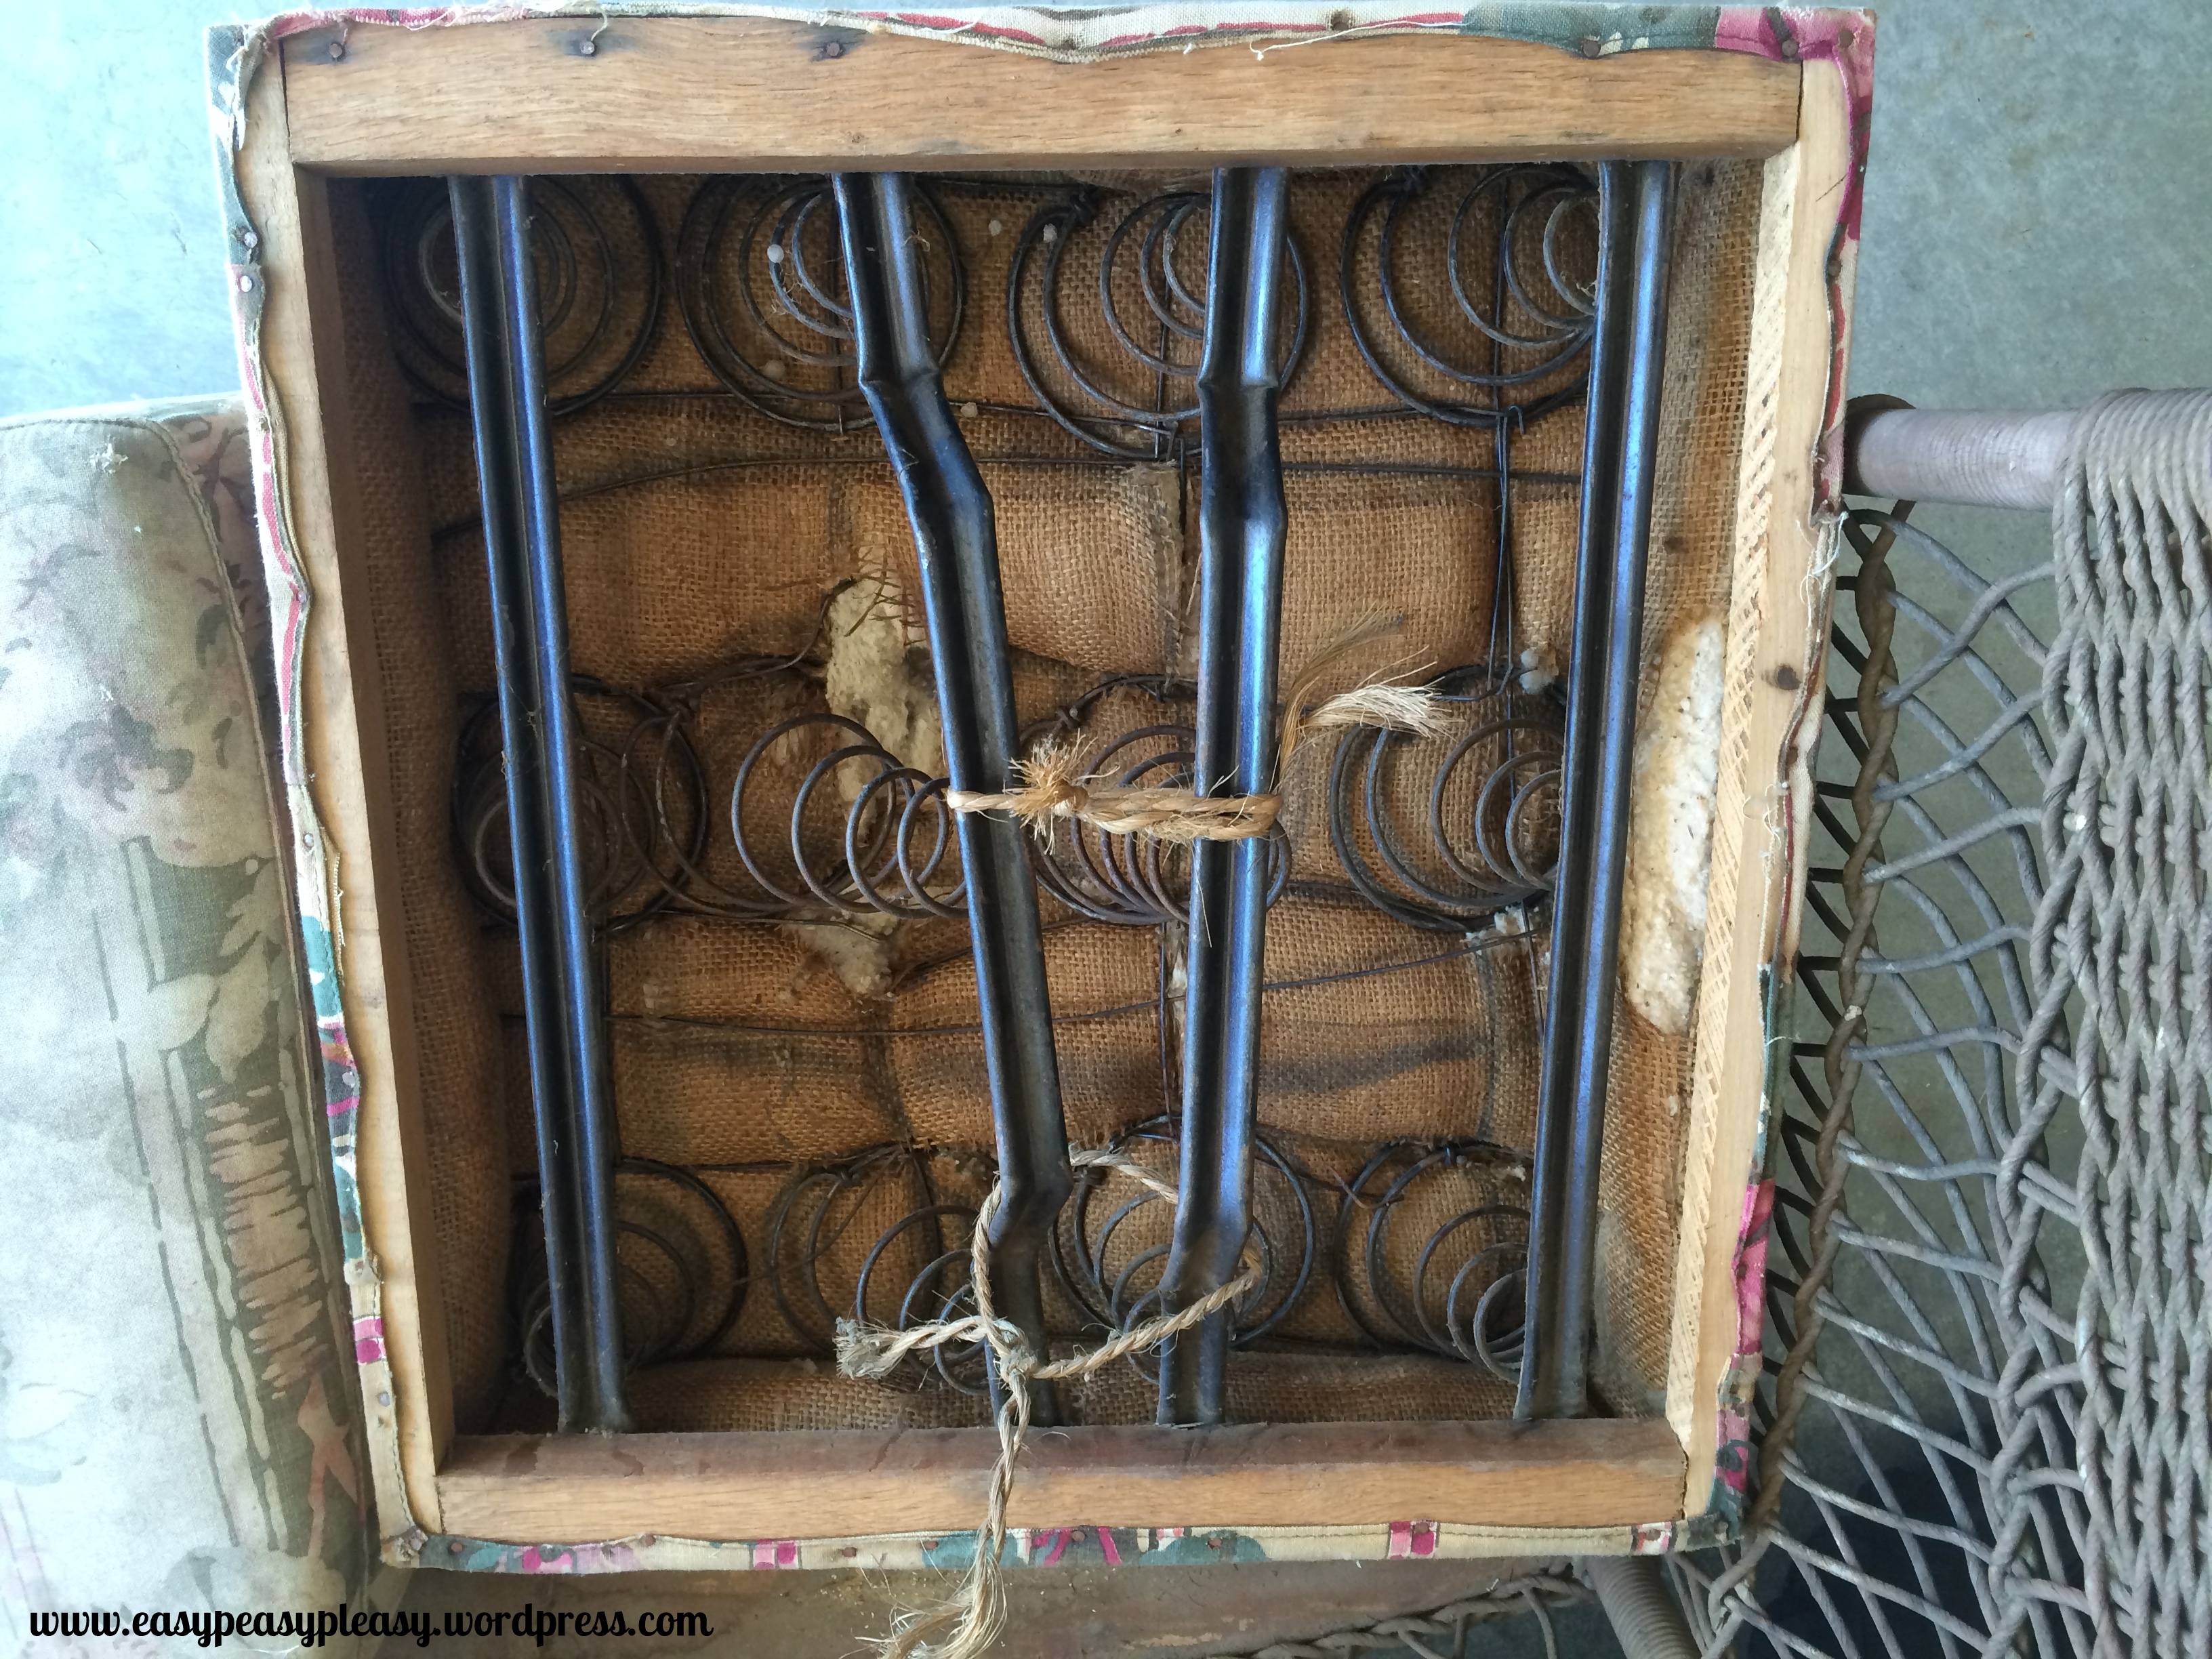
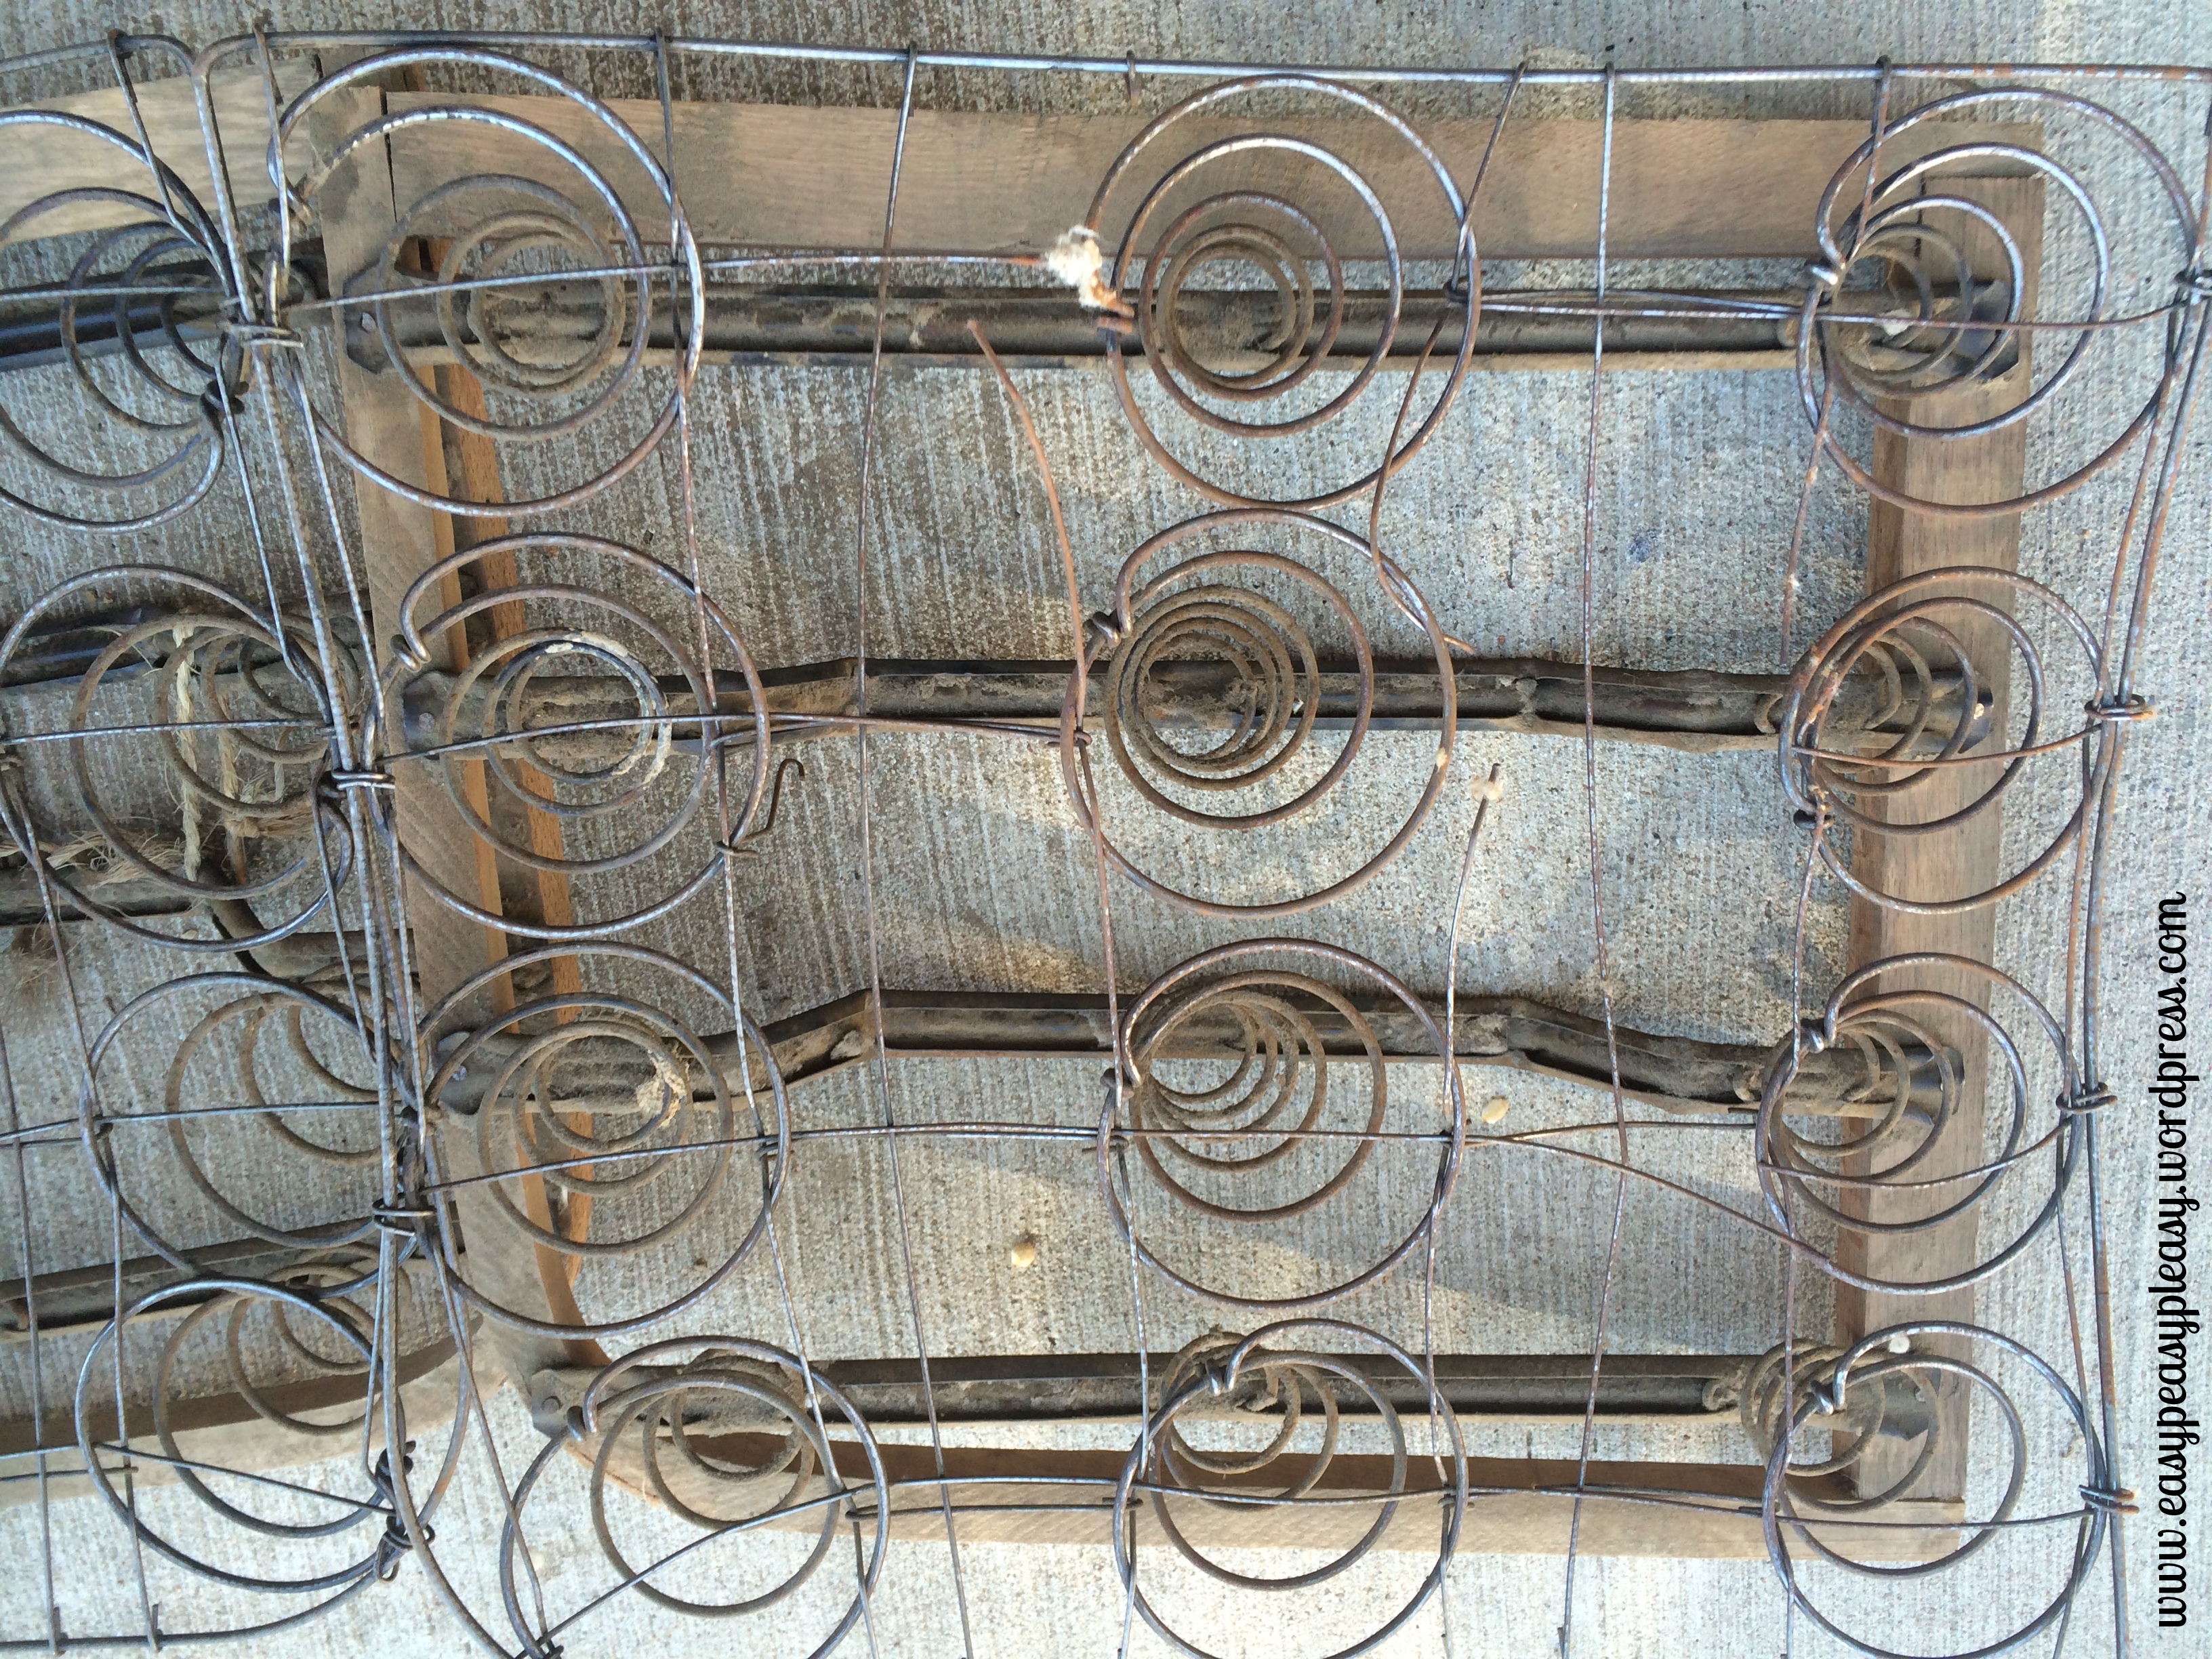
This is the underside view of the seat.
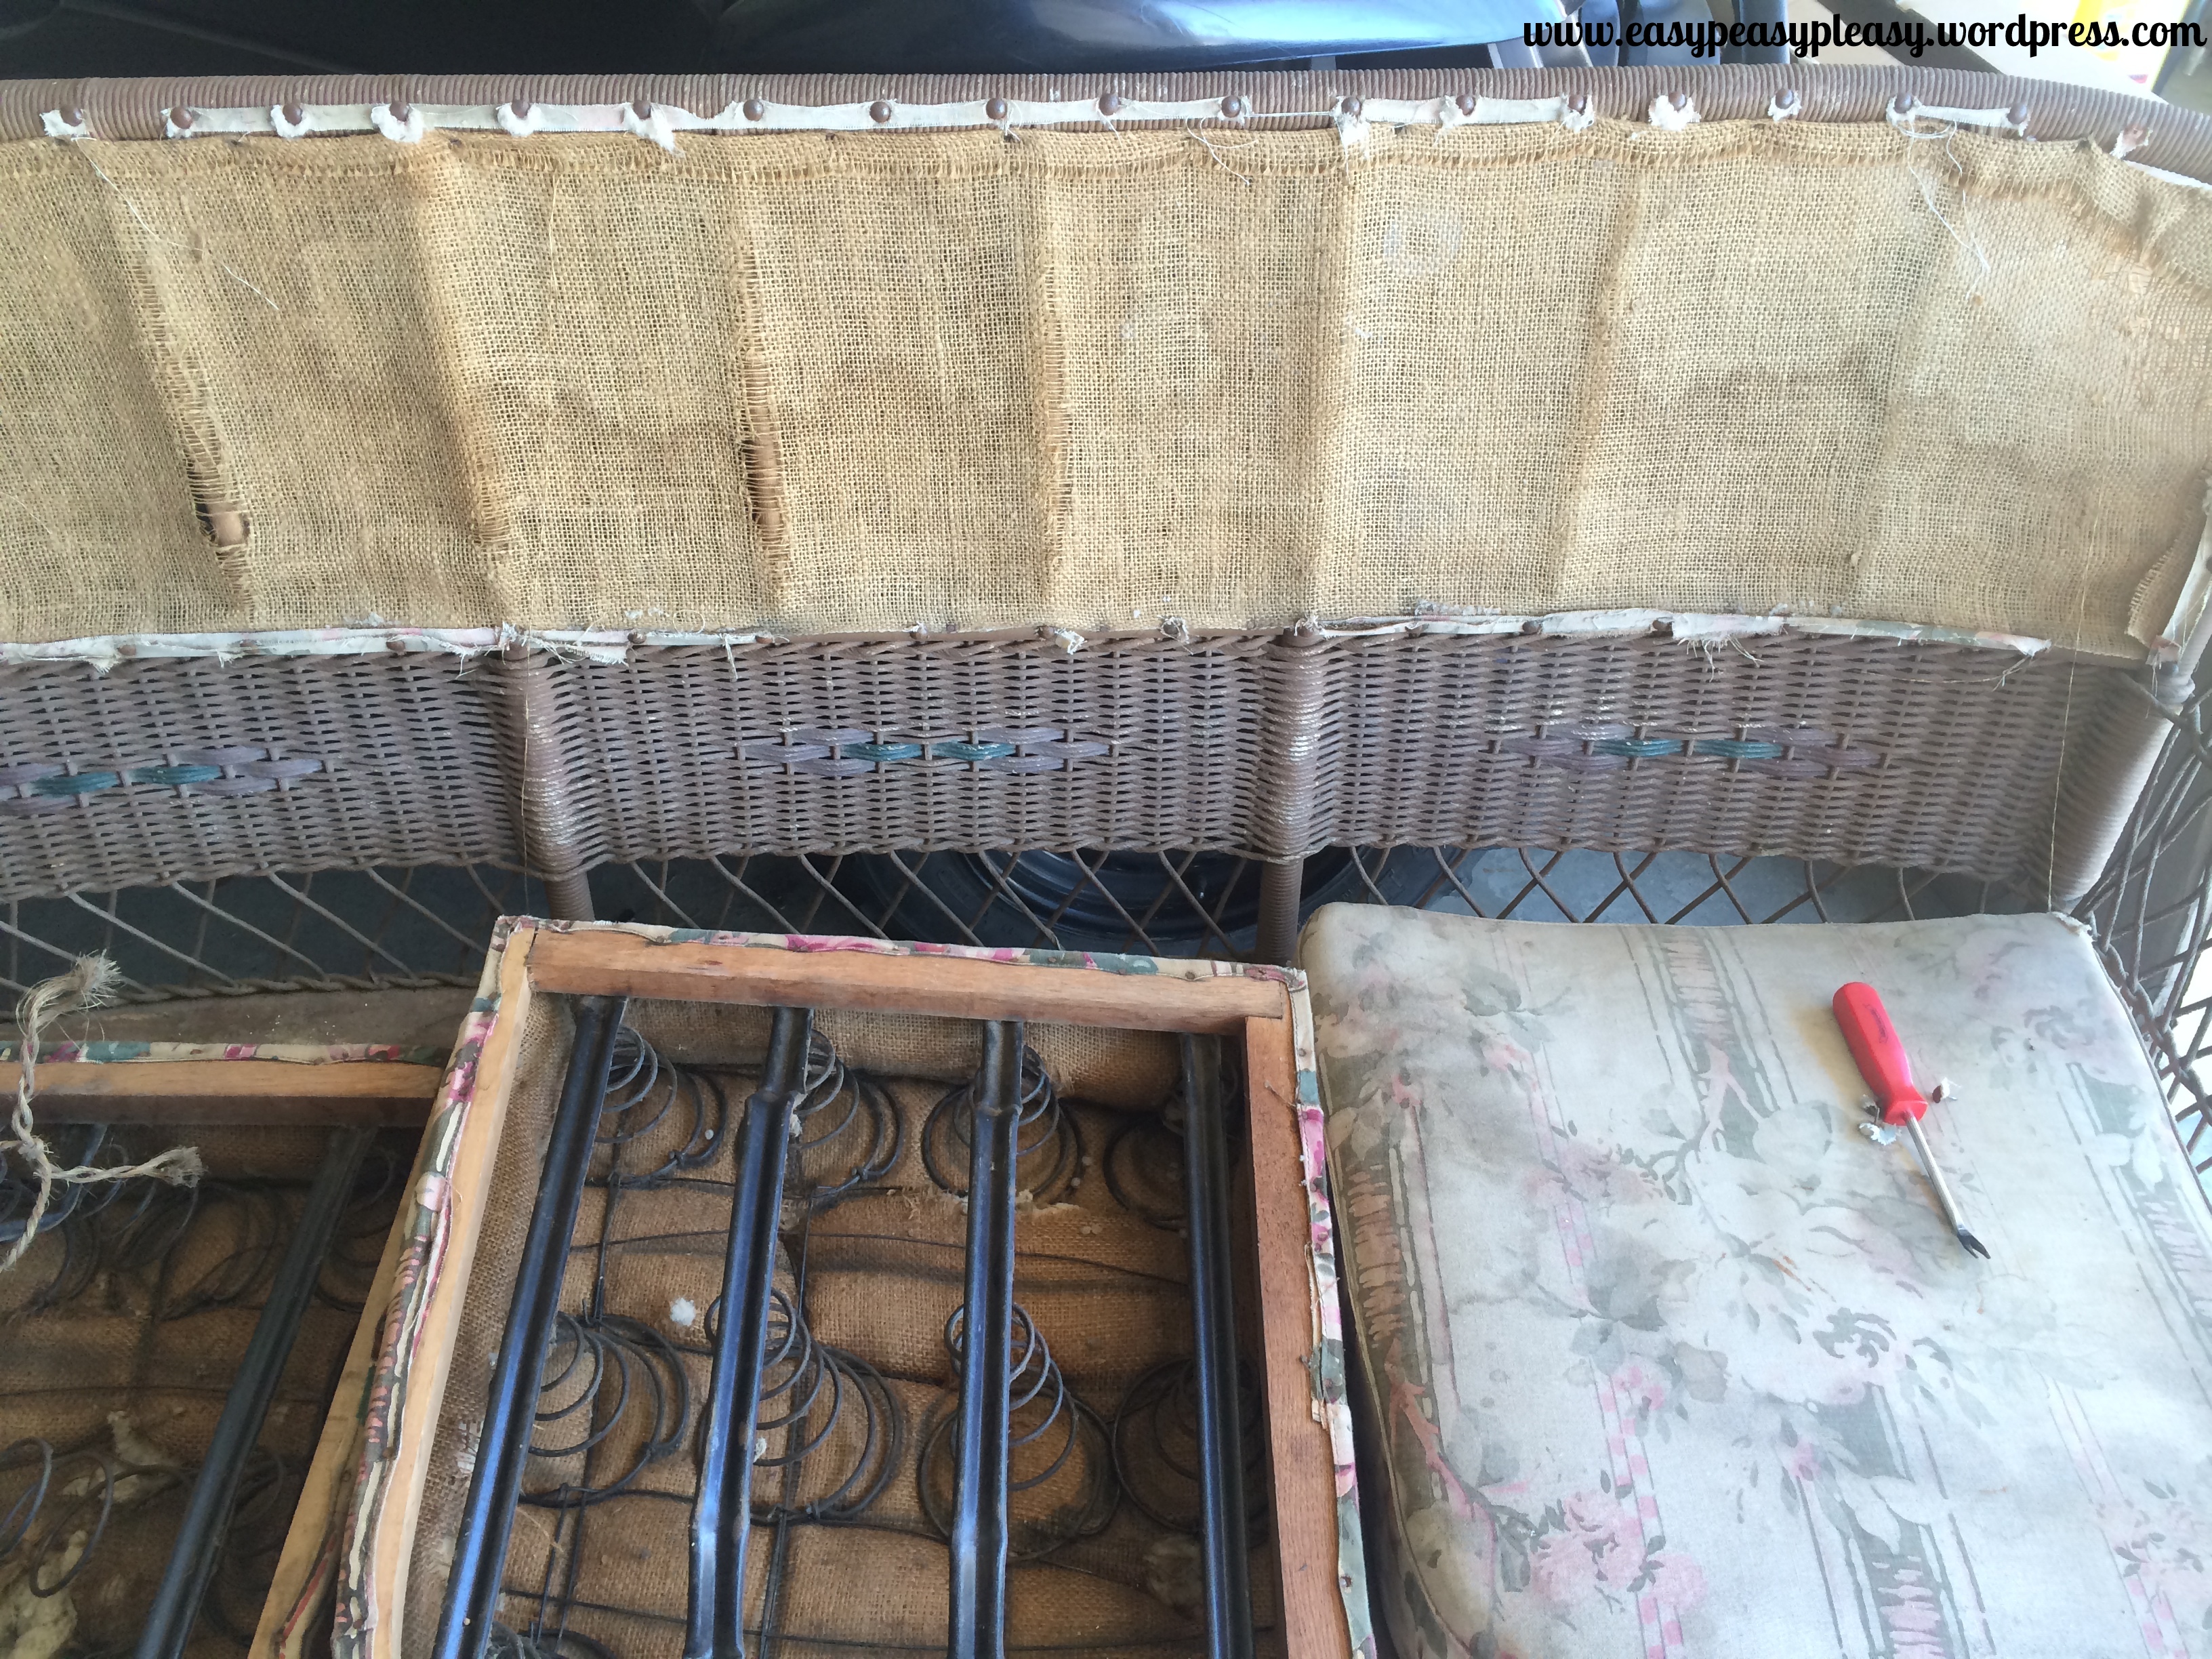
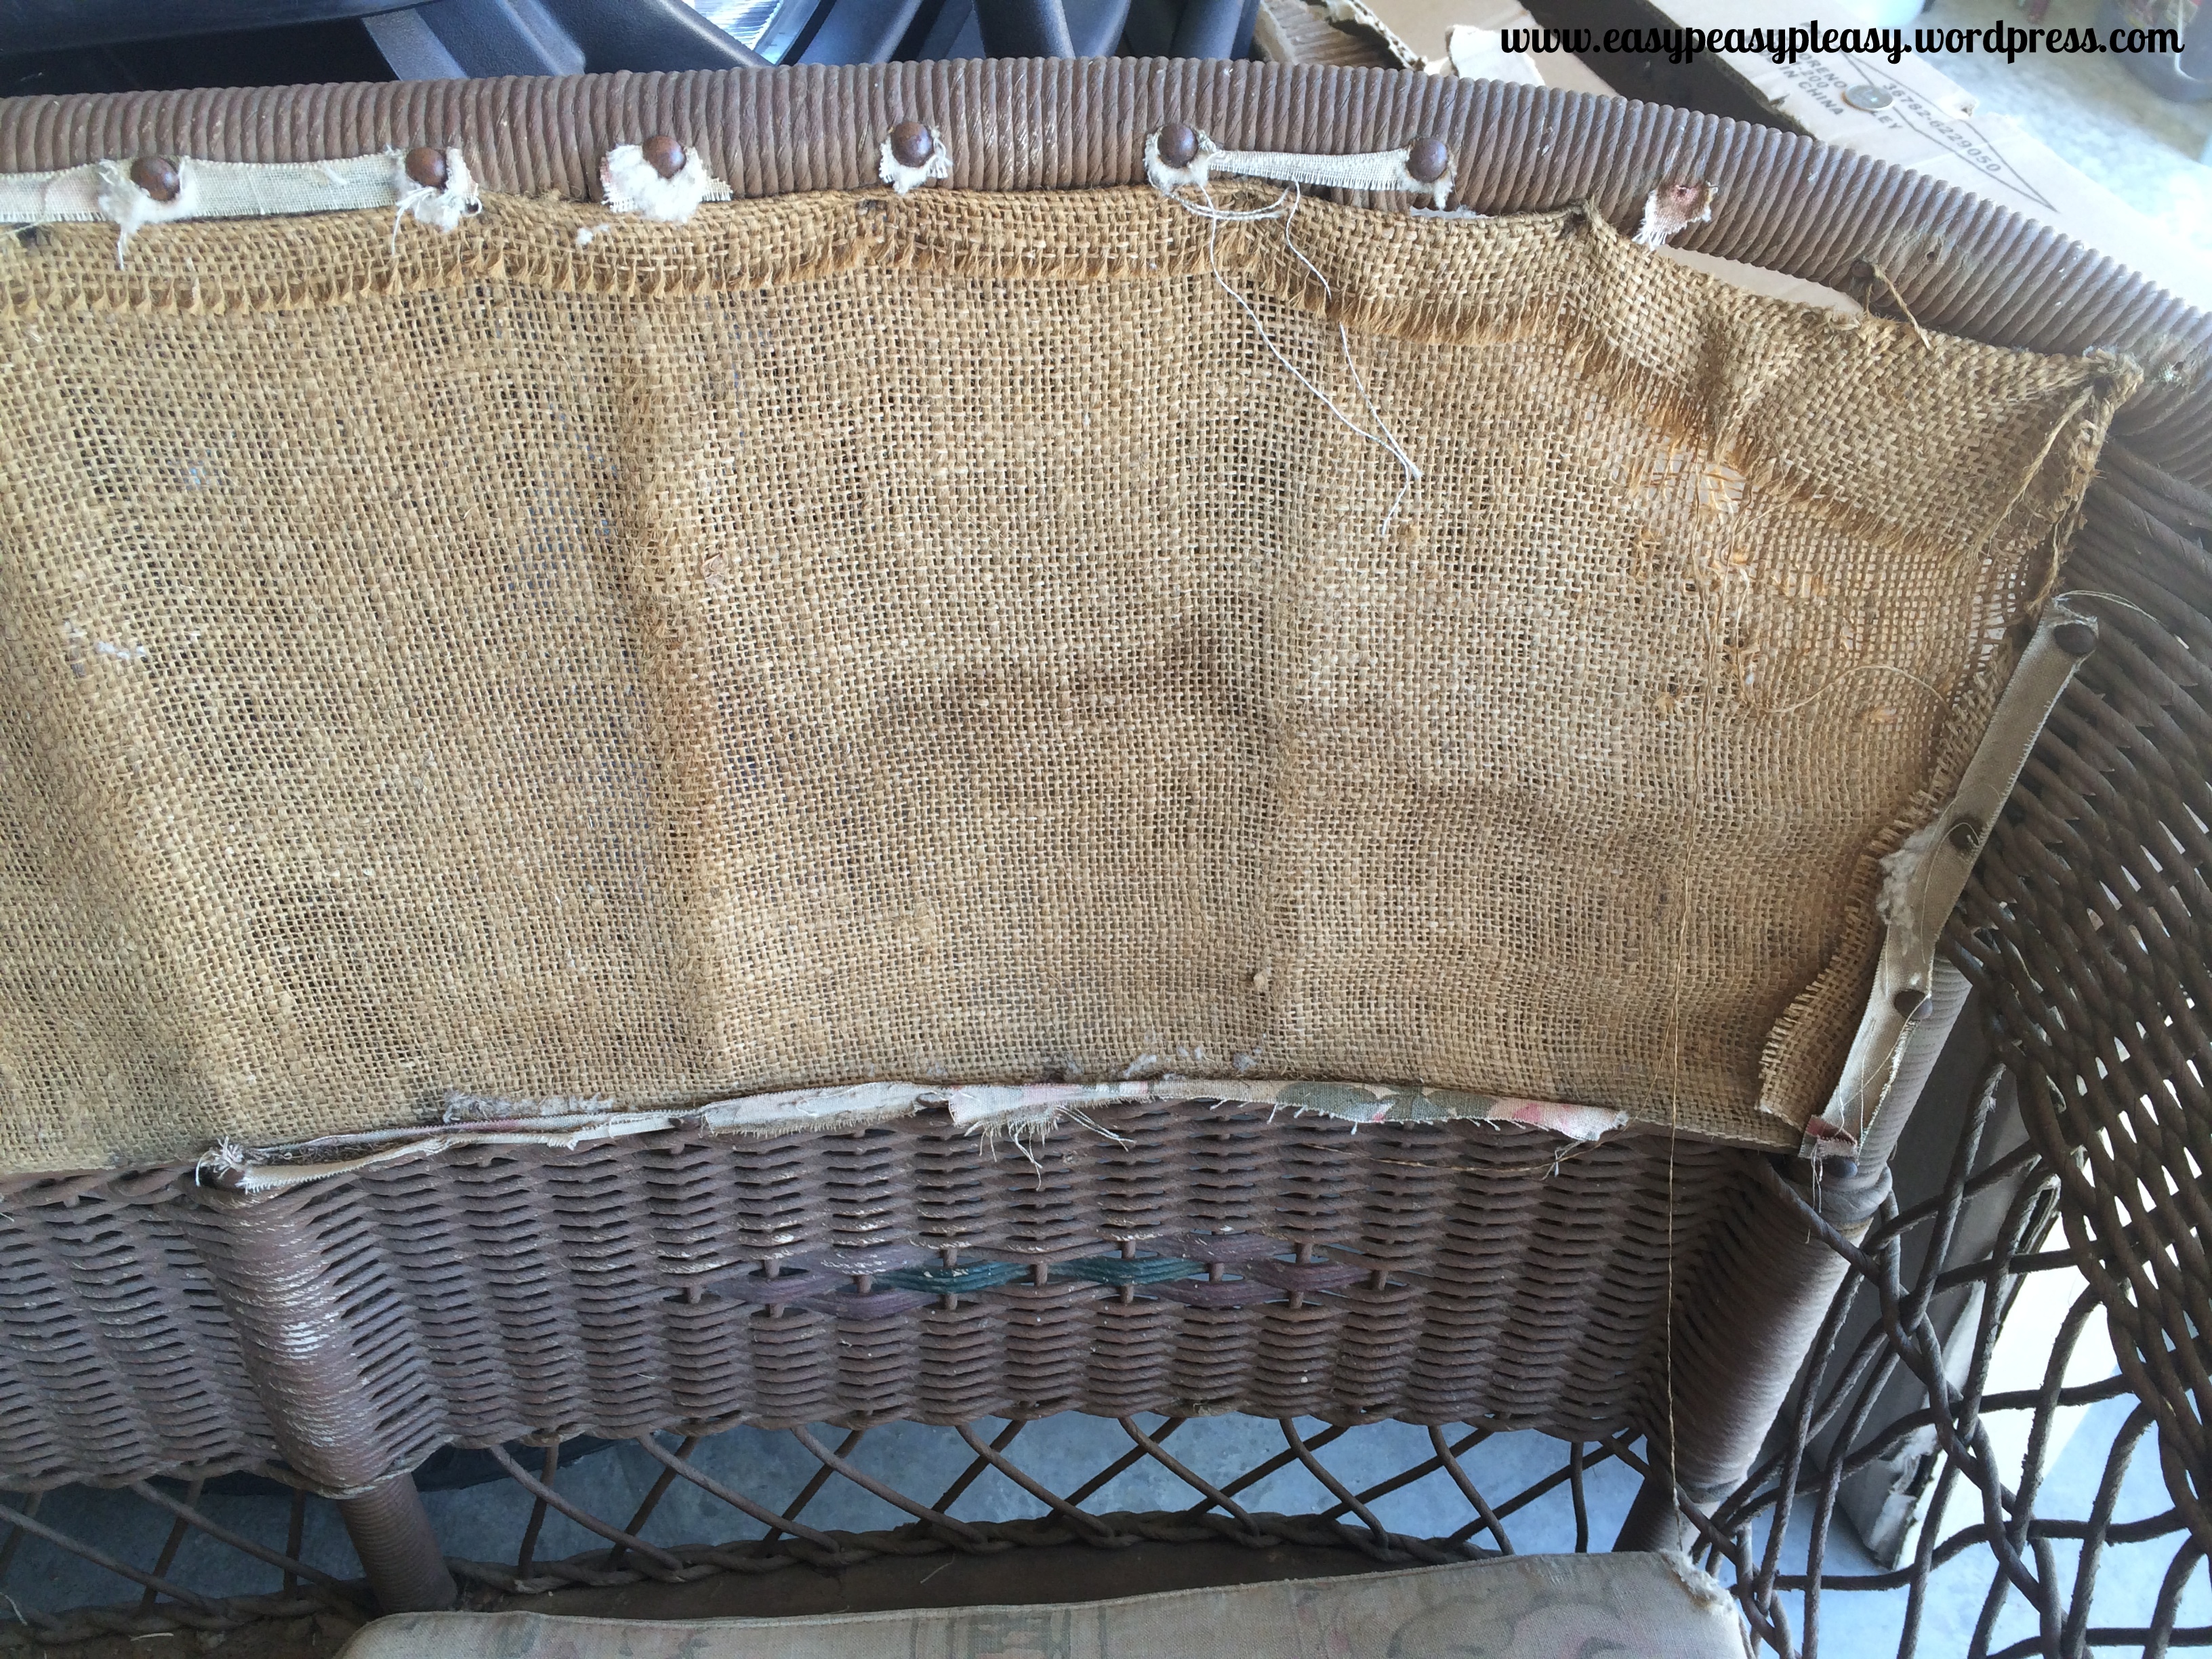
I was told that there was fabric and some unusual cushioning on the back that resembled horse hair.
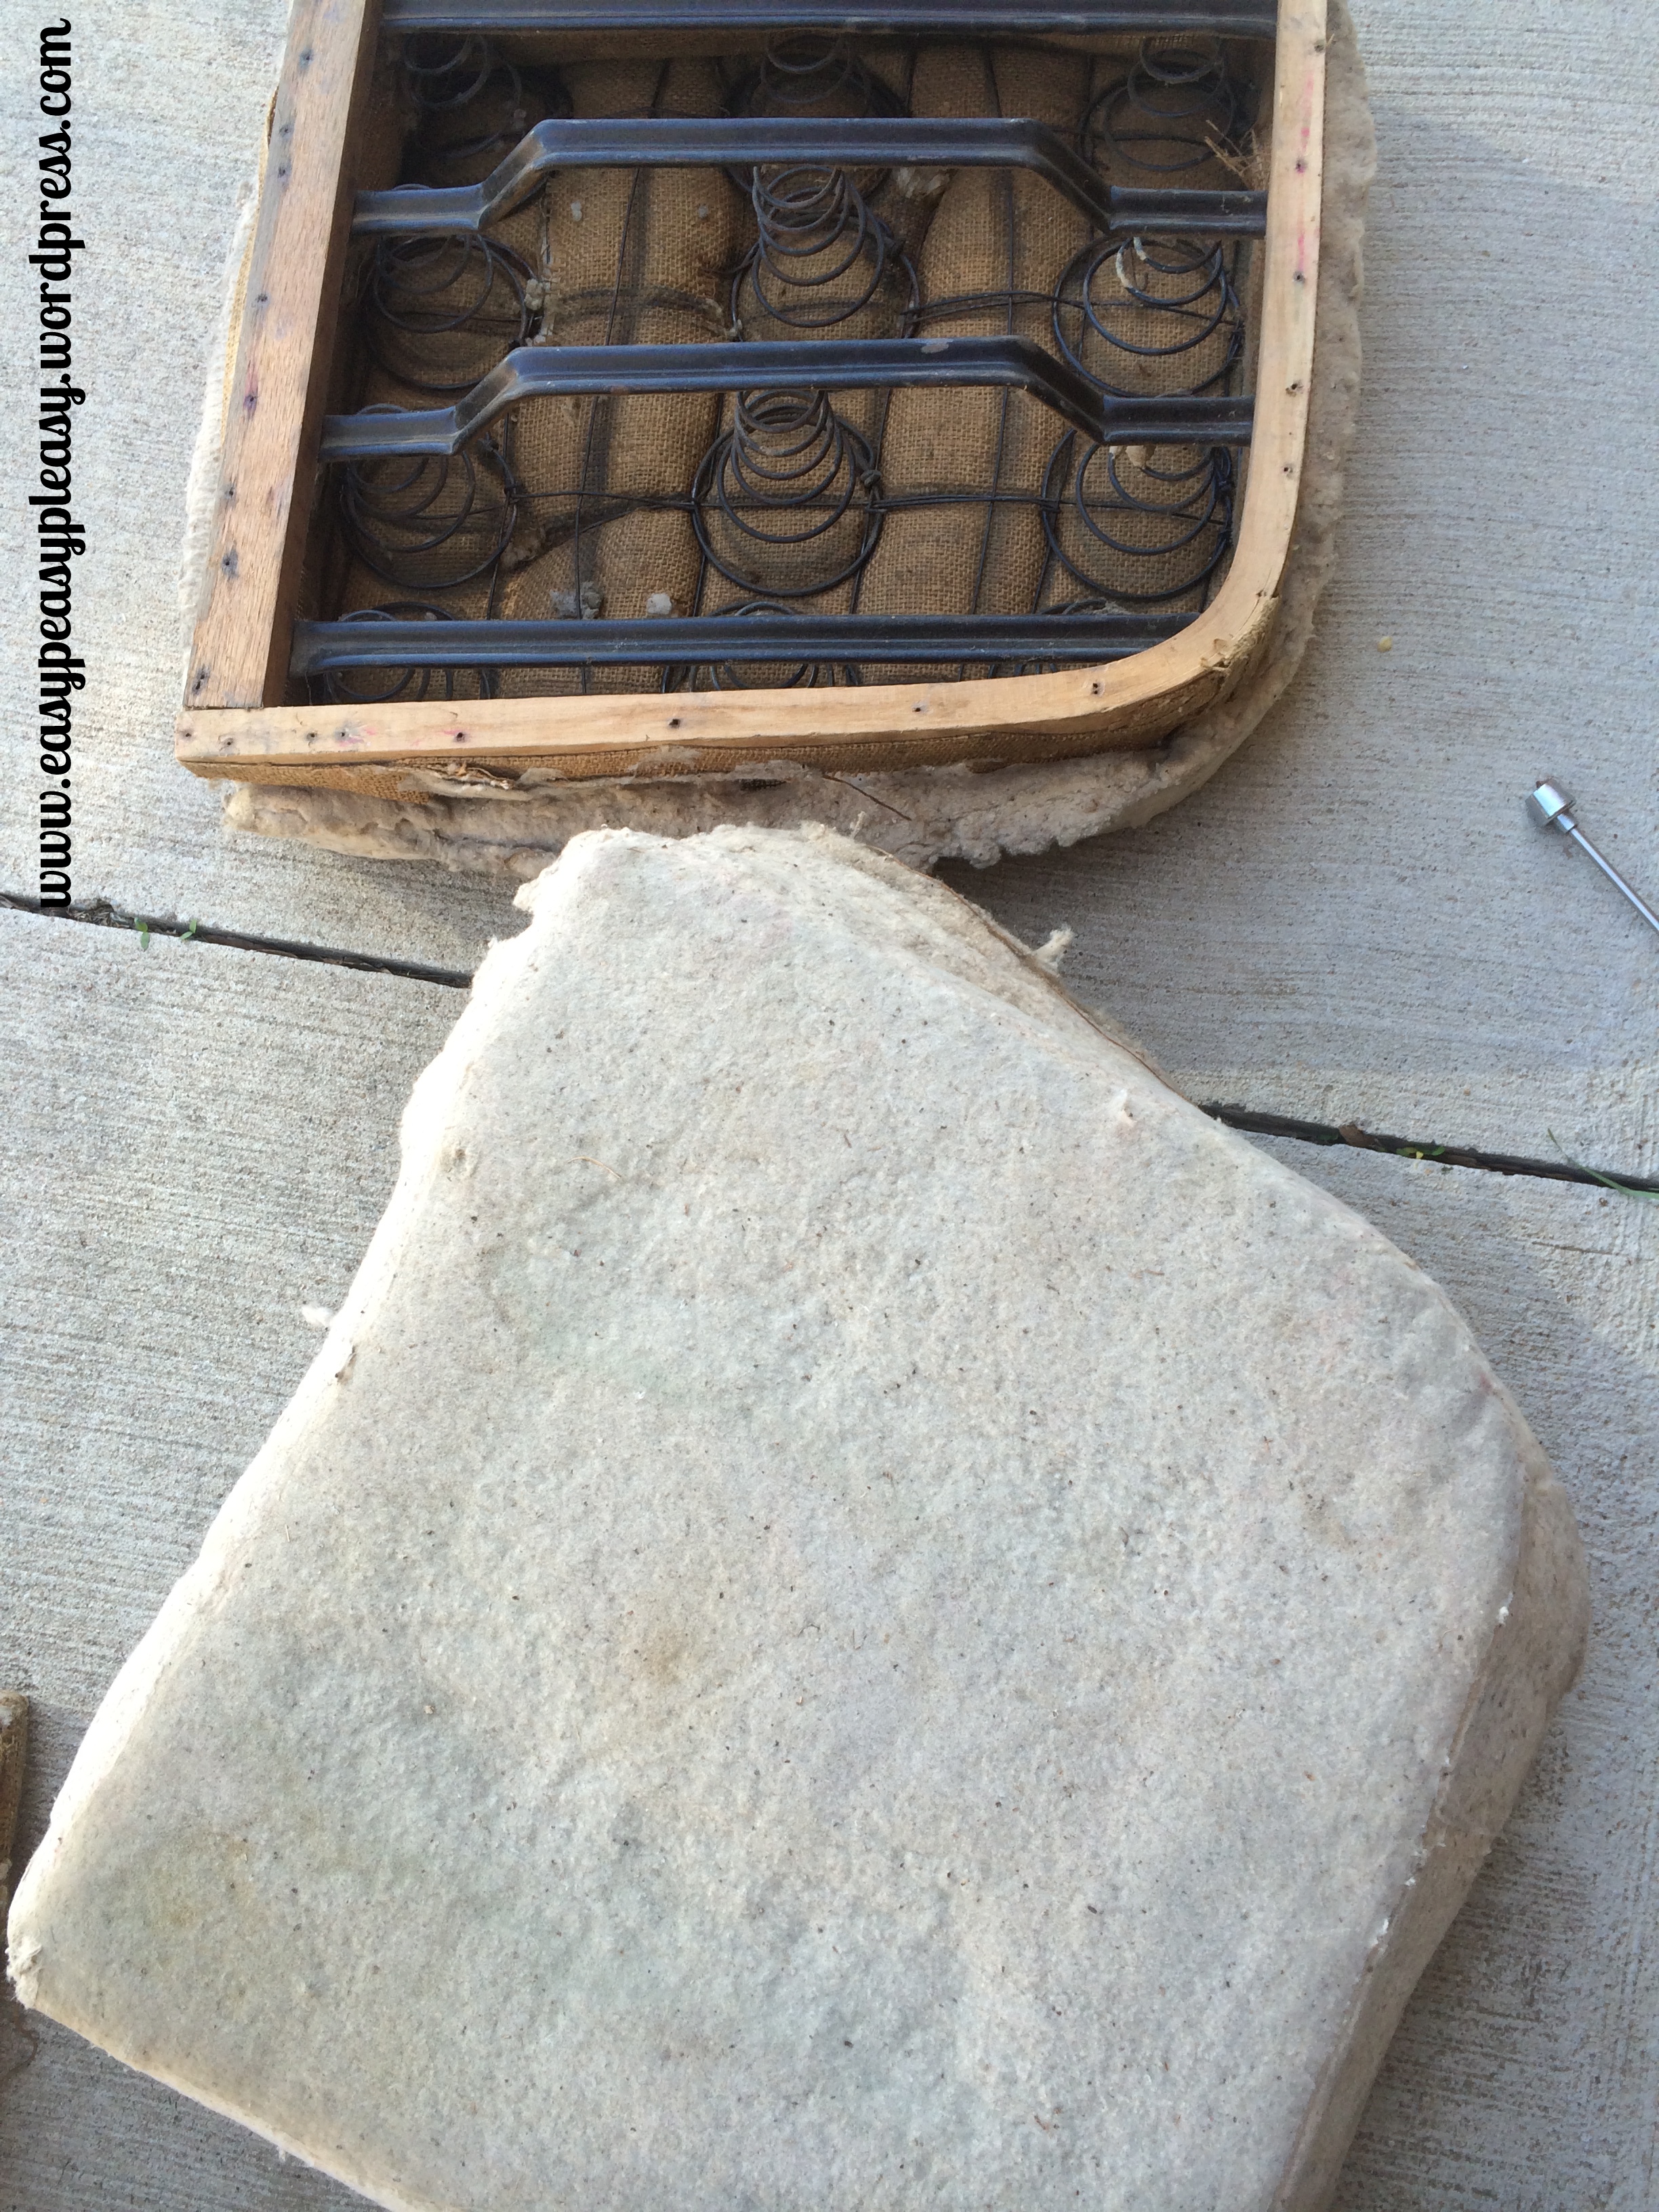
Now onto the nitty gritty. Time to take this apart to get to the bones of the piece. I started by taking the fabric off of the seats. Once I took the fabric off of the seat there was a thin layer of old old old batting.
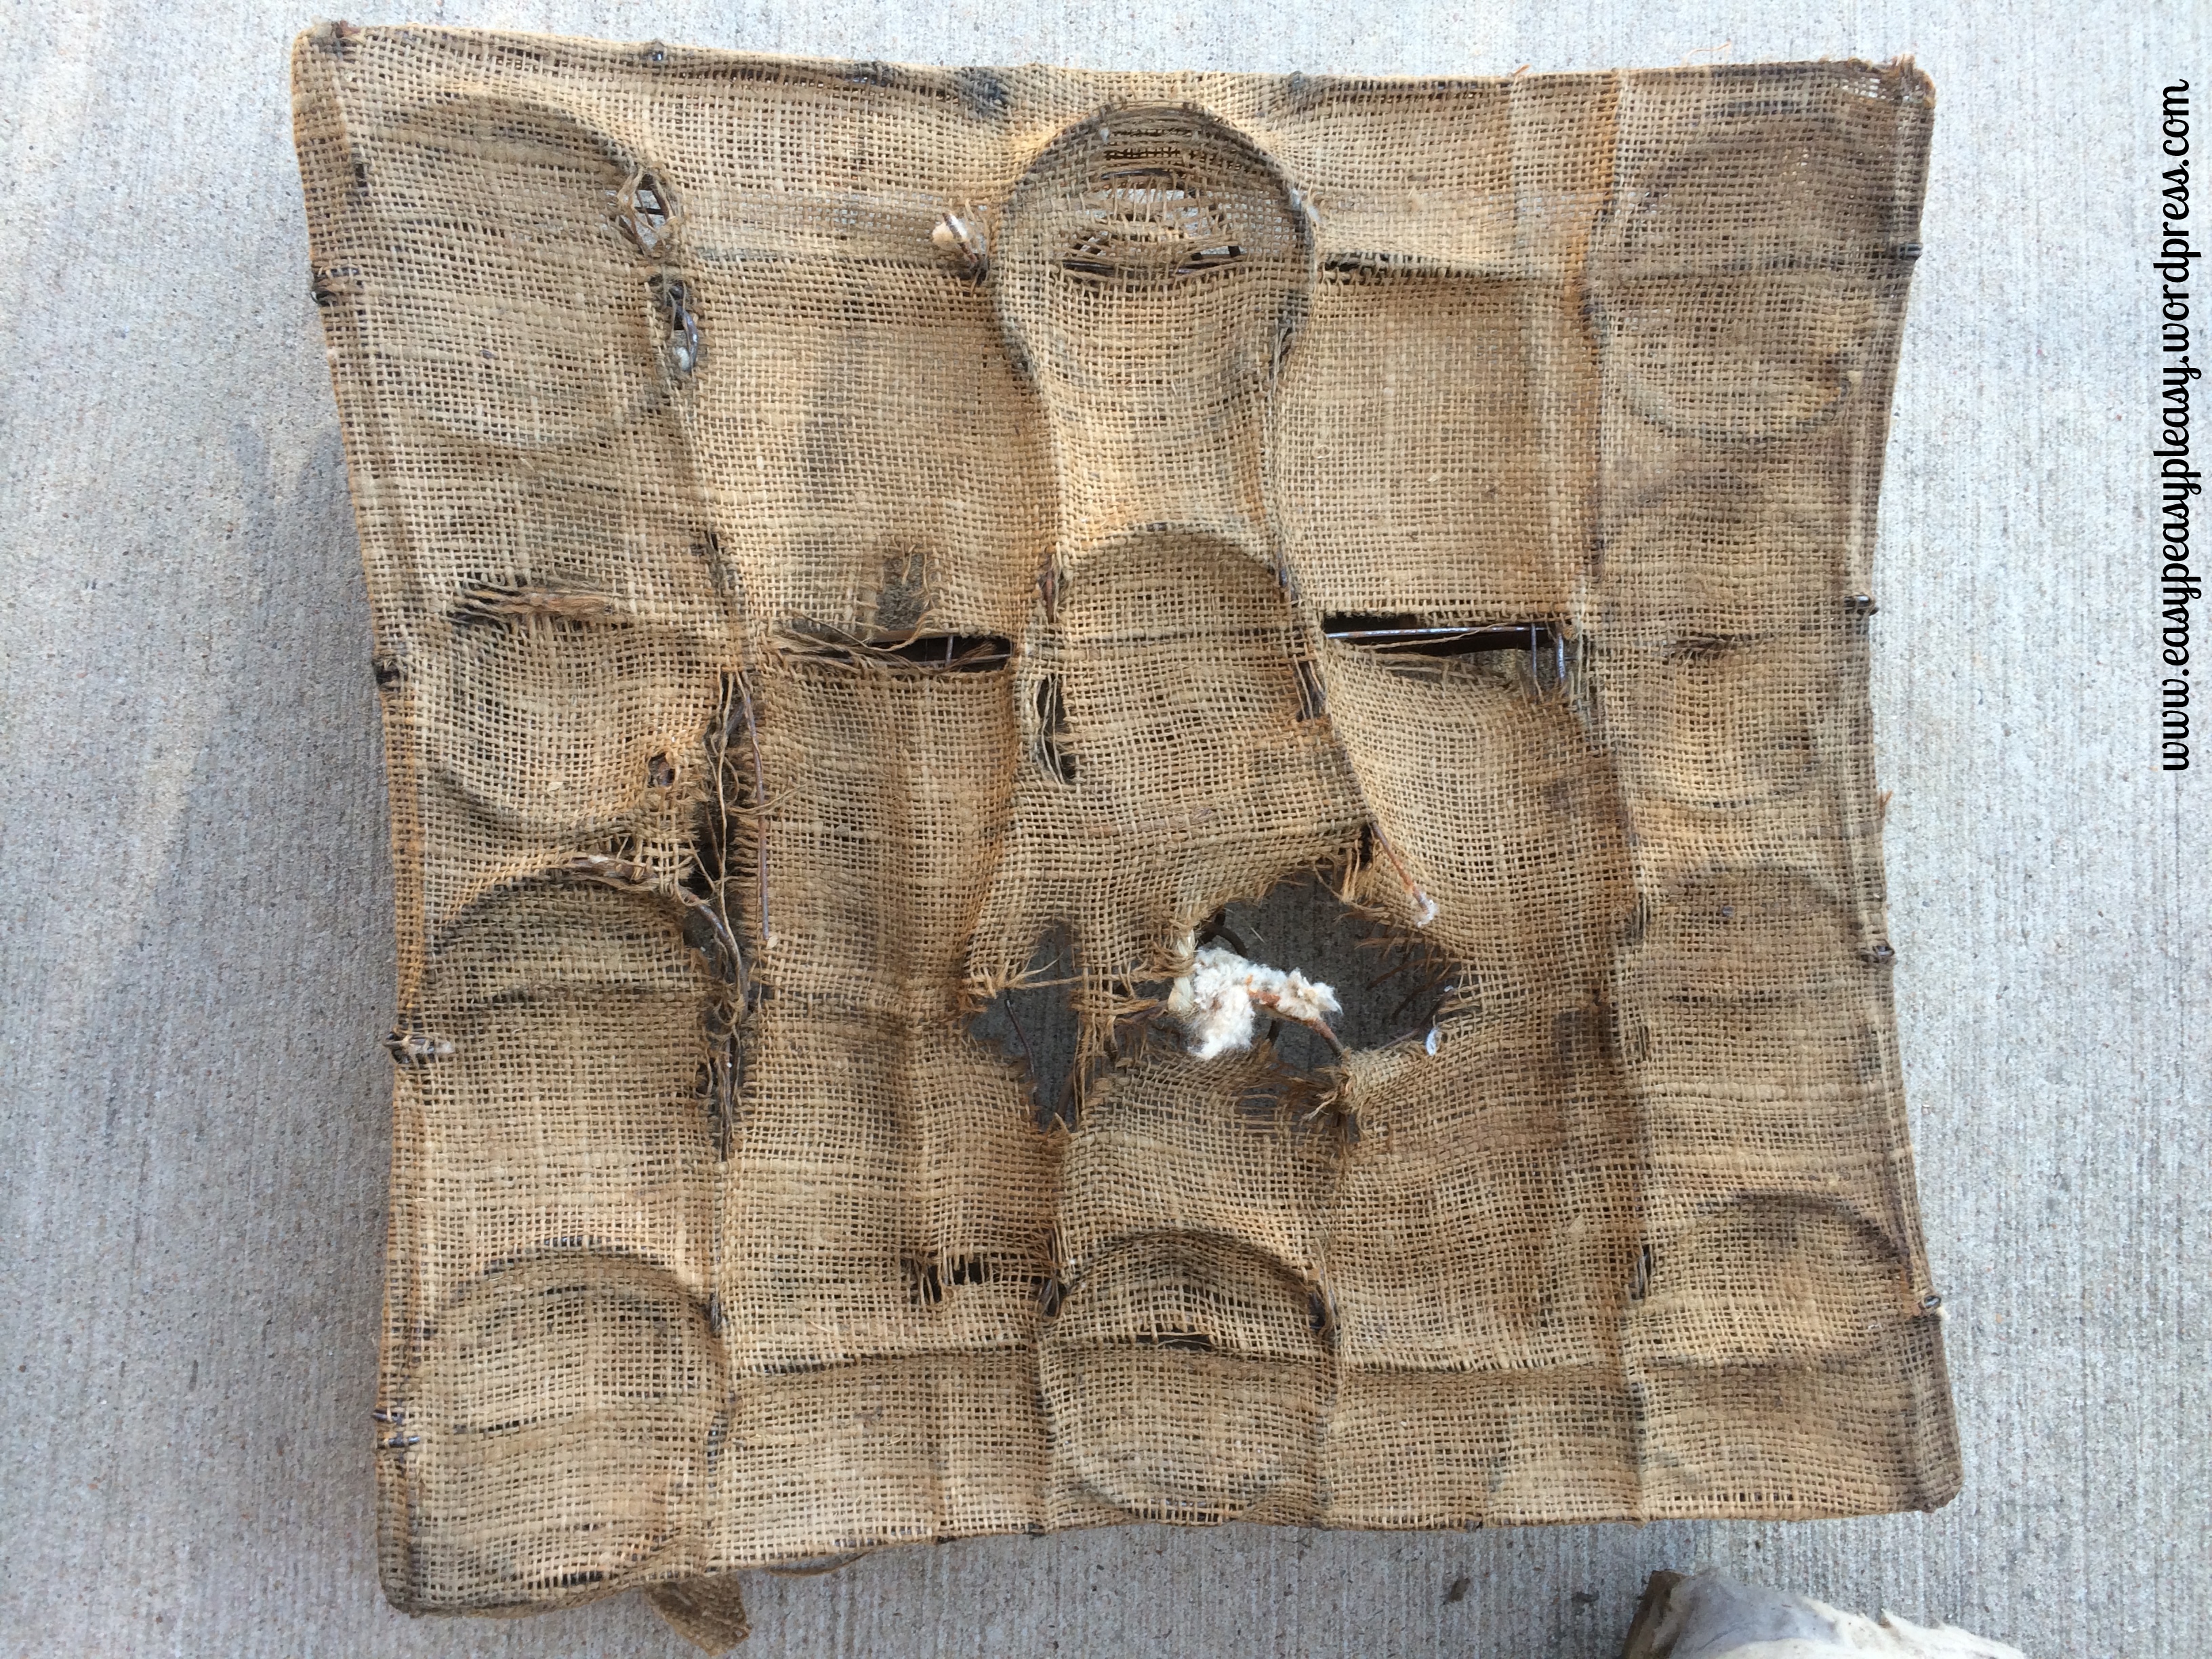
Then there was burlap.
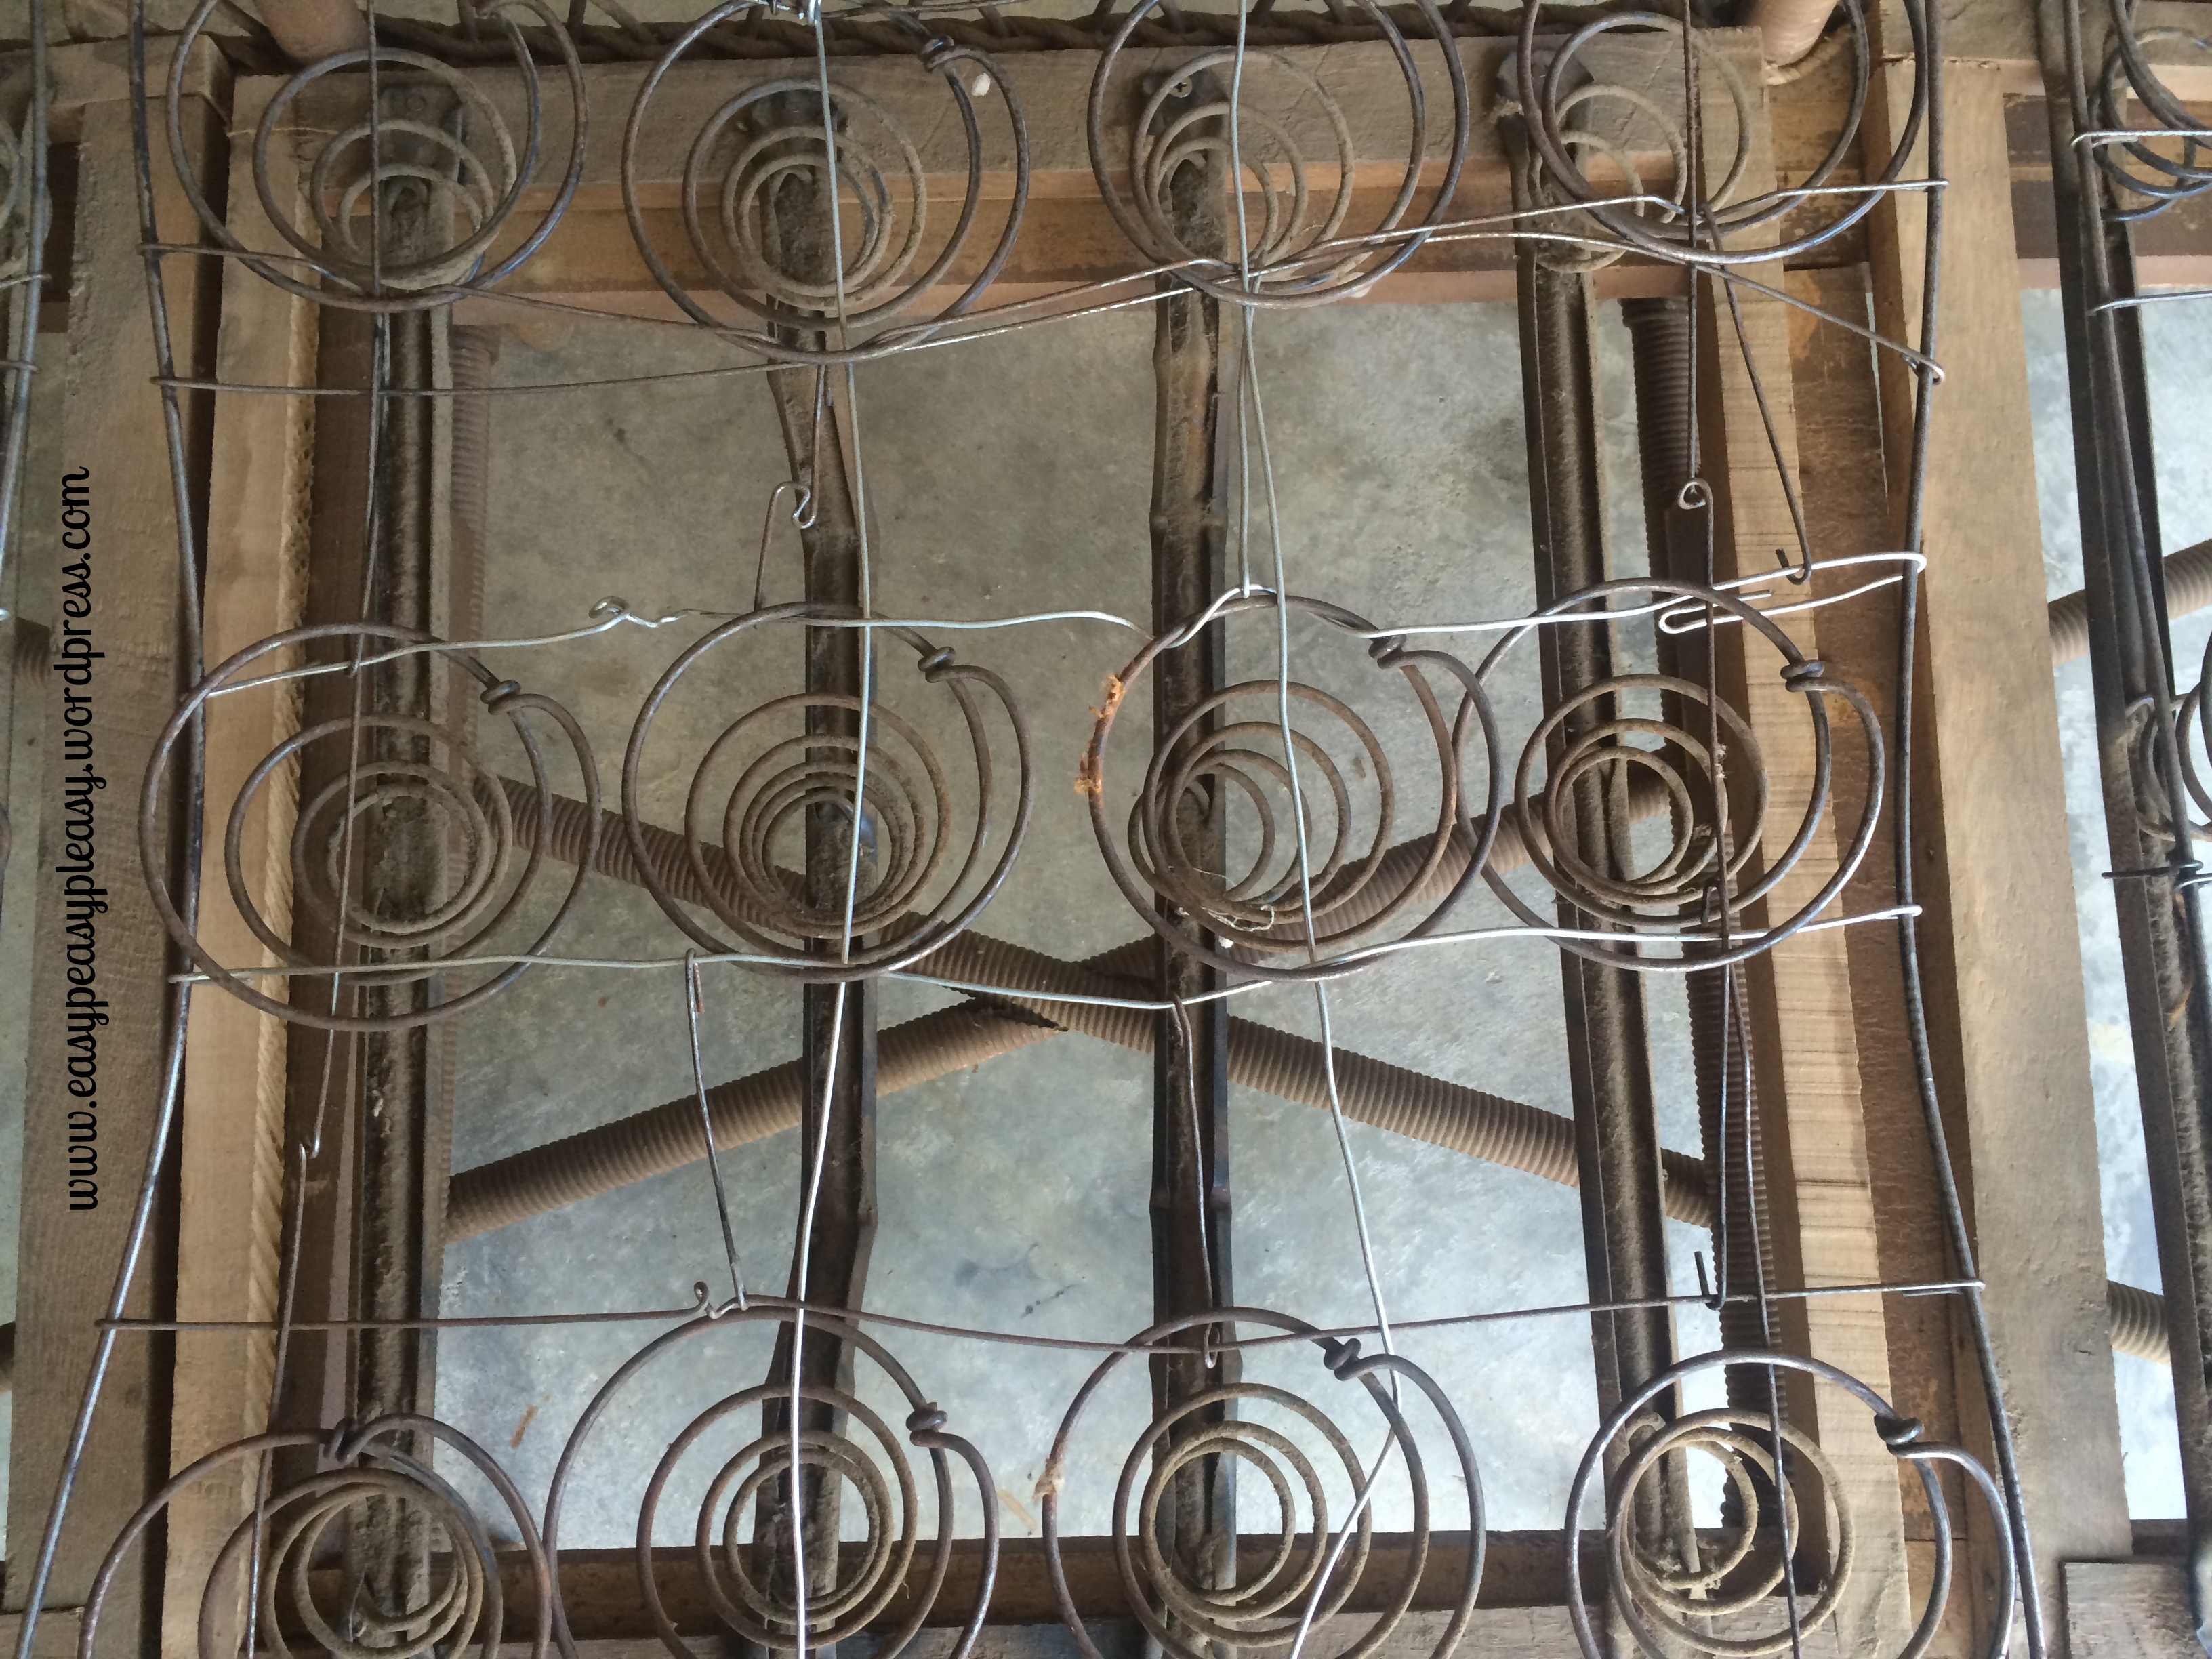
Finally, it’s down to the springs.
You can see in the picture some of the wires are busted and will have to be repaired.
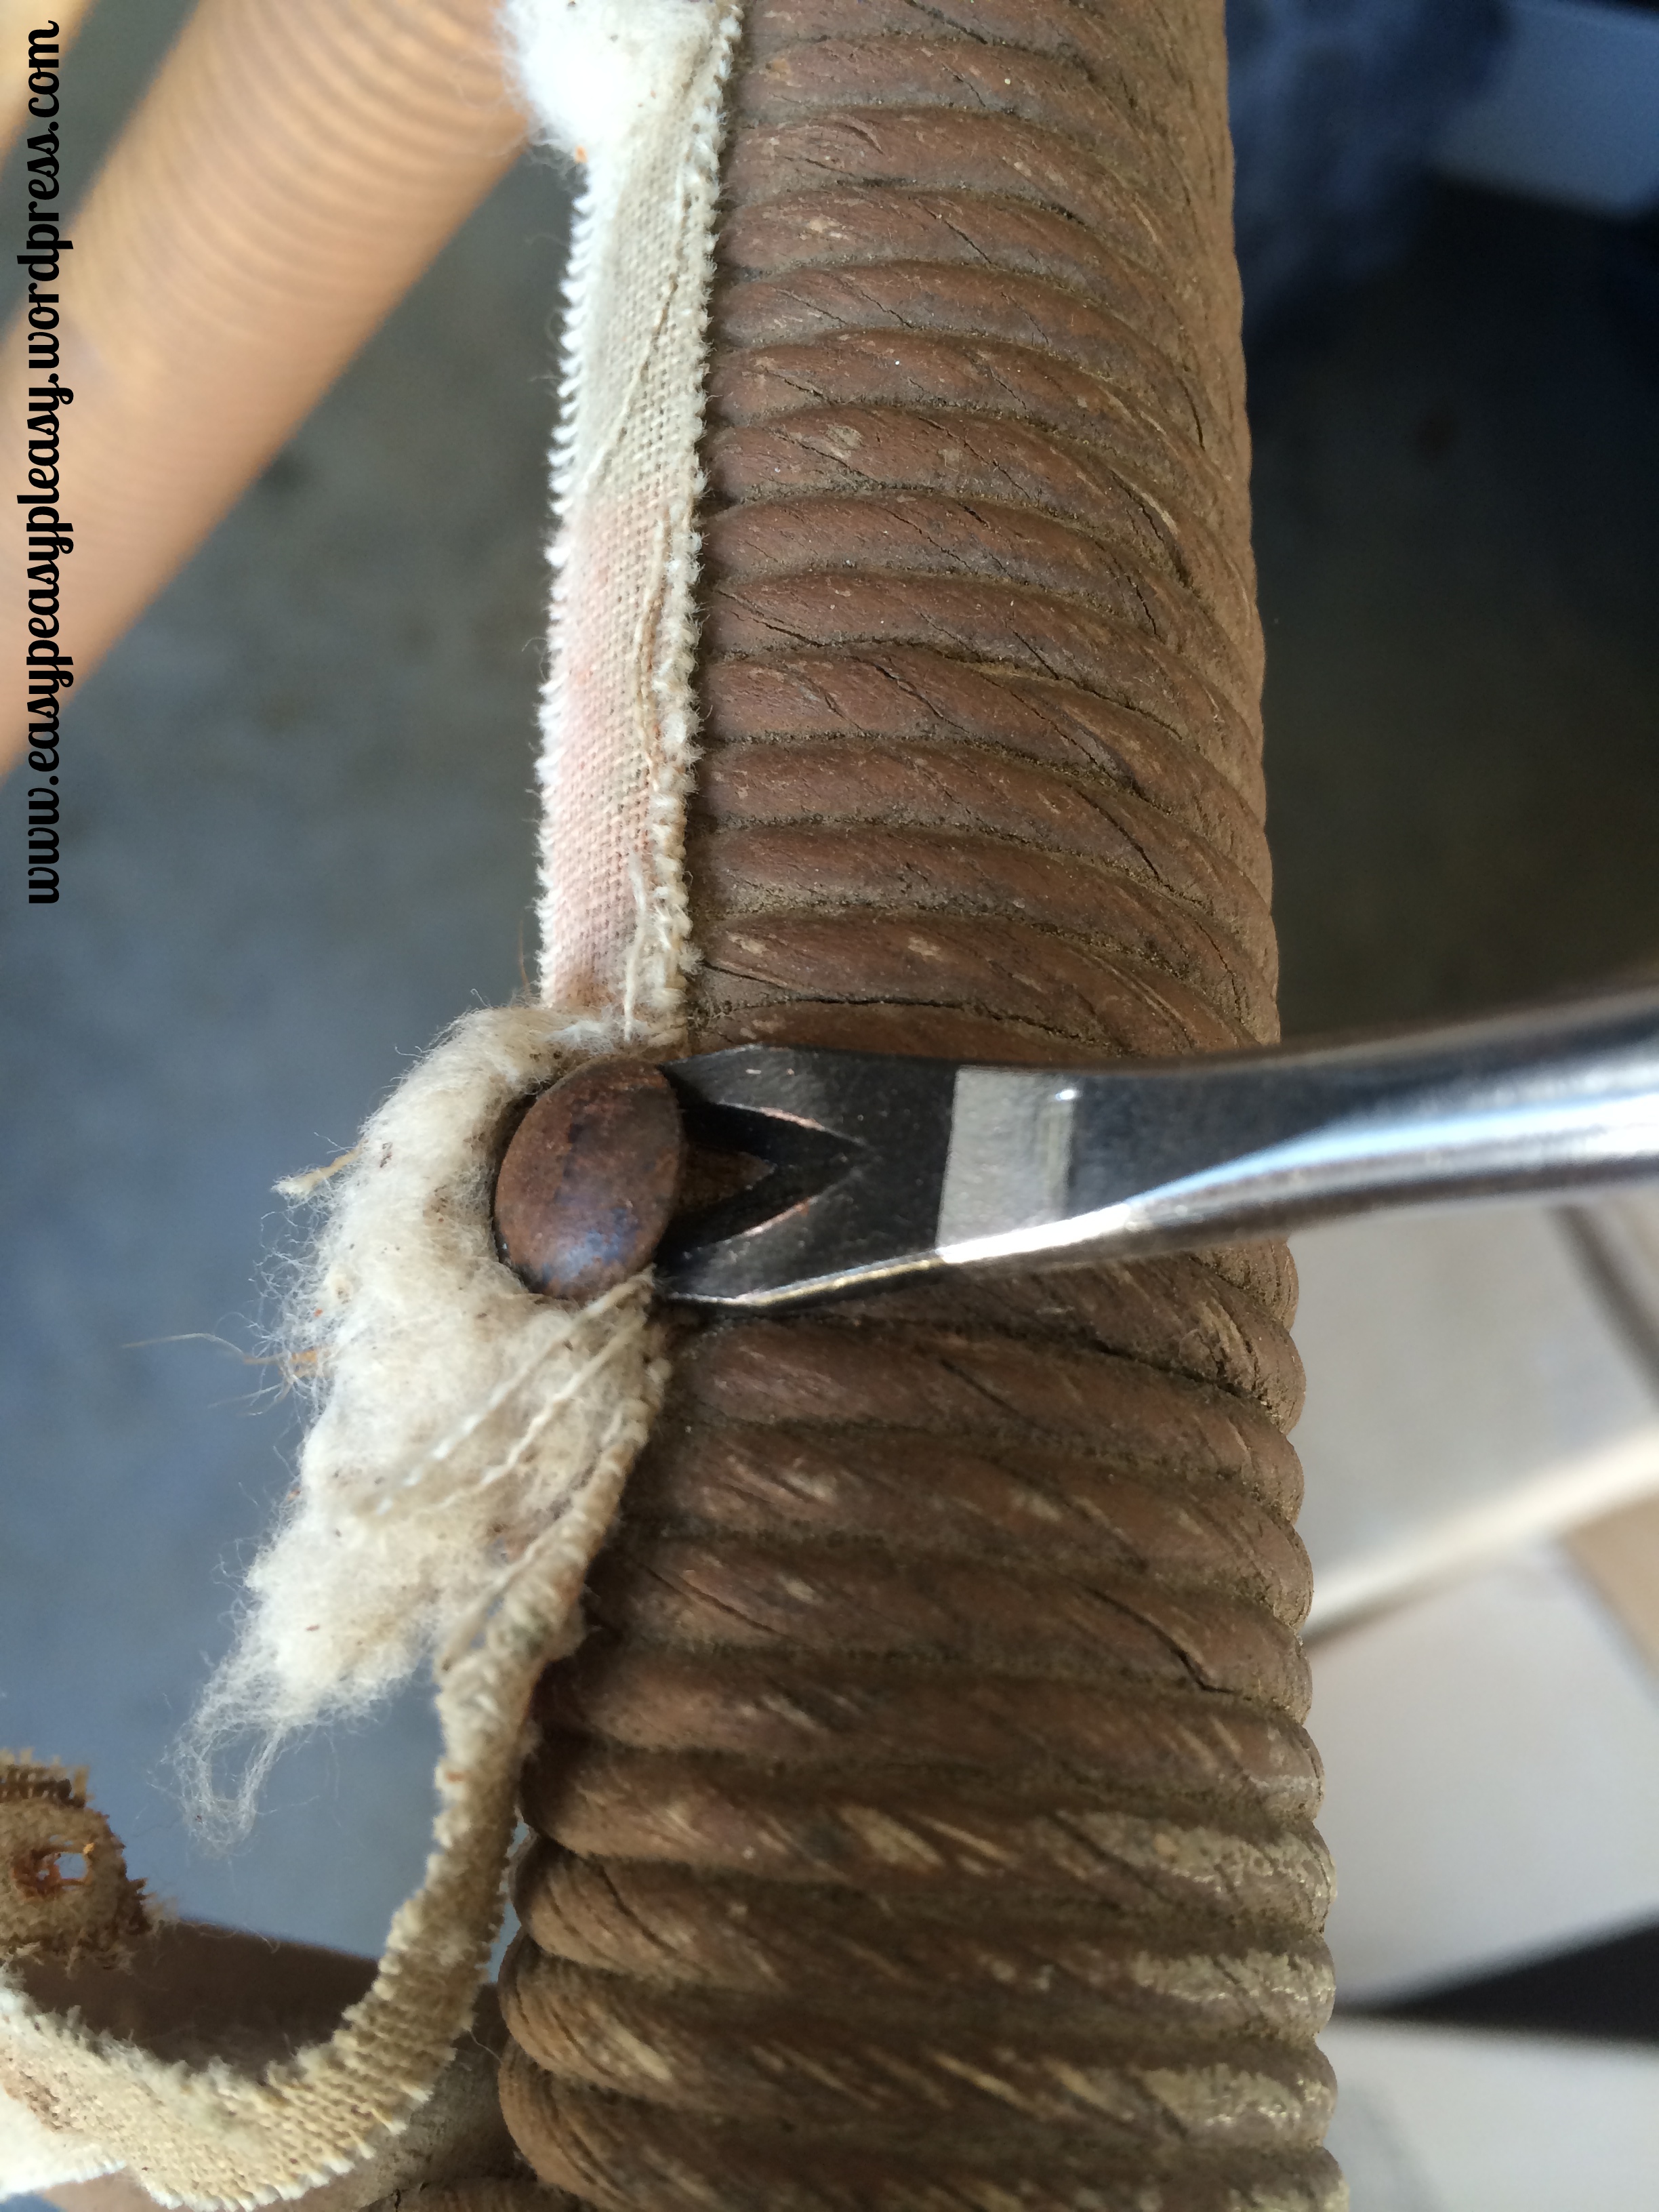
Talk about a ton of tacks to pull out of everything. Each and every layer was full of tacks. You have to remove every last one so your new staples and tacks have a place to go.
My husband had this handy dandy little tack remover tool and it worked like a charm. I would totally recommend just up and purchasing one if you are attempting to remove upholstery tacks.
Now that all the old has been torn off and we are down to the bones, the repair work must begin.
Thank goodness for my hubby! He repaired all the wires and secured the bars on the bottom. He just followed the unbroken wires to fix the broken ones. After the repair work was done I got down to building the seats back up.
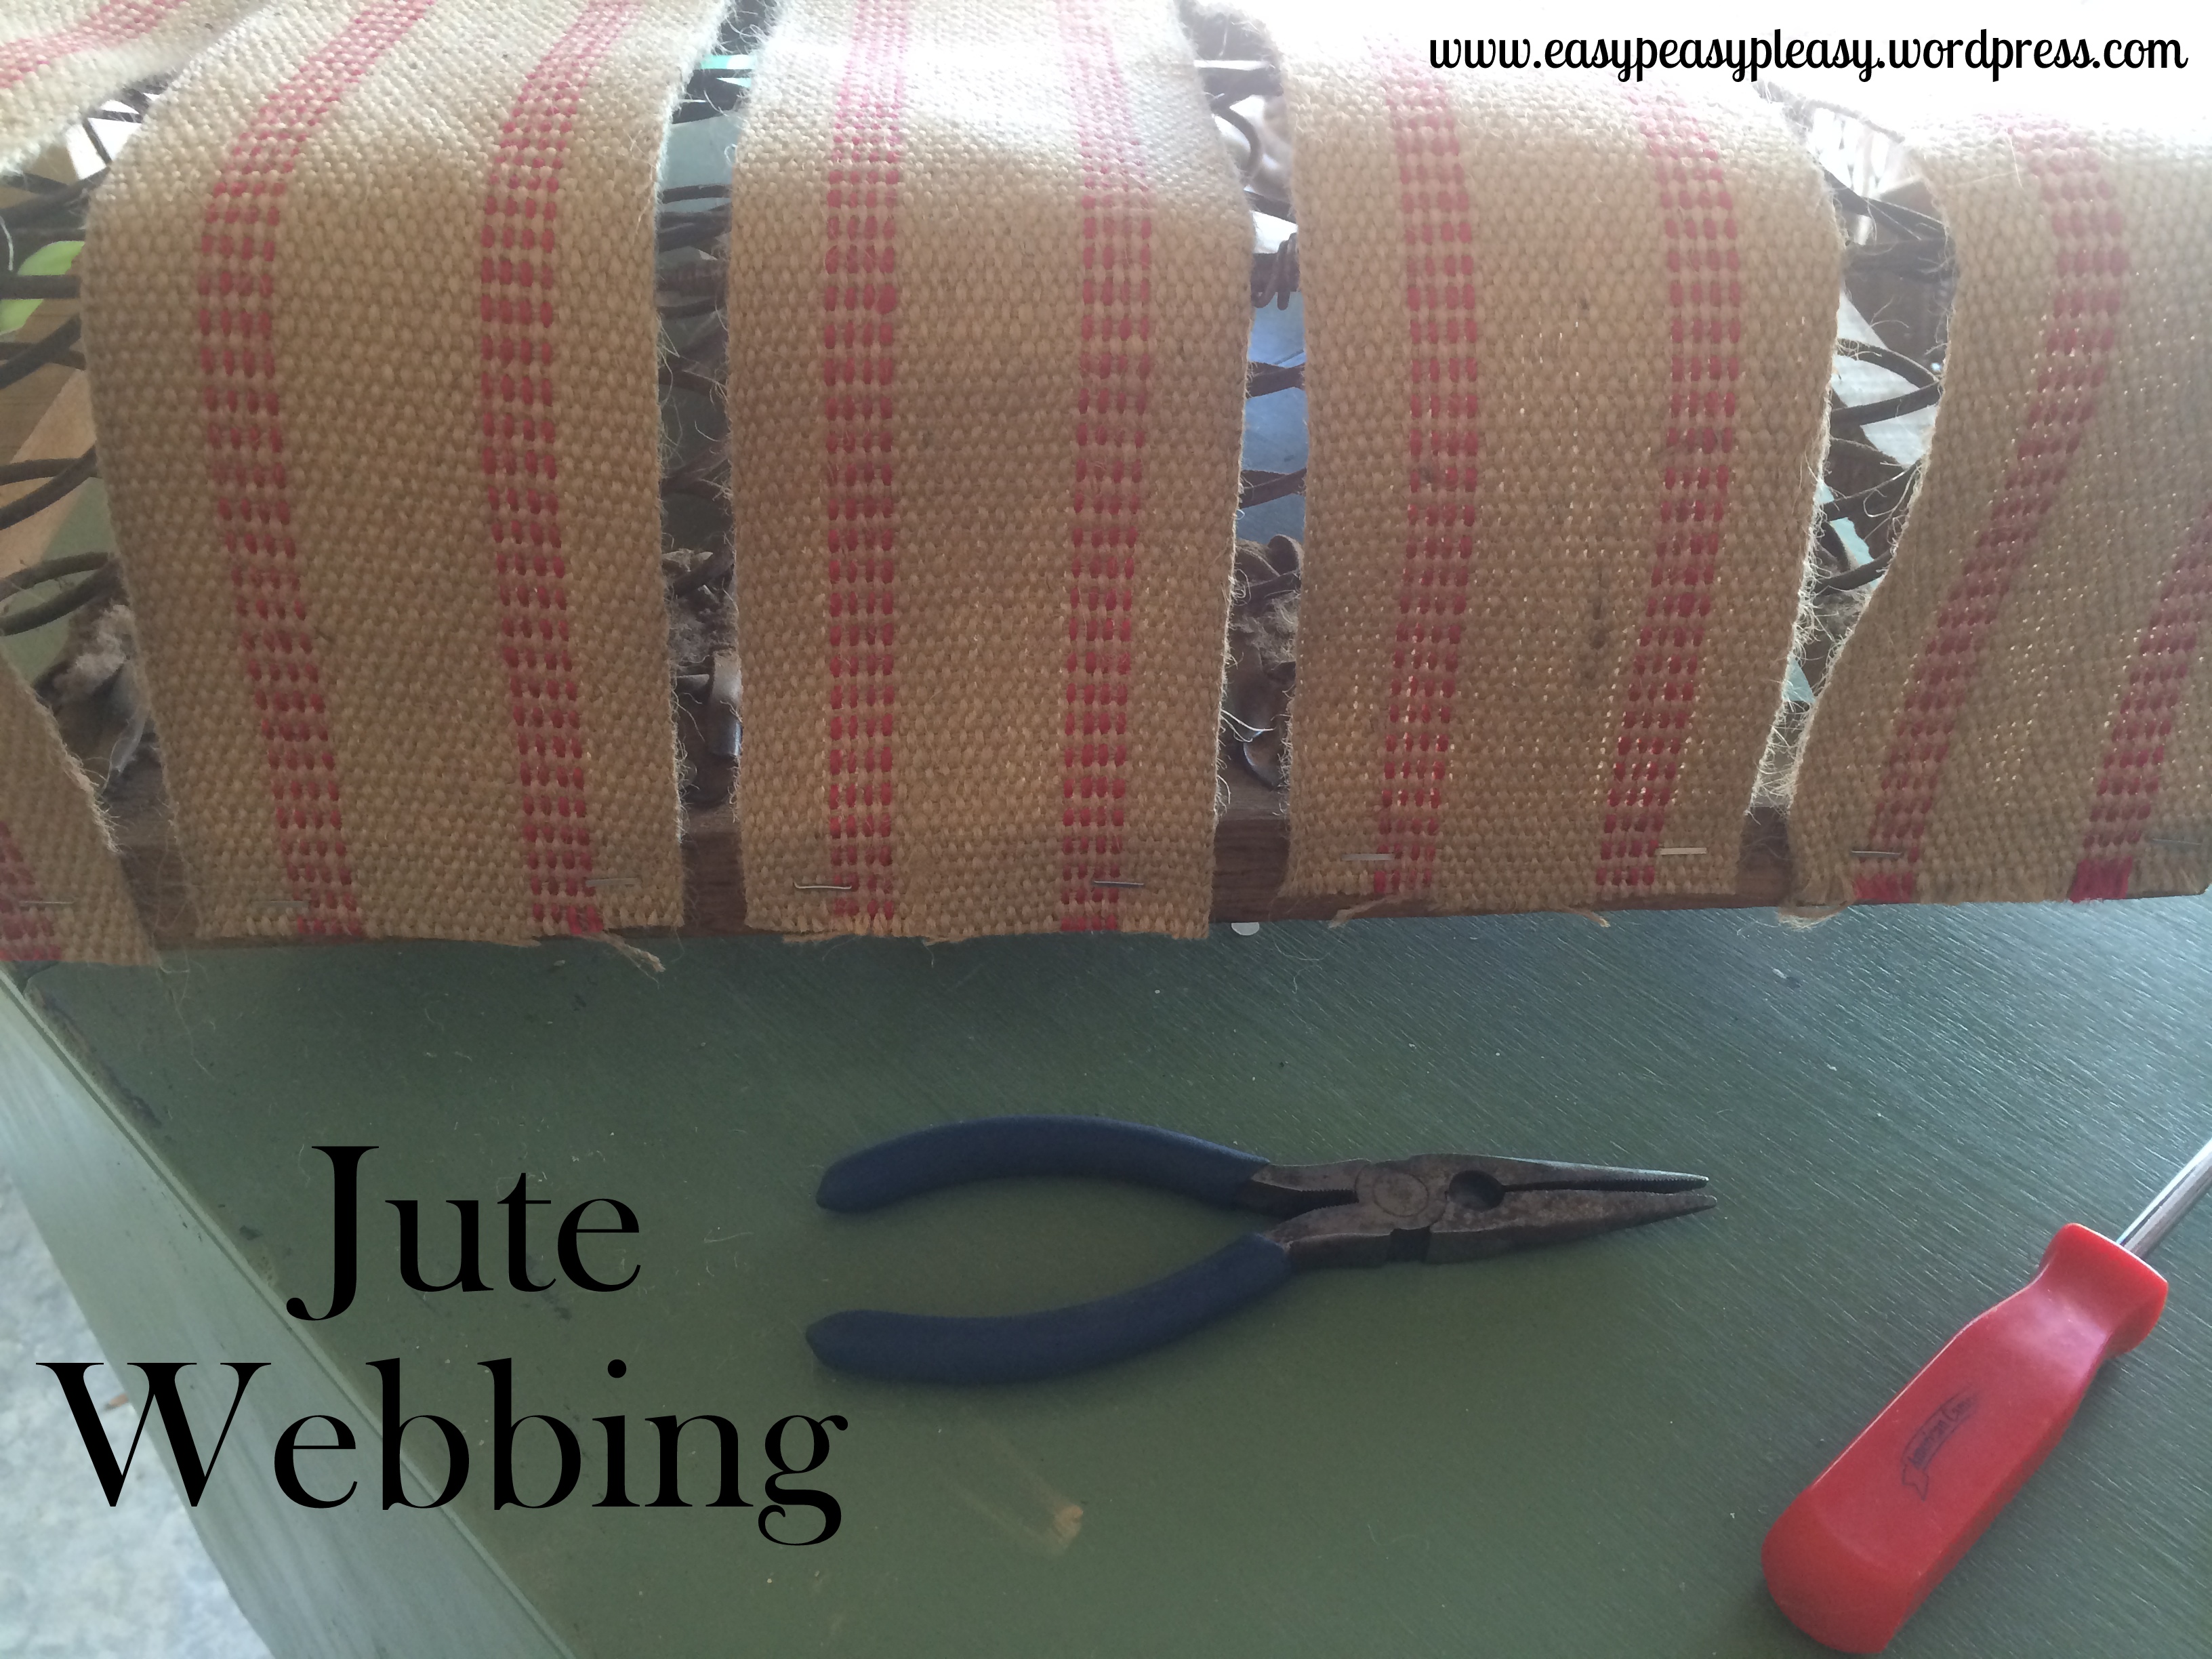
I knew I didn’t want to use burlap again because it is just to thin. I wanted something more stable just in case another wire happened to break in the future. I don’t know about you but I don’t want a wire poking me in the butt. I decided to go with Jute Webbing and to interweave it for added stability.
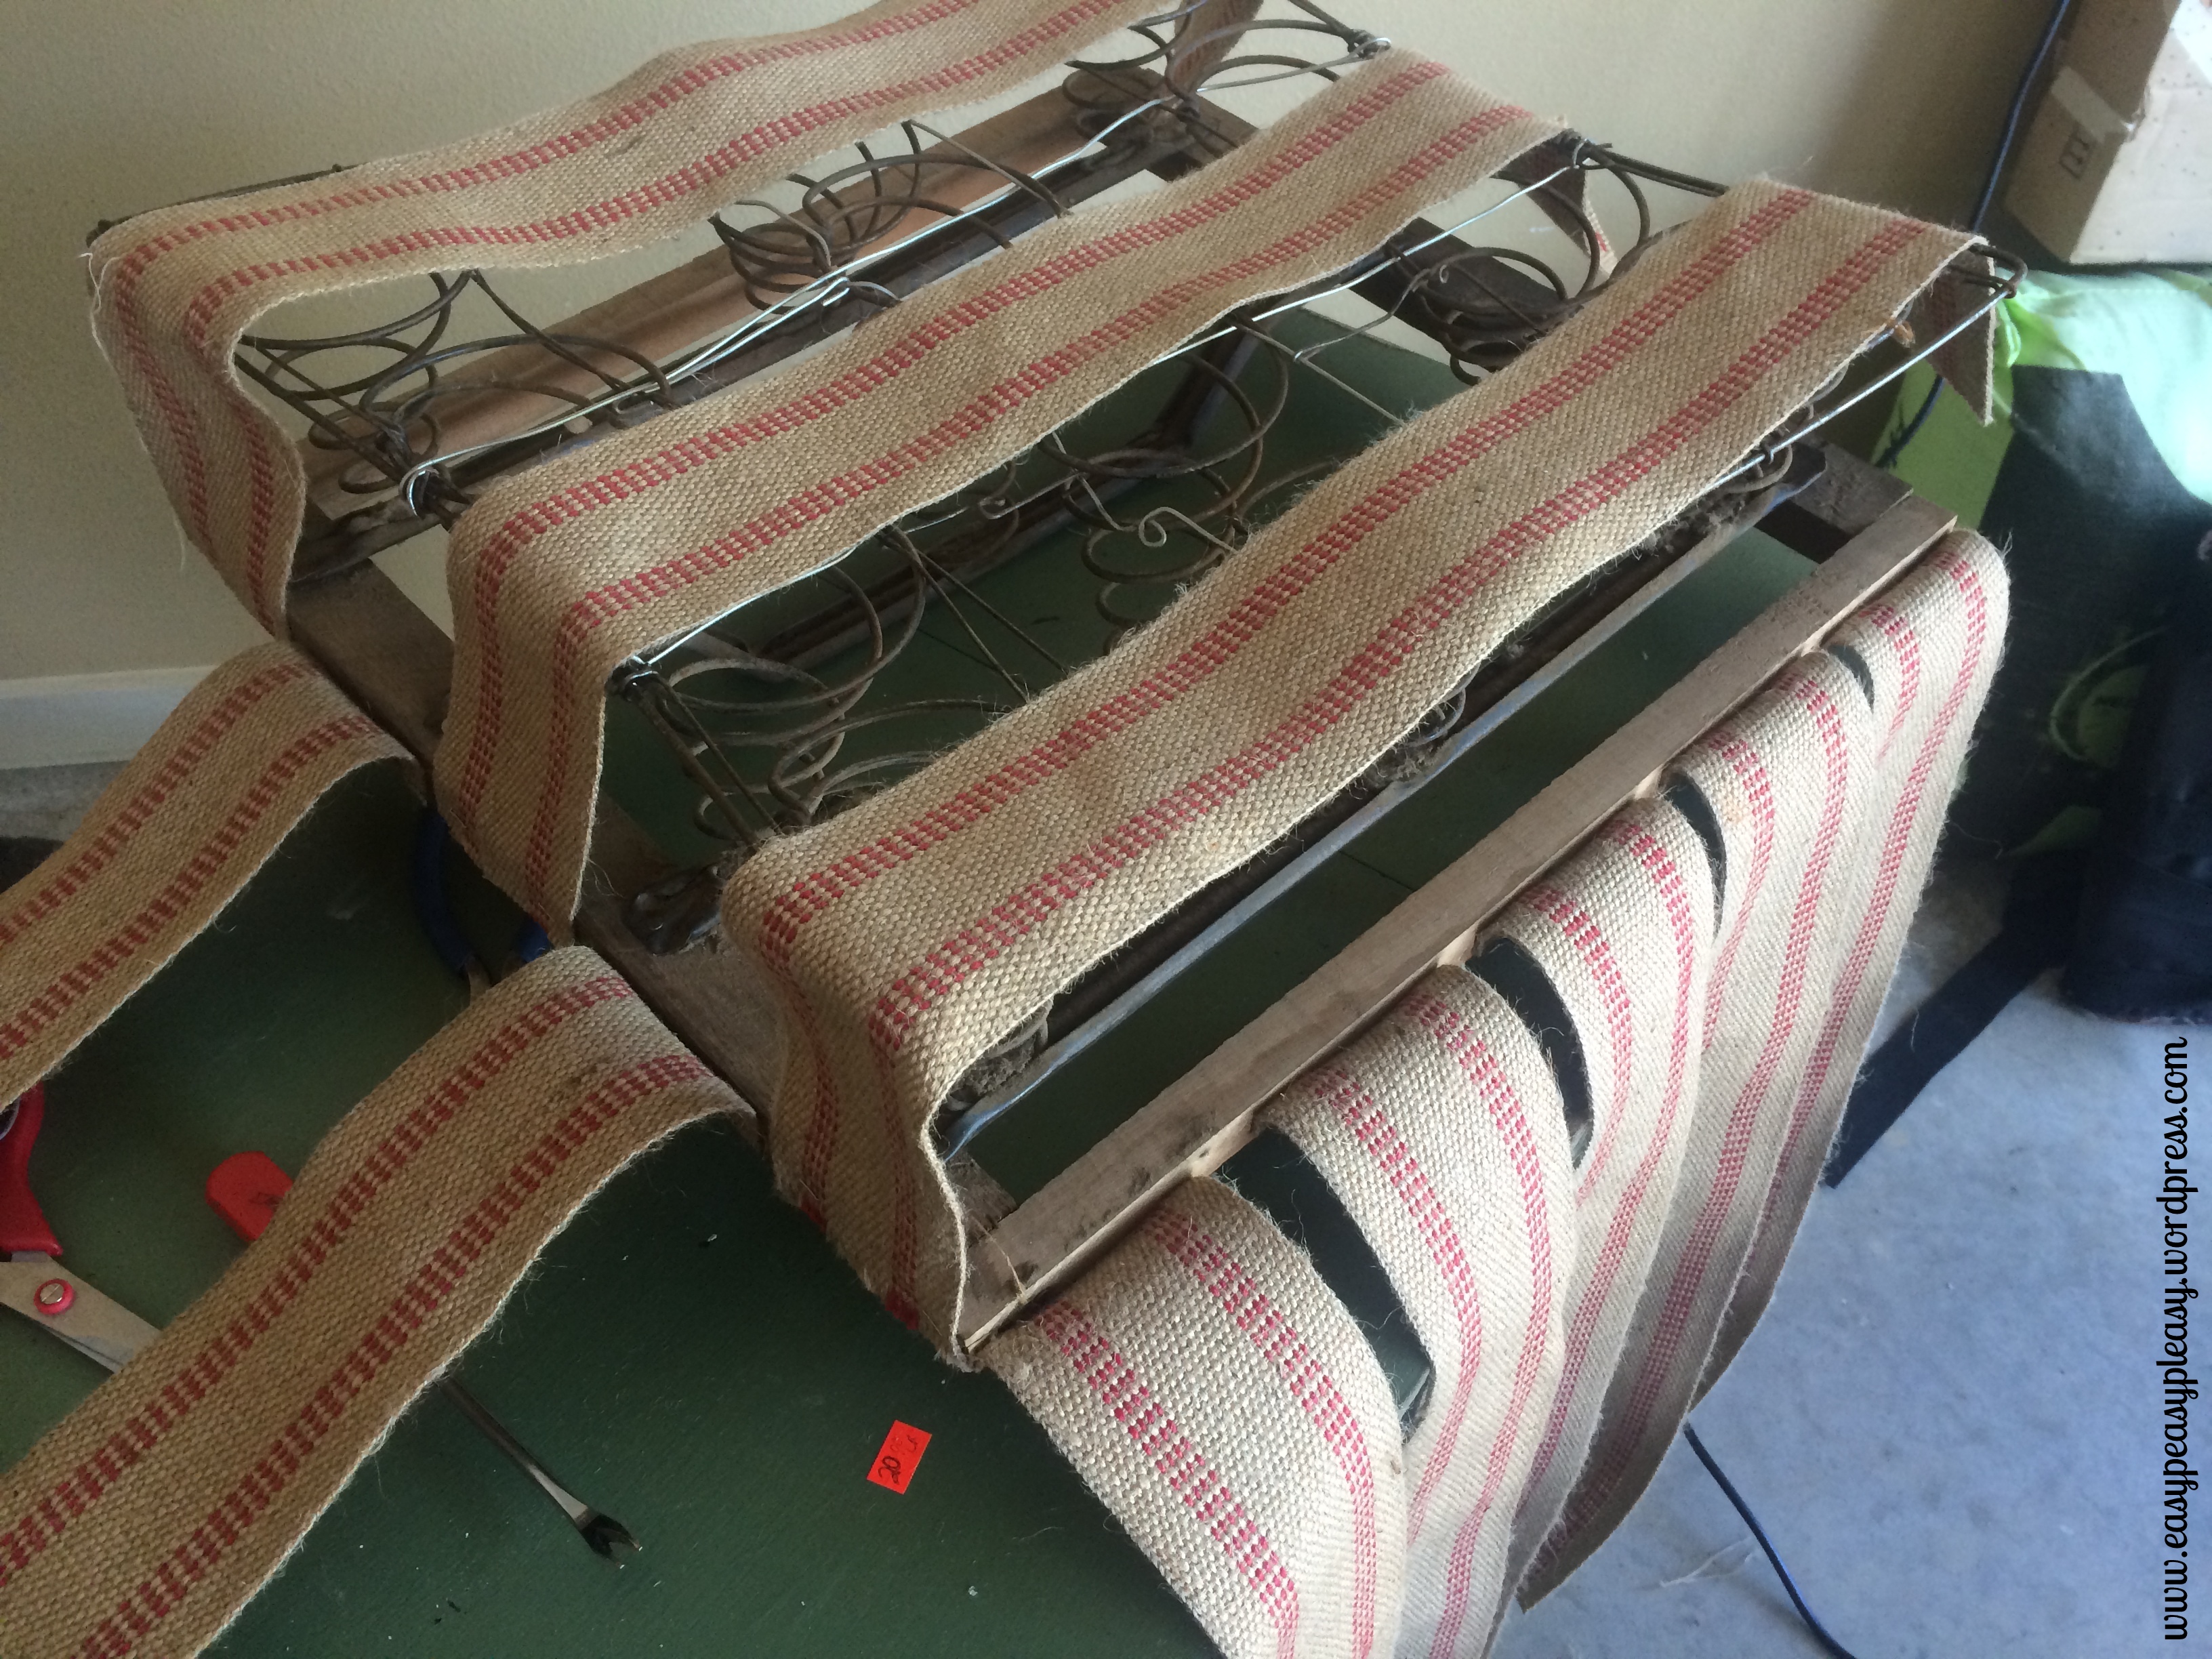
First, I measured to see how many rows of Jute I could put on each side. Then I stapled the Jute in place on one side and another set of Jute on the next side.
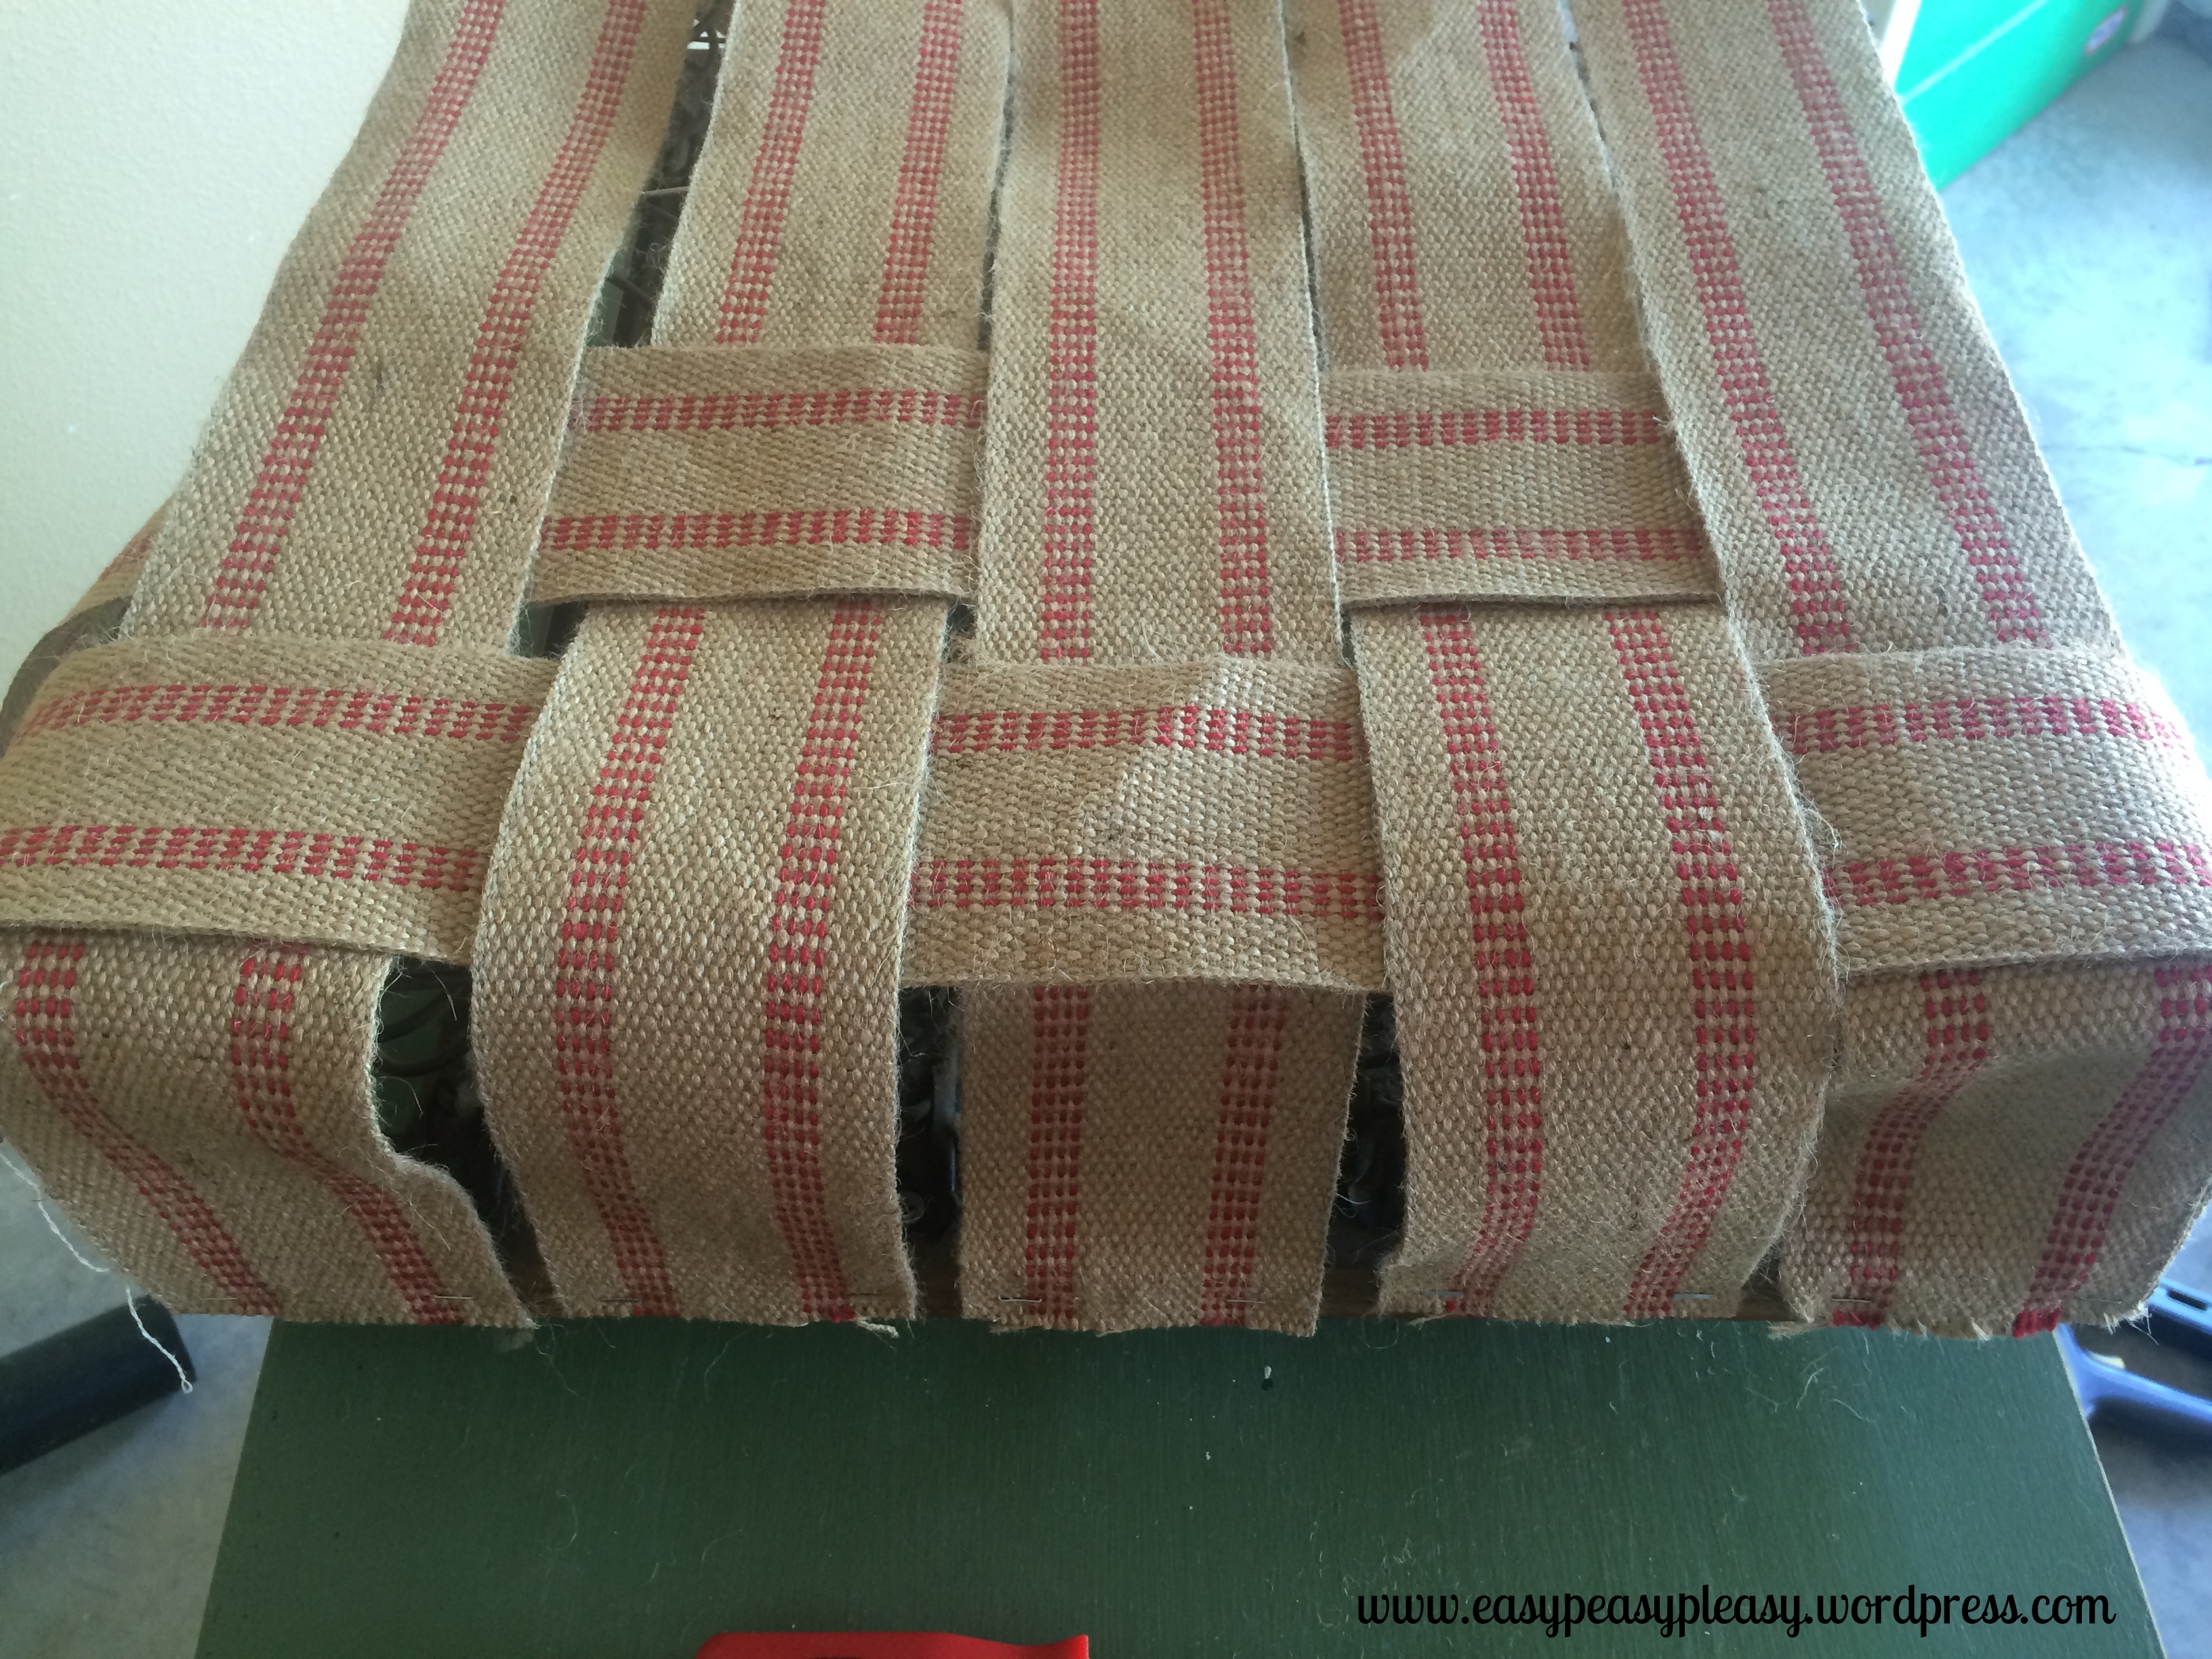
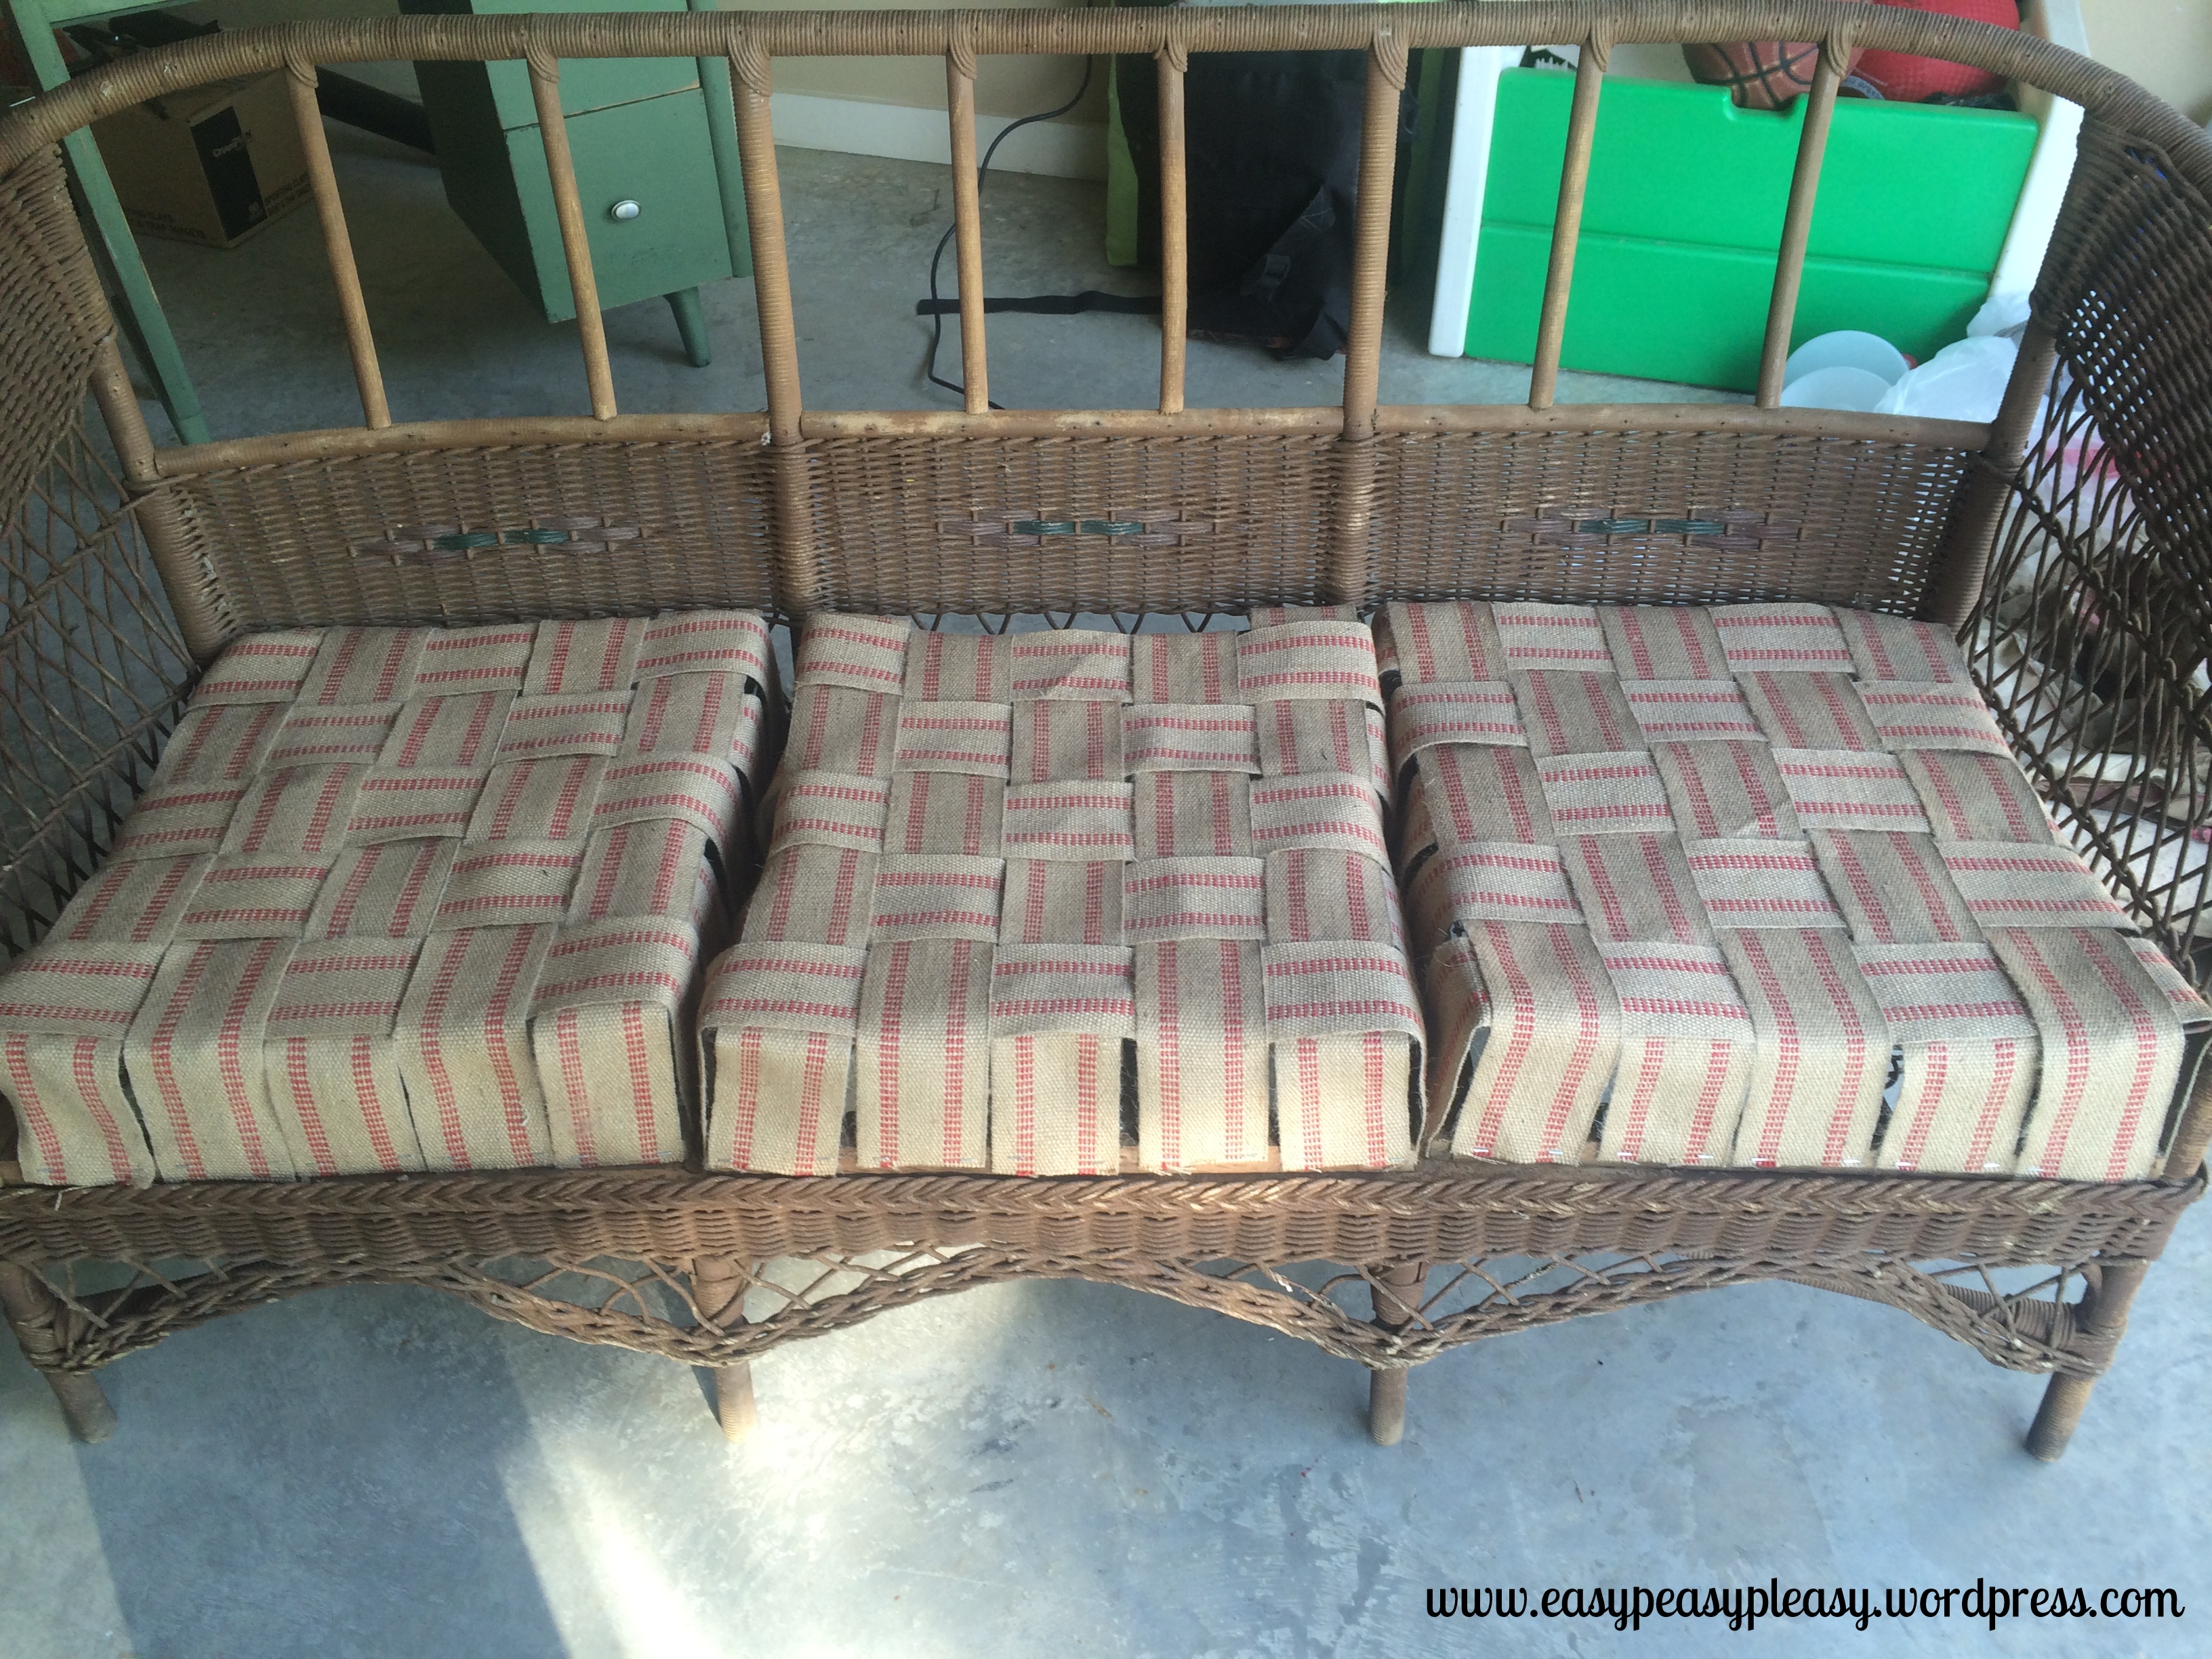
With the jute in place on 2 sides, it’s time to weave.
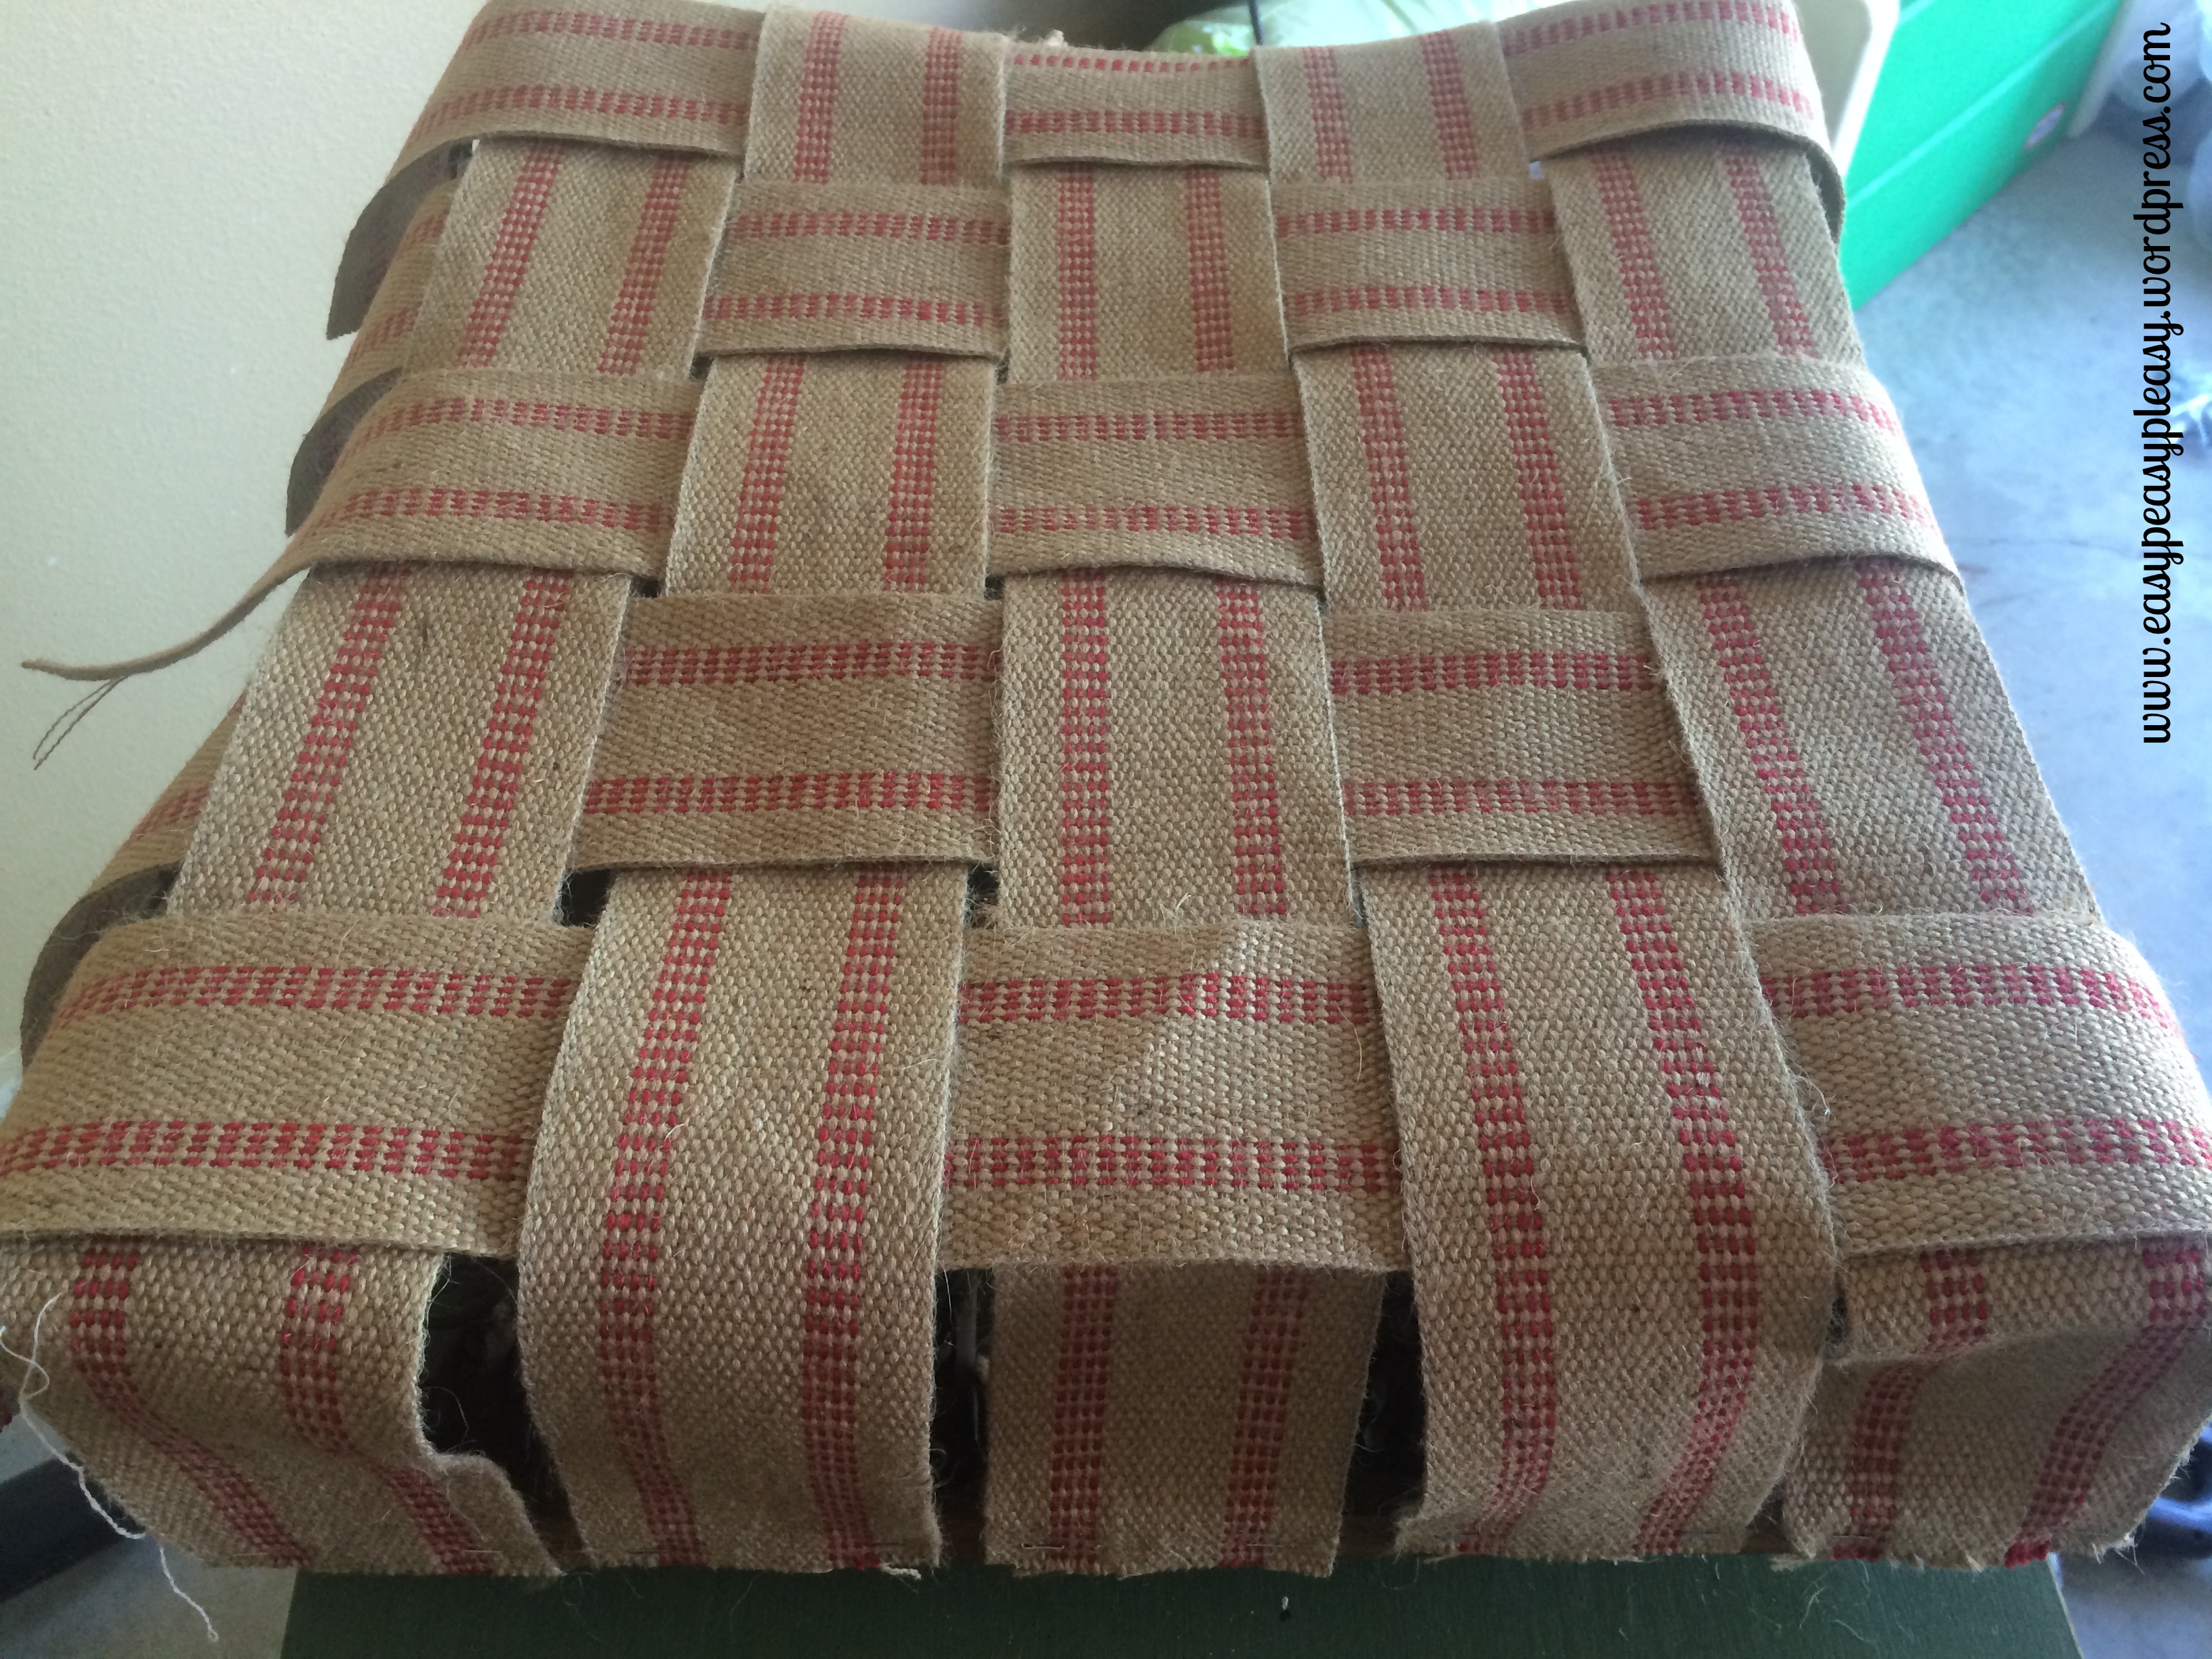
Alternate every other piece all the way across.
Continue to weave the jute all the way across. Pull tight and staple in place.
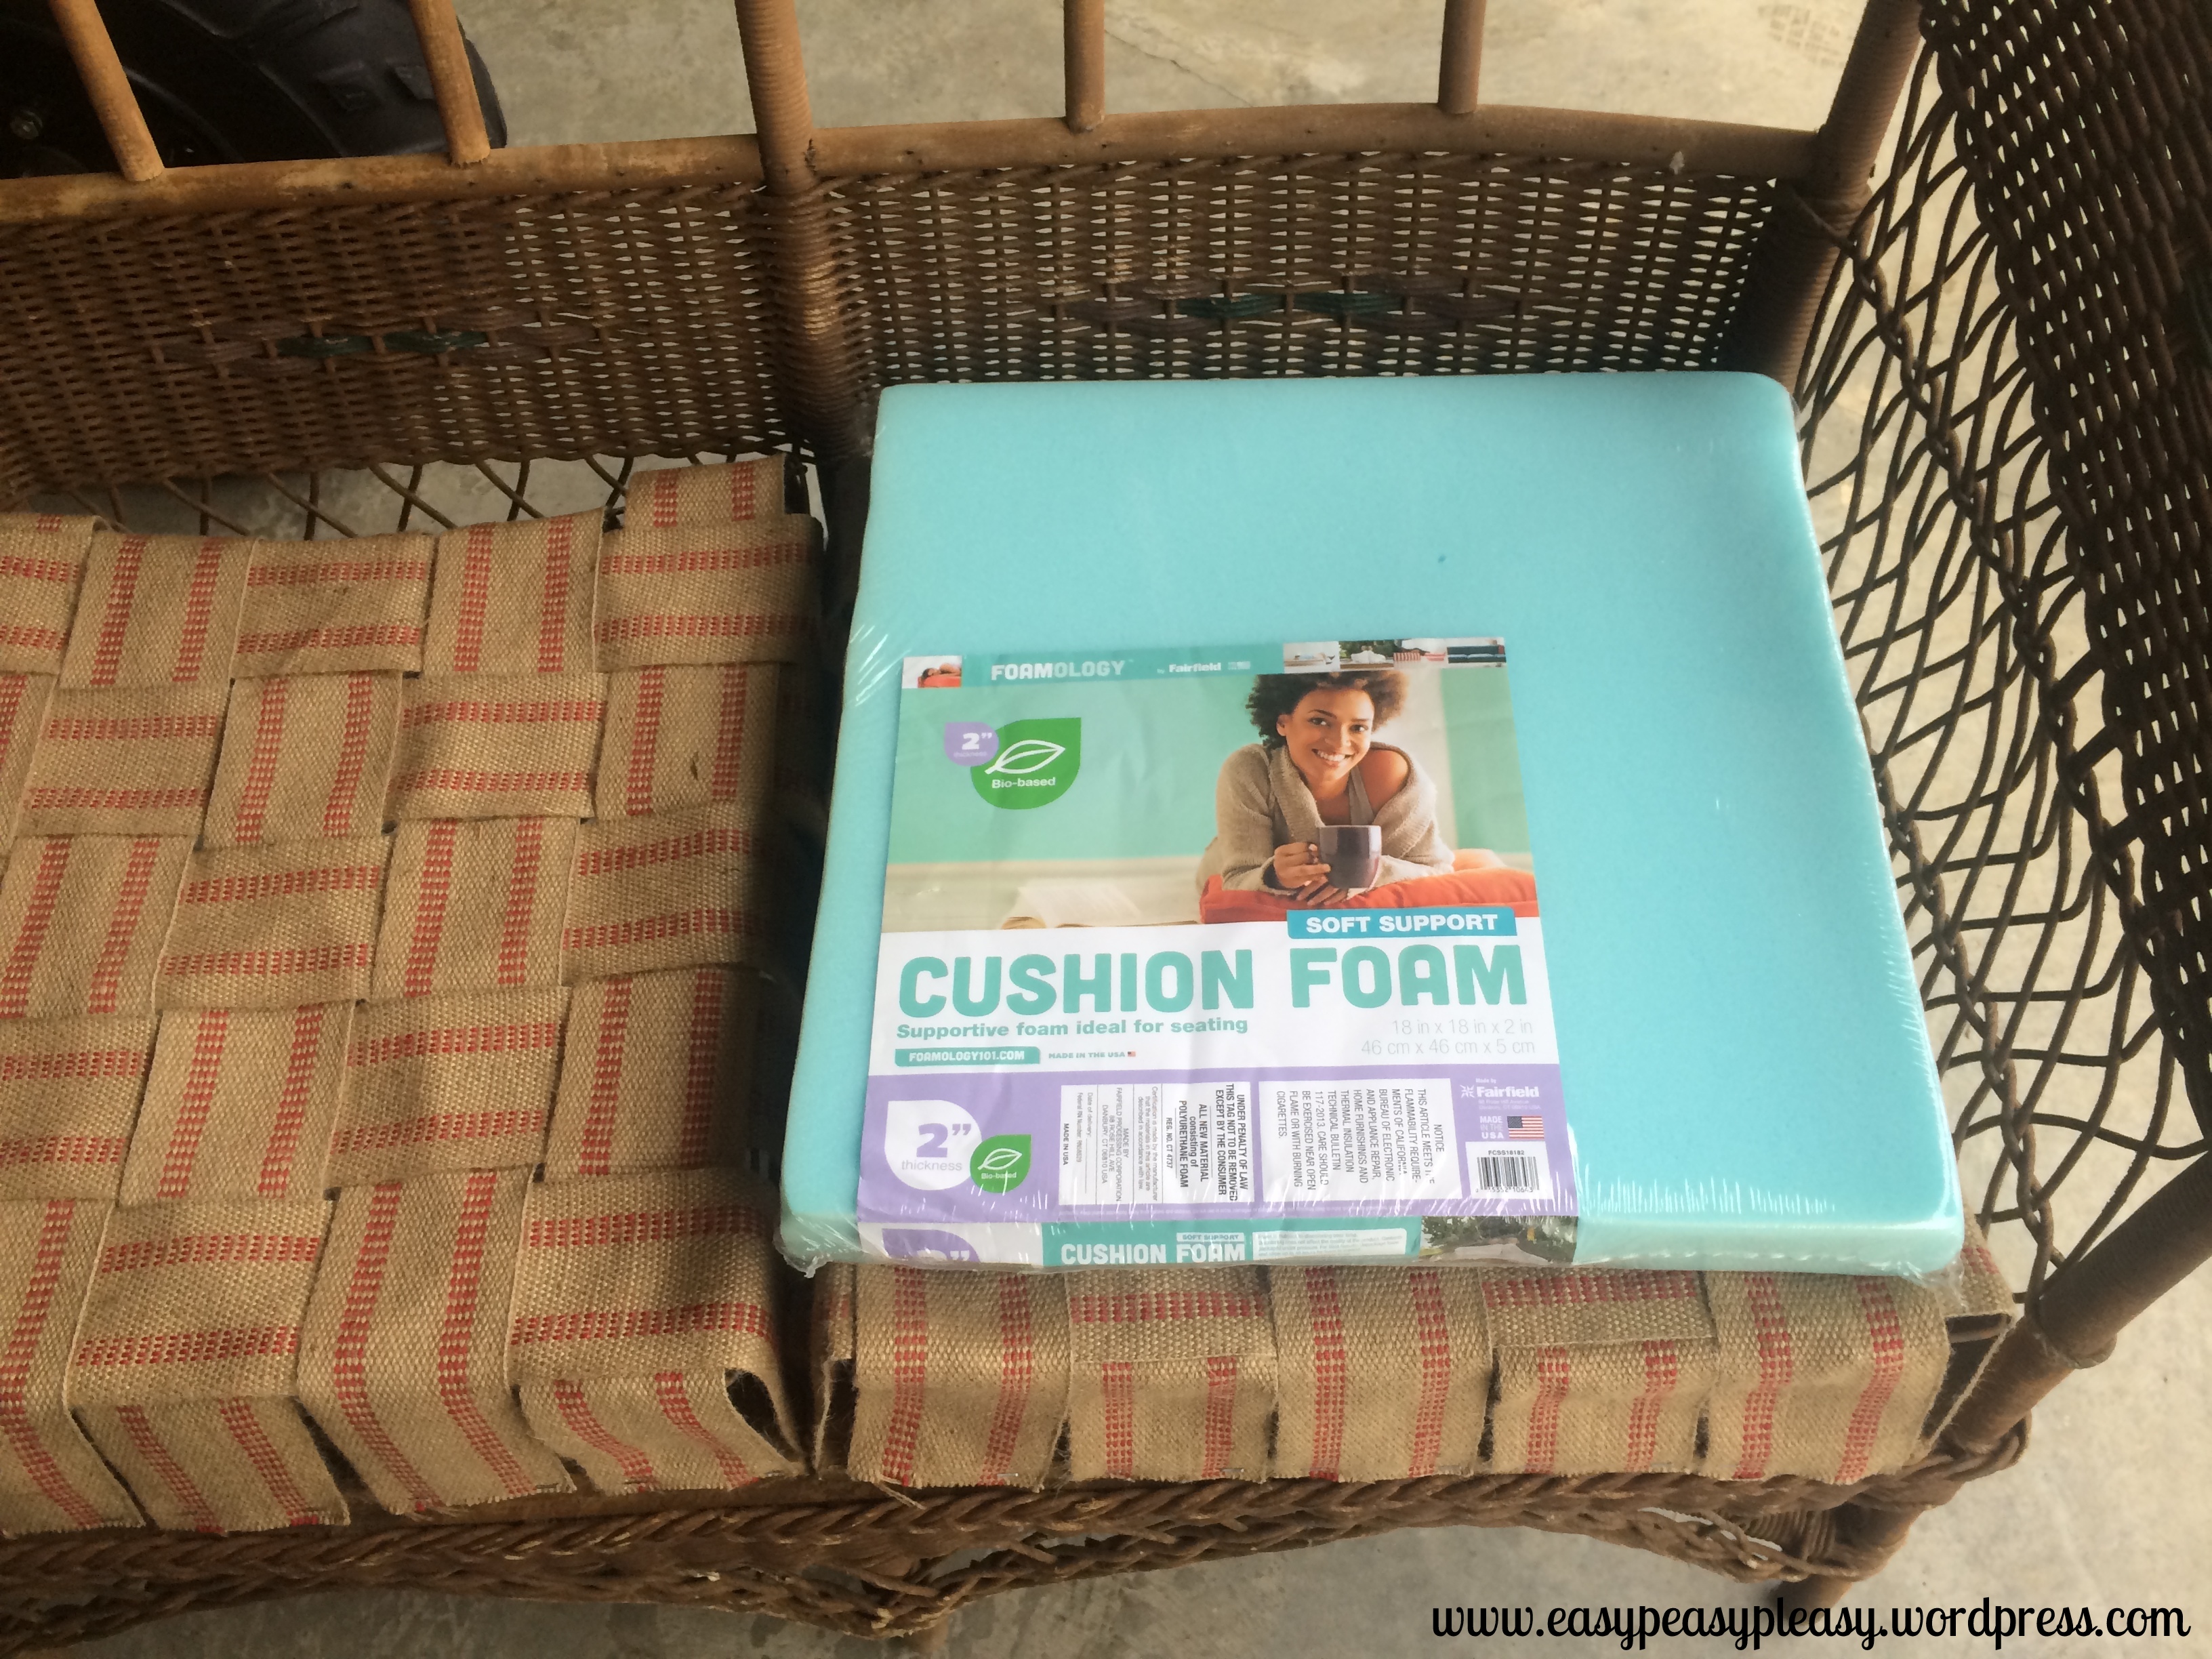
At this point, I thought I could put the old batting on top and add the new loft batting to the top. I sat down and realized that it wouldn’t work. You could still feel the springs. So I had to make a trip to Hancock’s to buy some foam cushions. I measured the seats and found a cushion that fit the measurements.
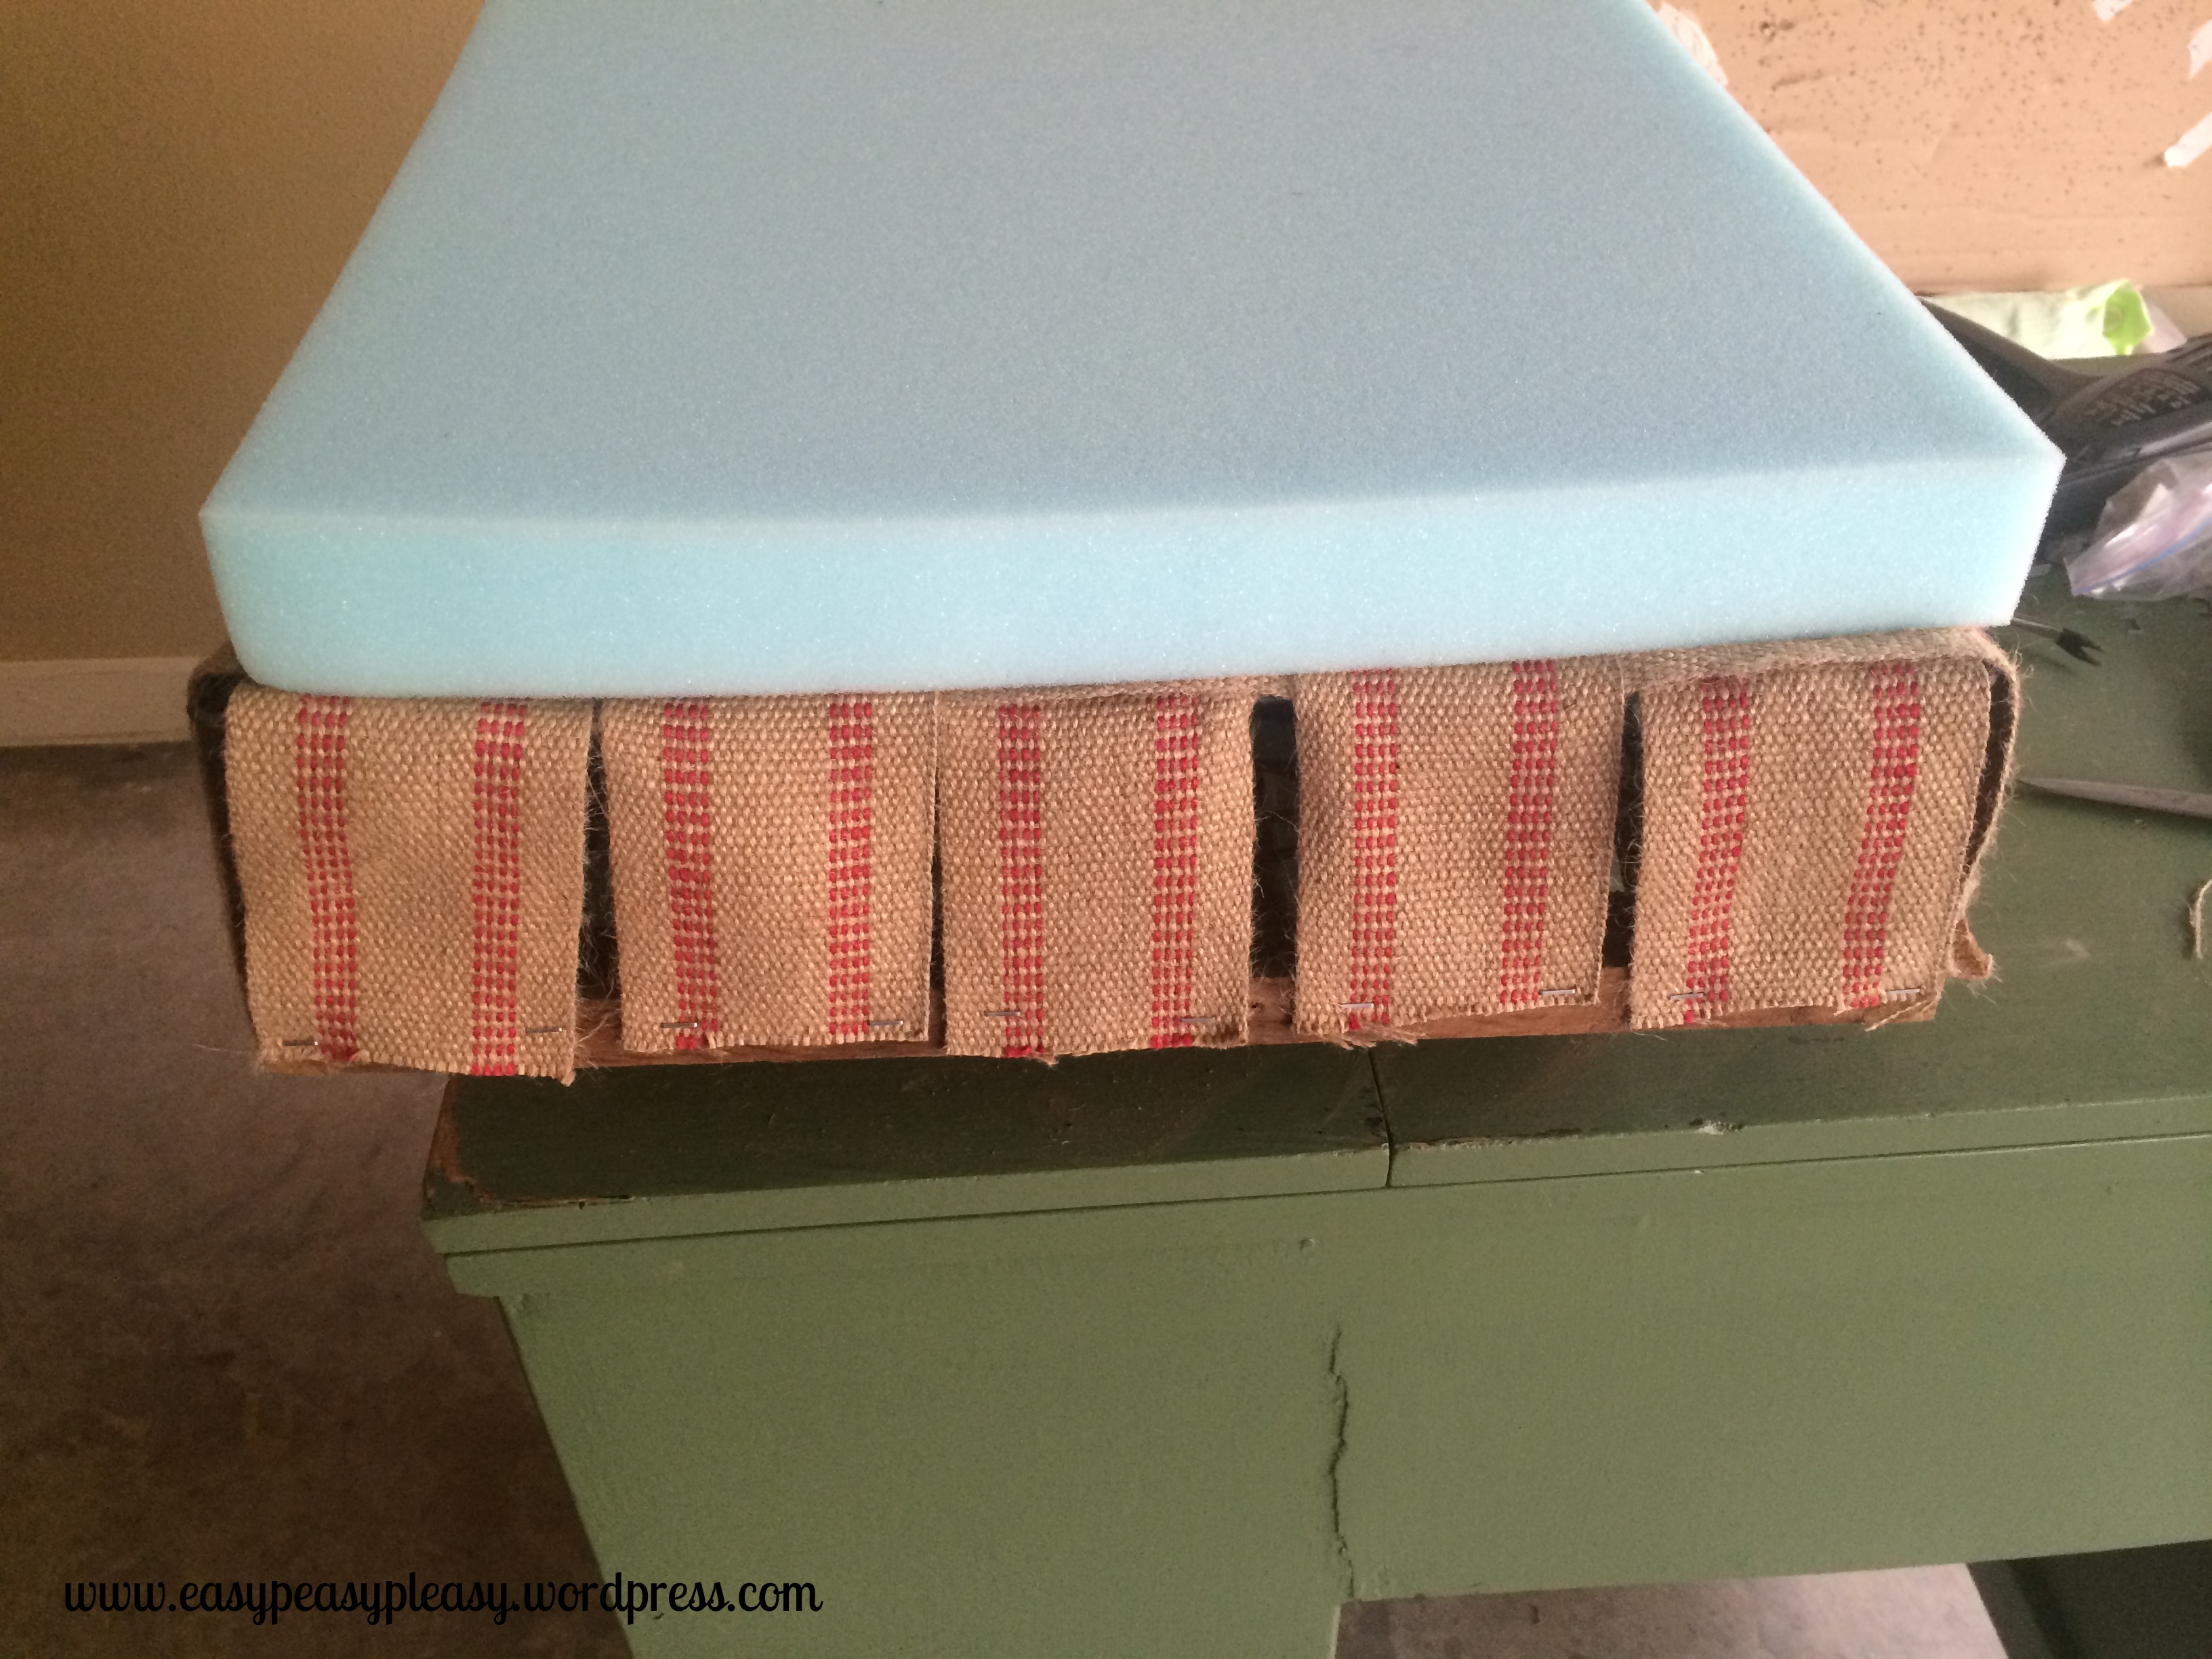
I picked the 2 inch thickness knowing I would still be adding loft batting over the top.
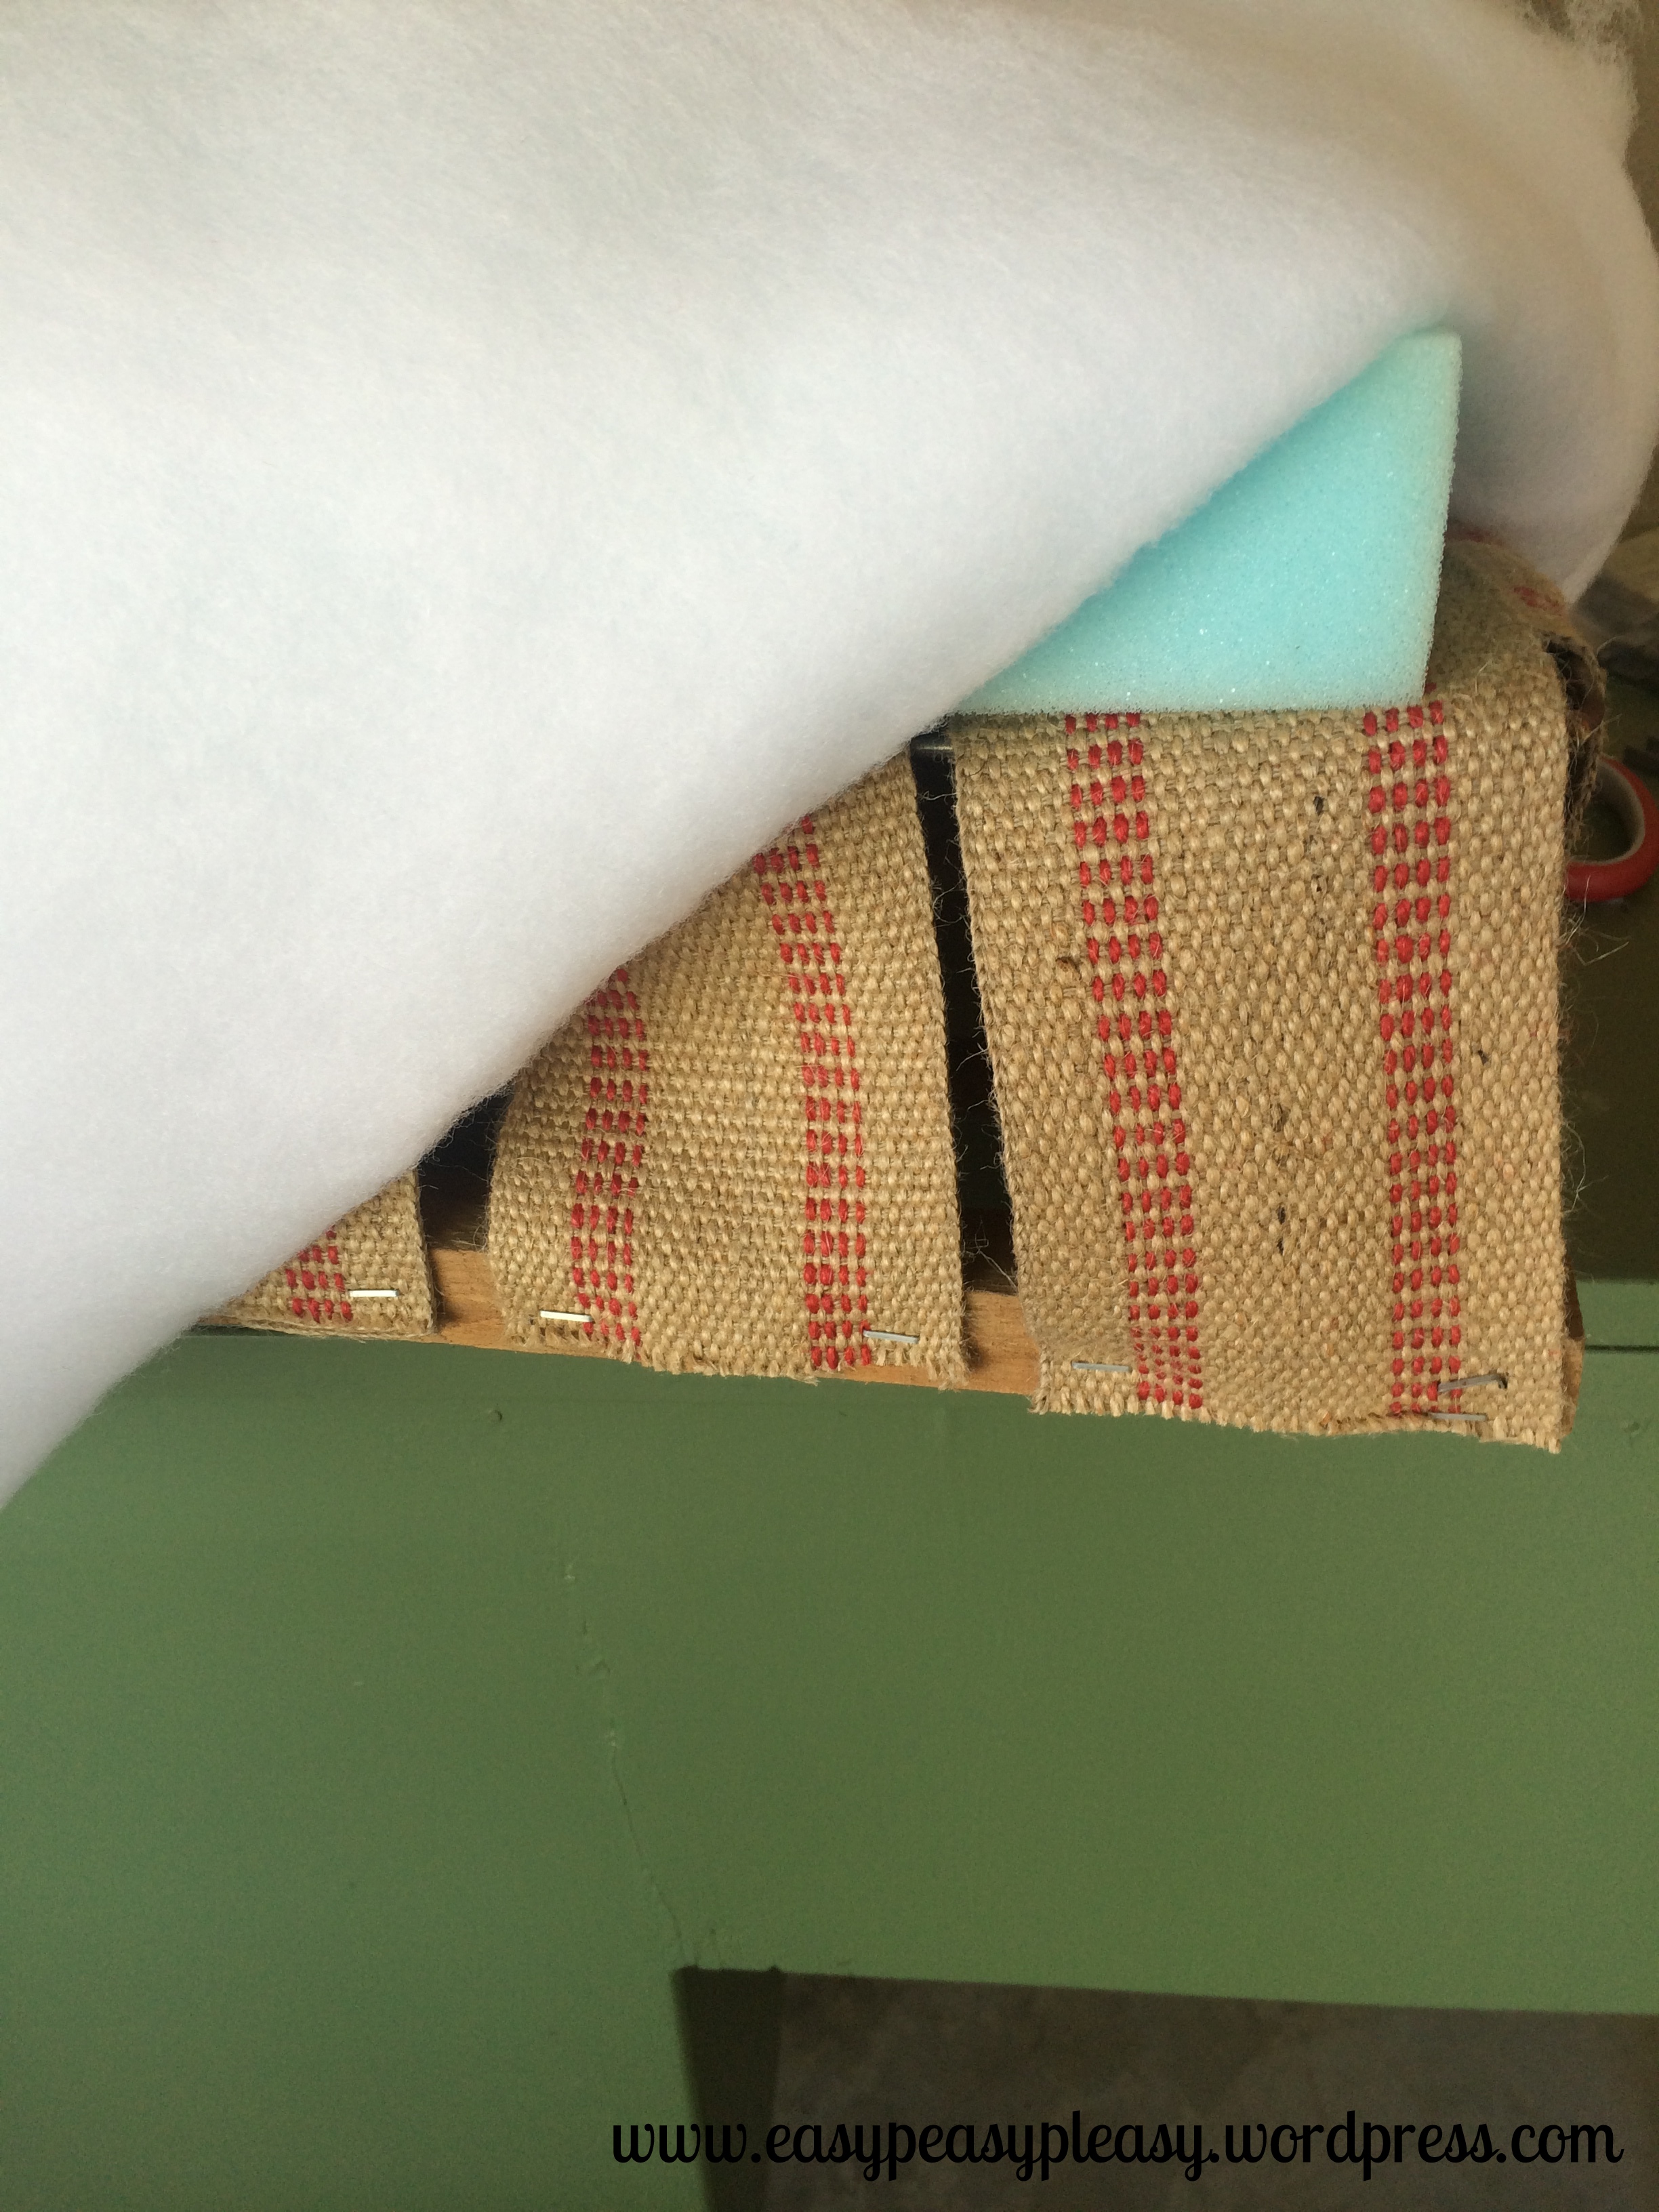
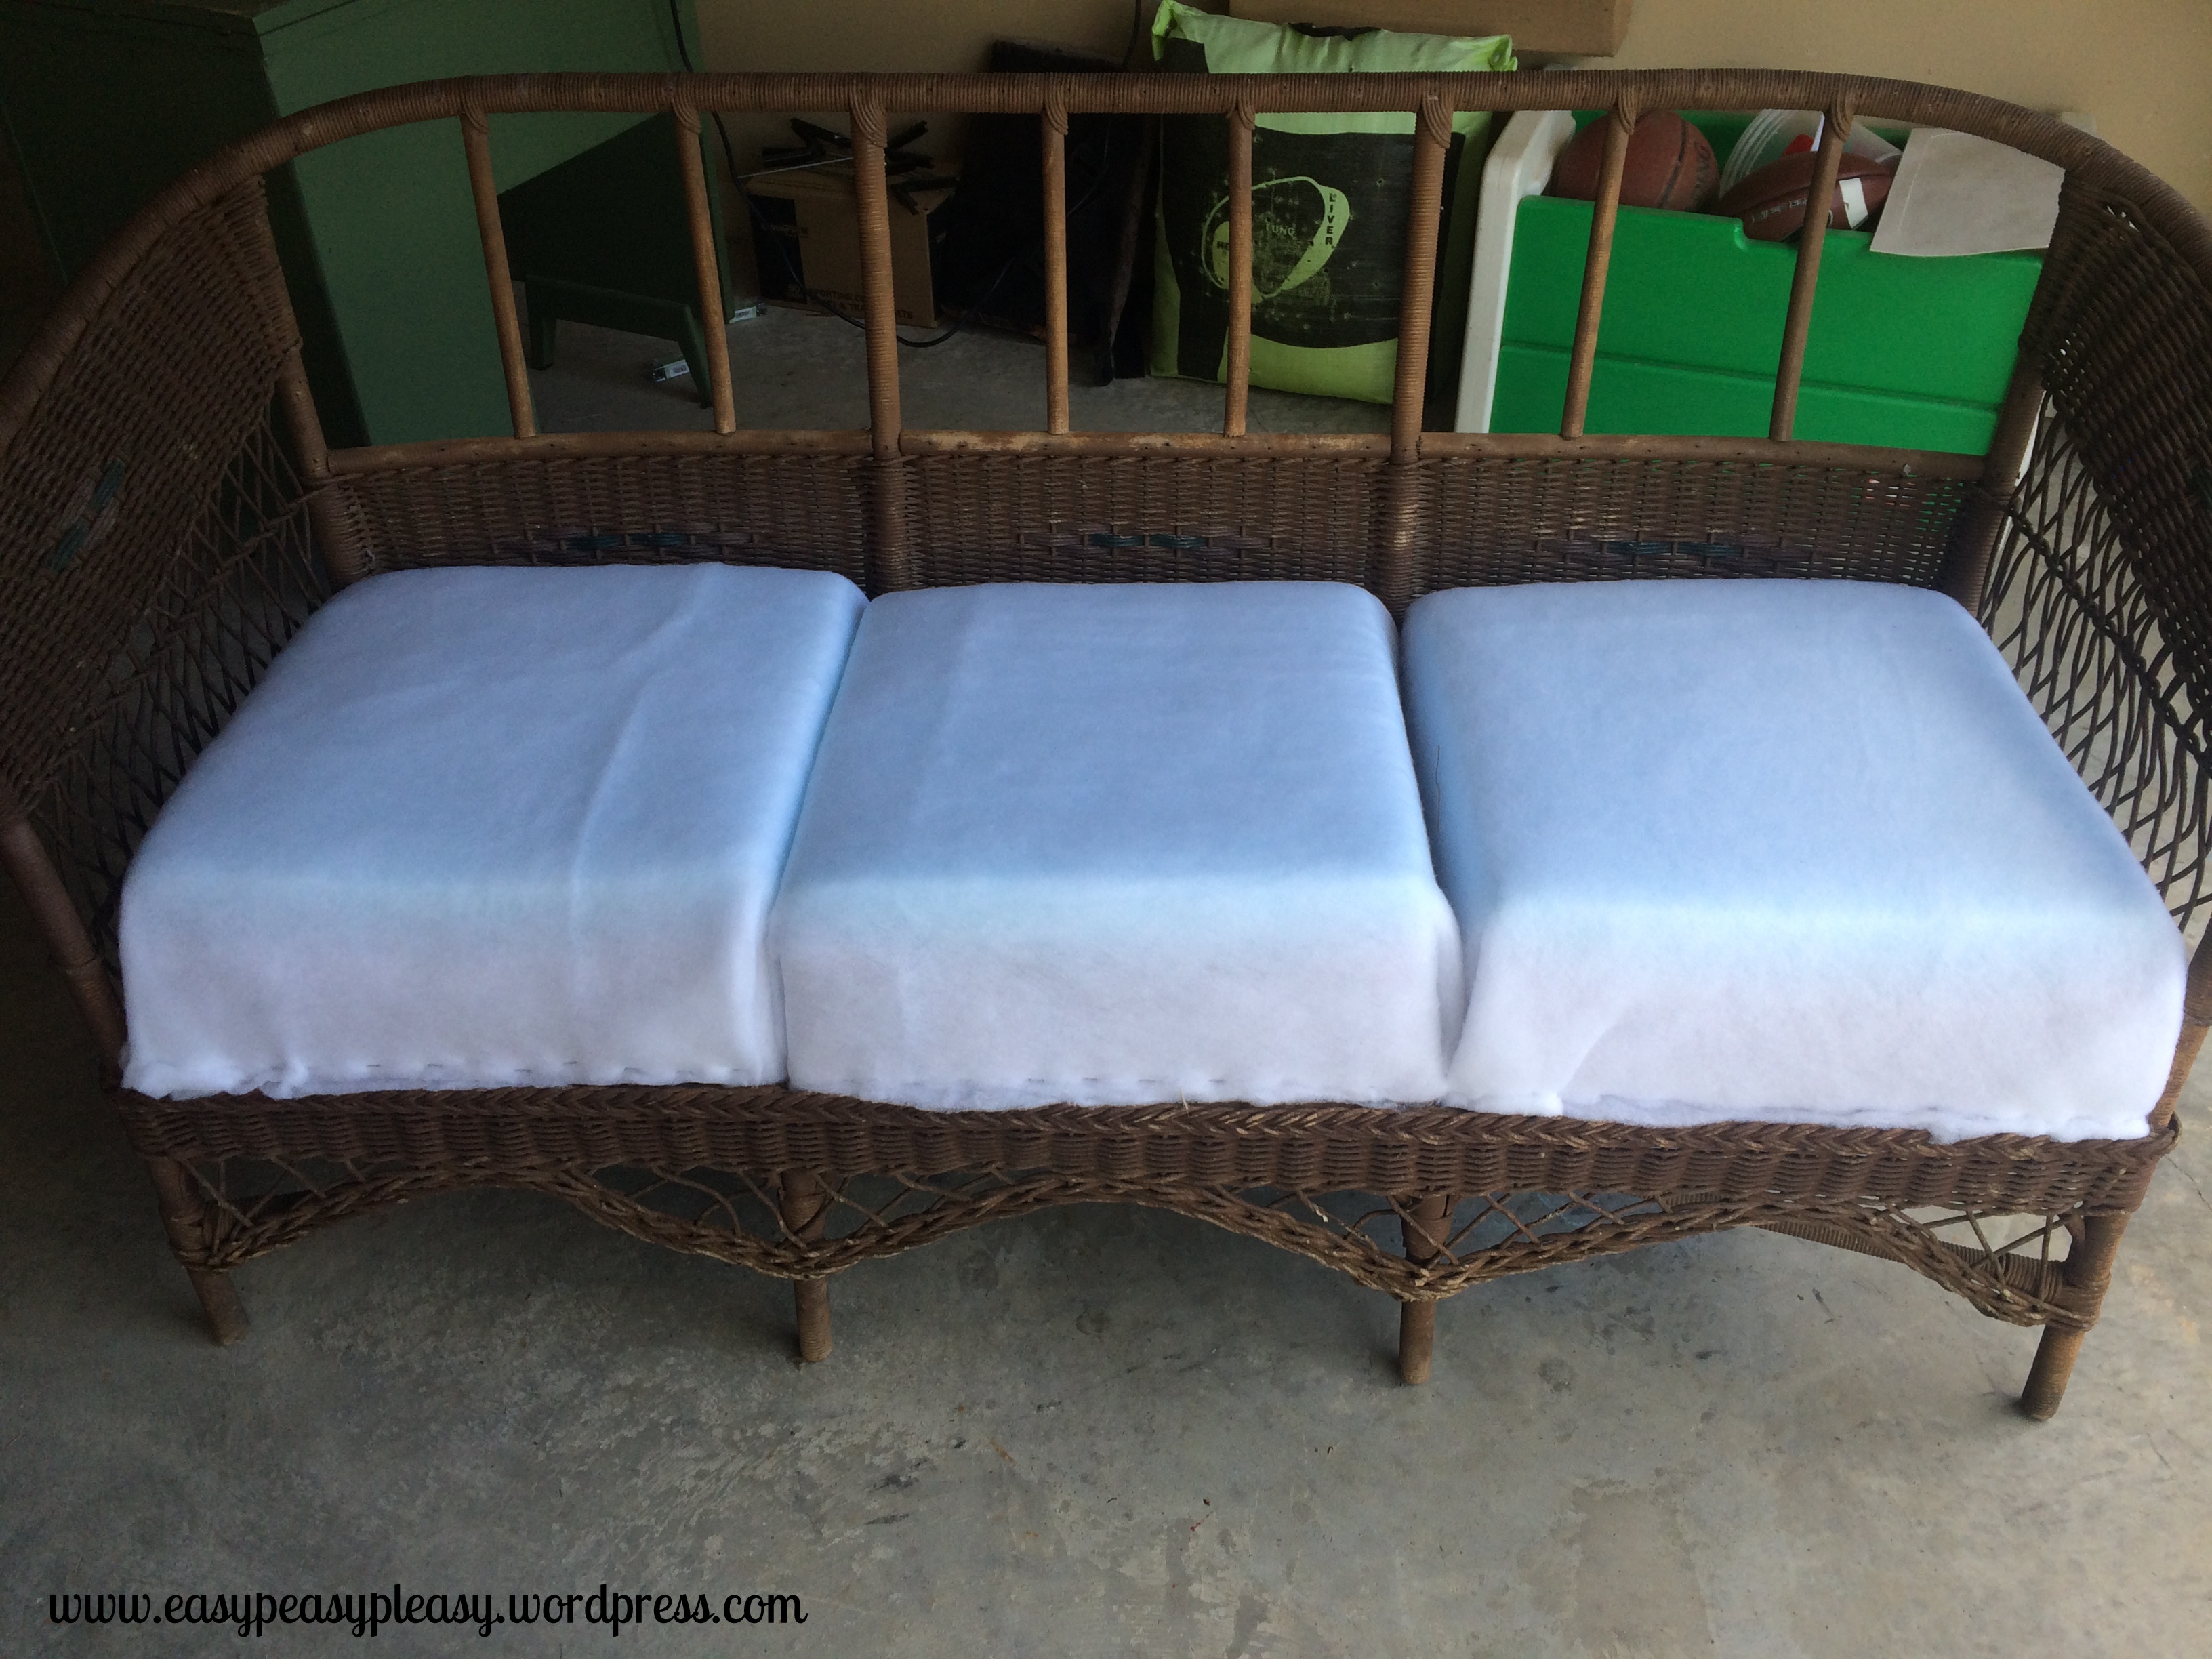
I placed the foam cushion in place and added a double layer of loft batting.
I stapled the batting to the side of the seat where the jute was stapled. I started with one staple in the middle of each side and pulled the batting tight as I went. Then I continued with the stapling all the way around.
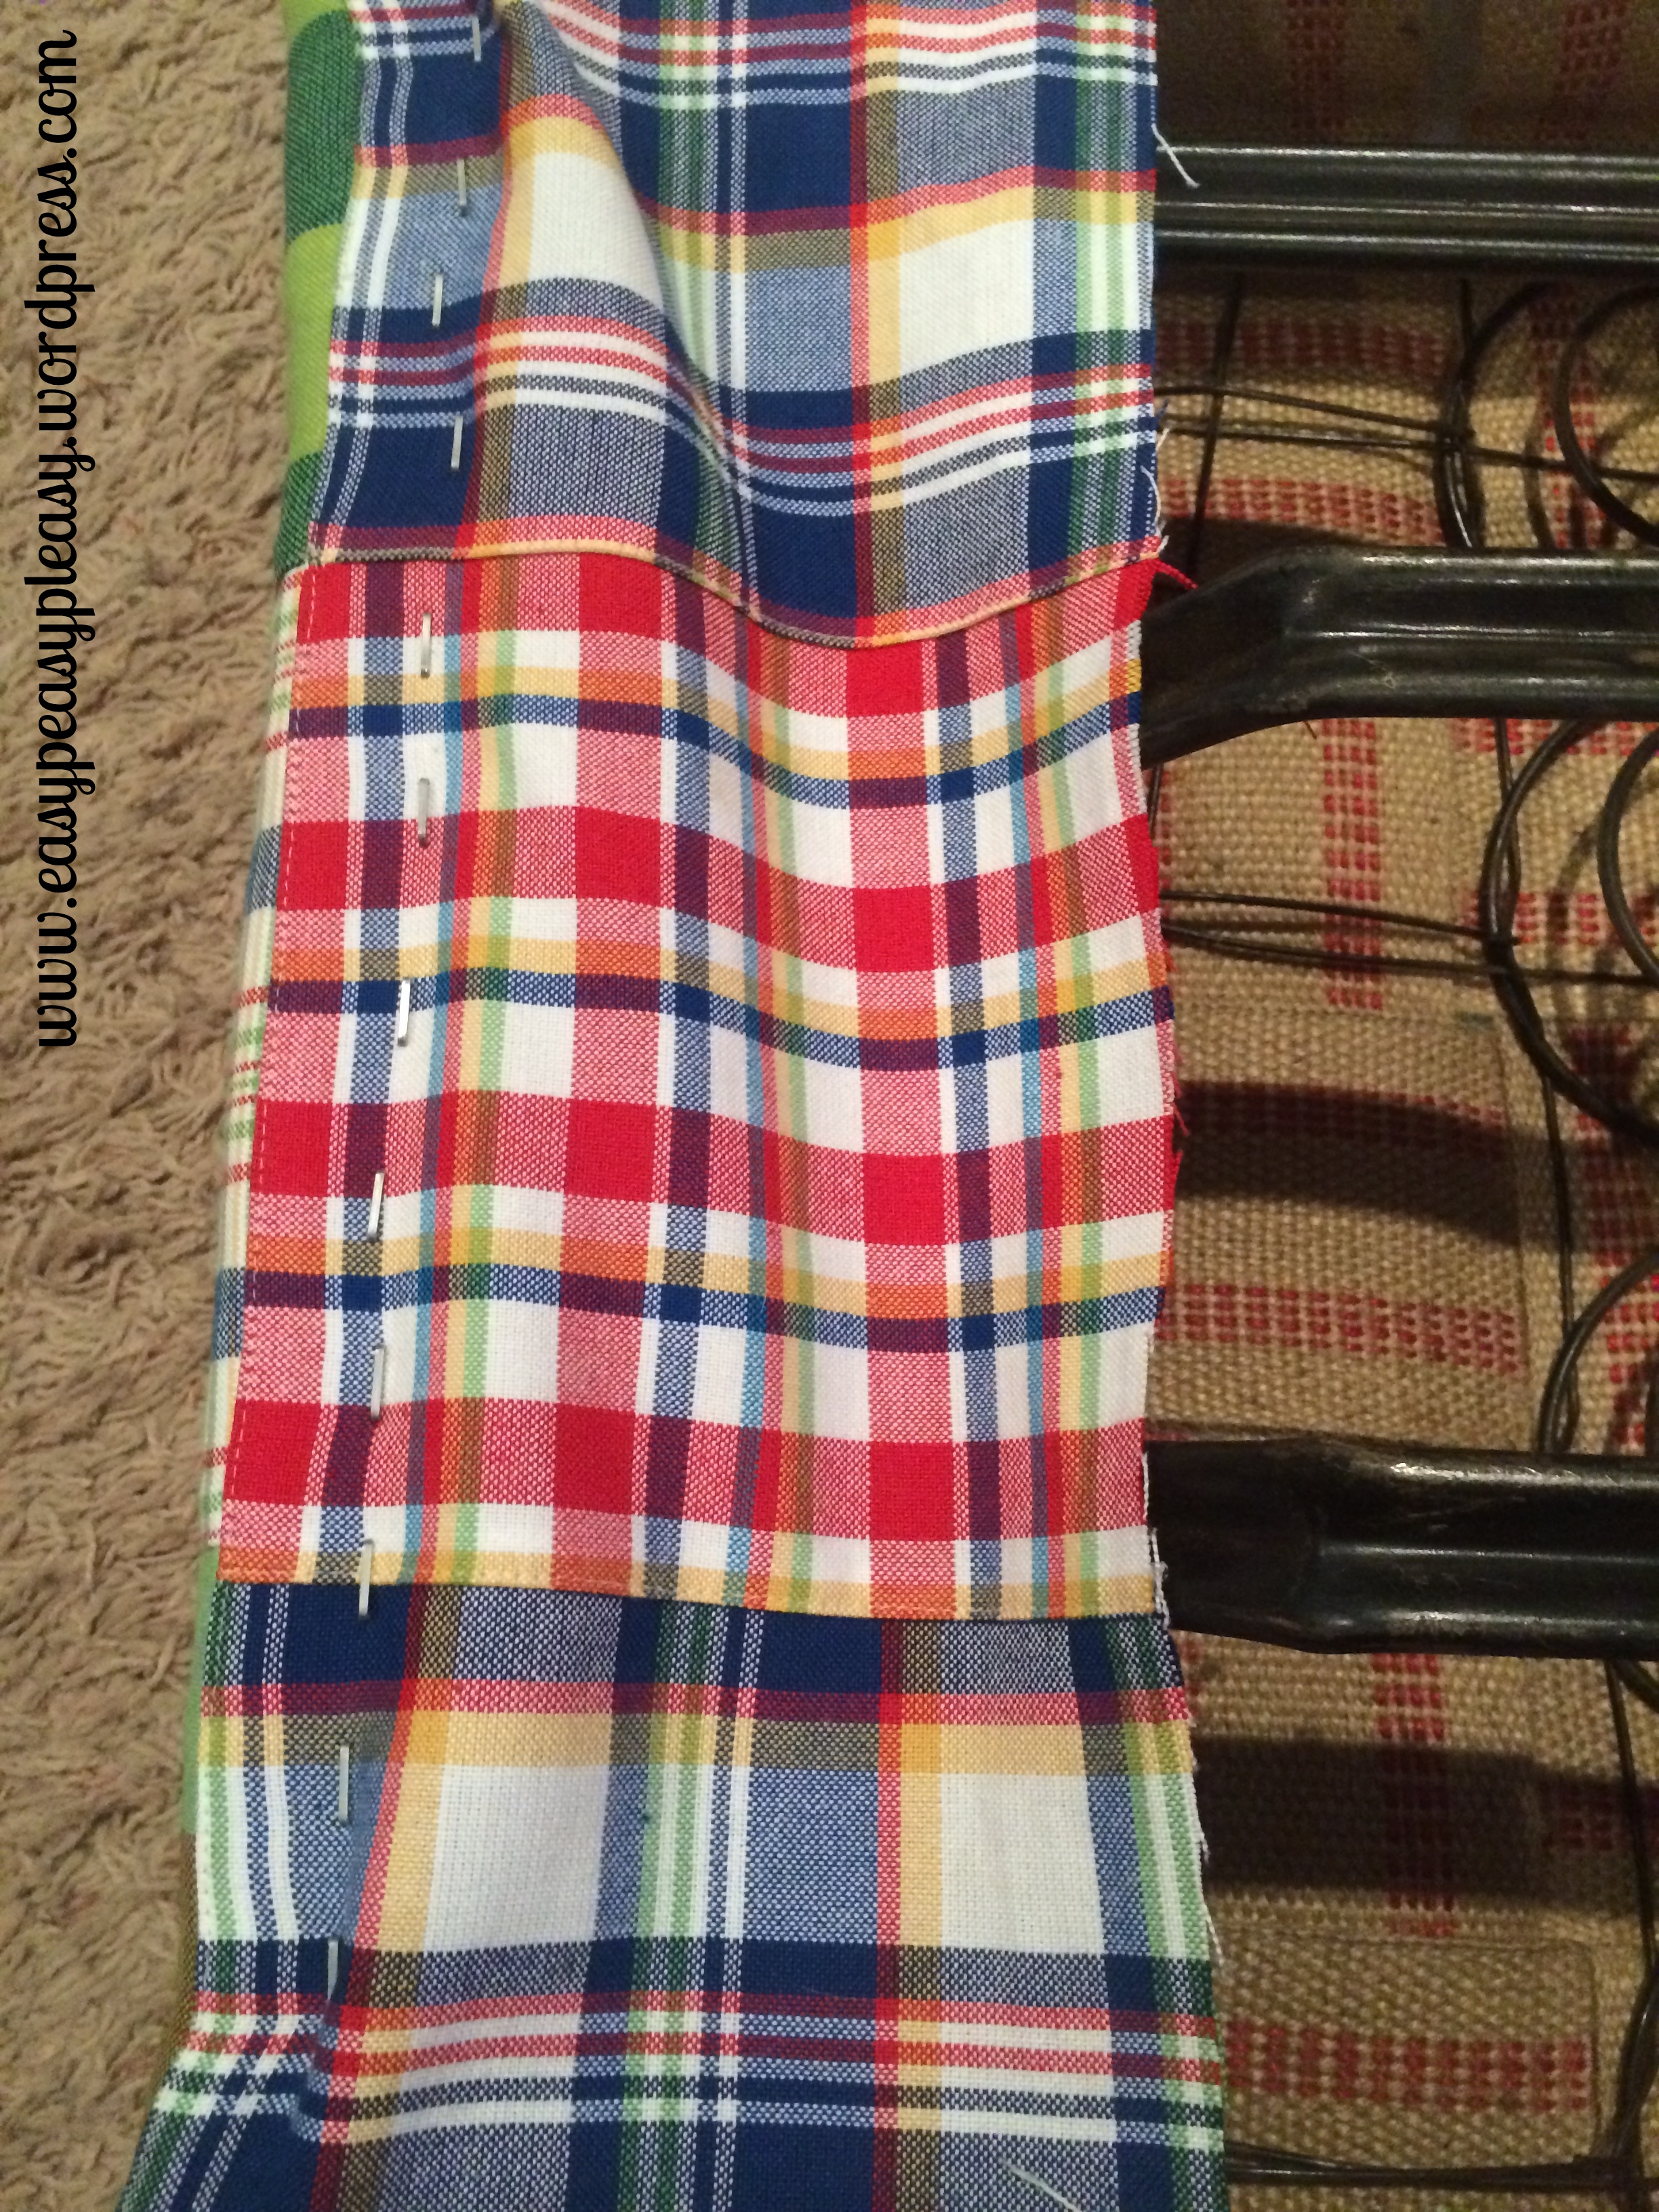
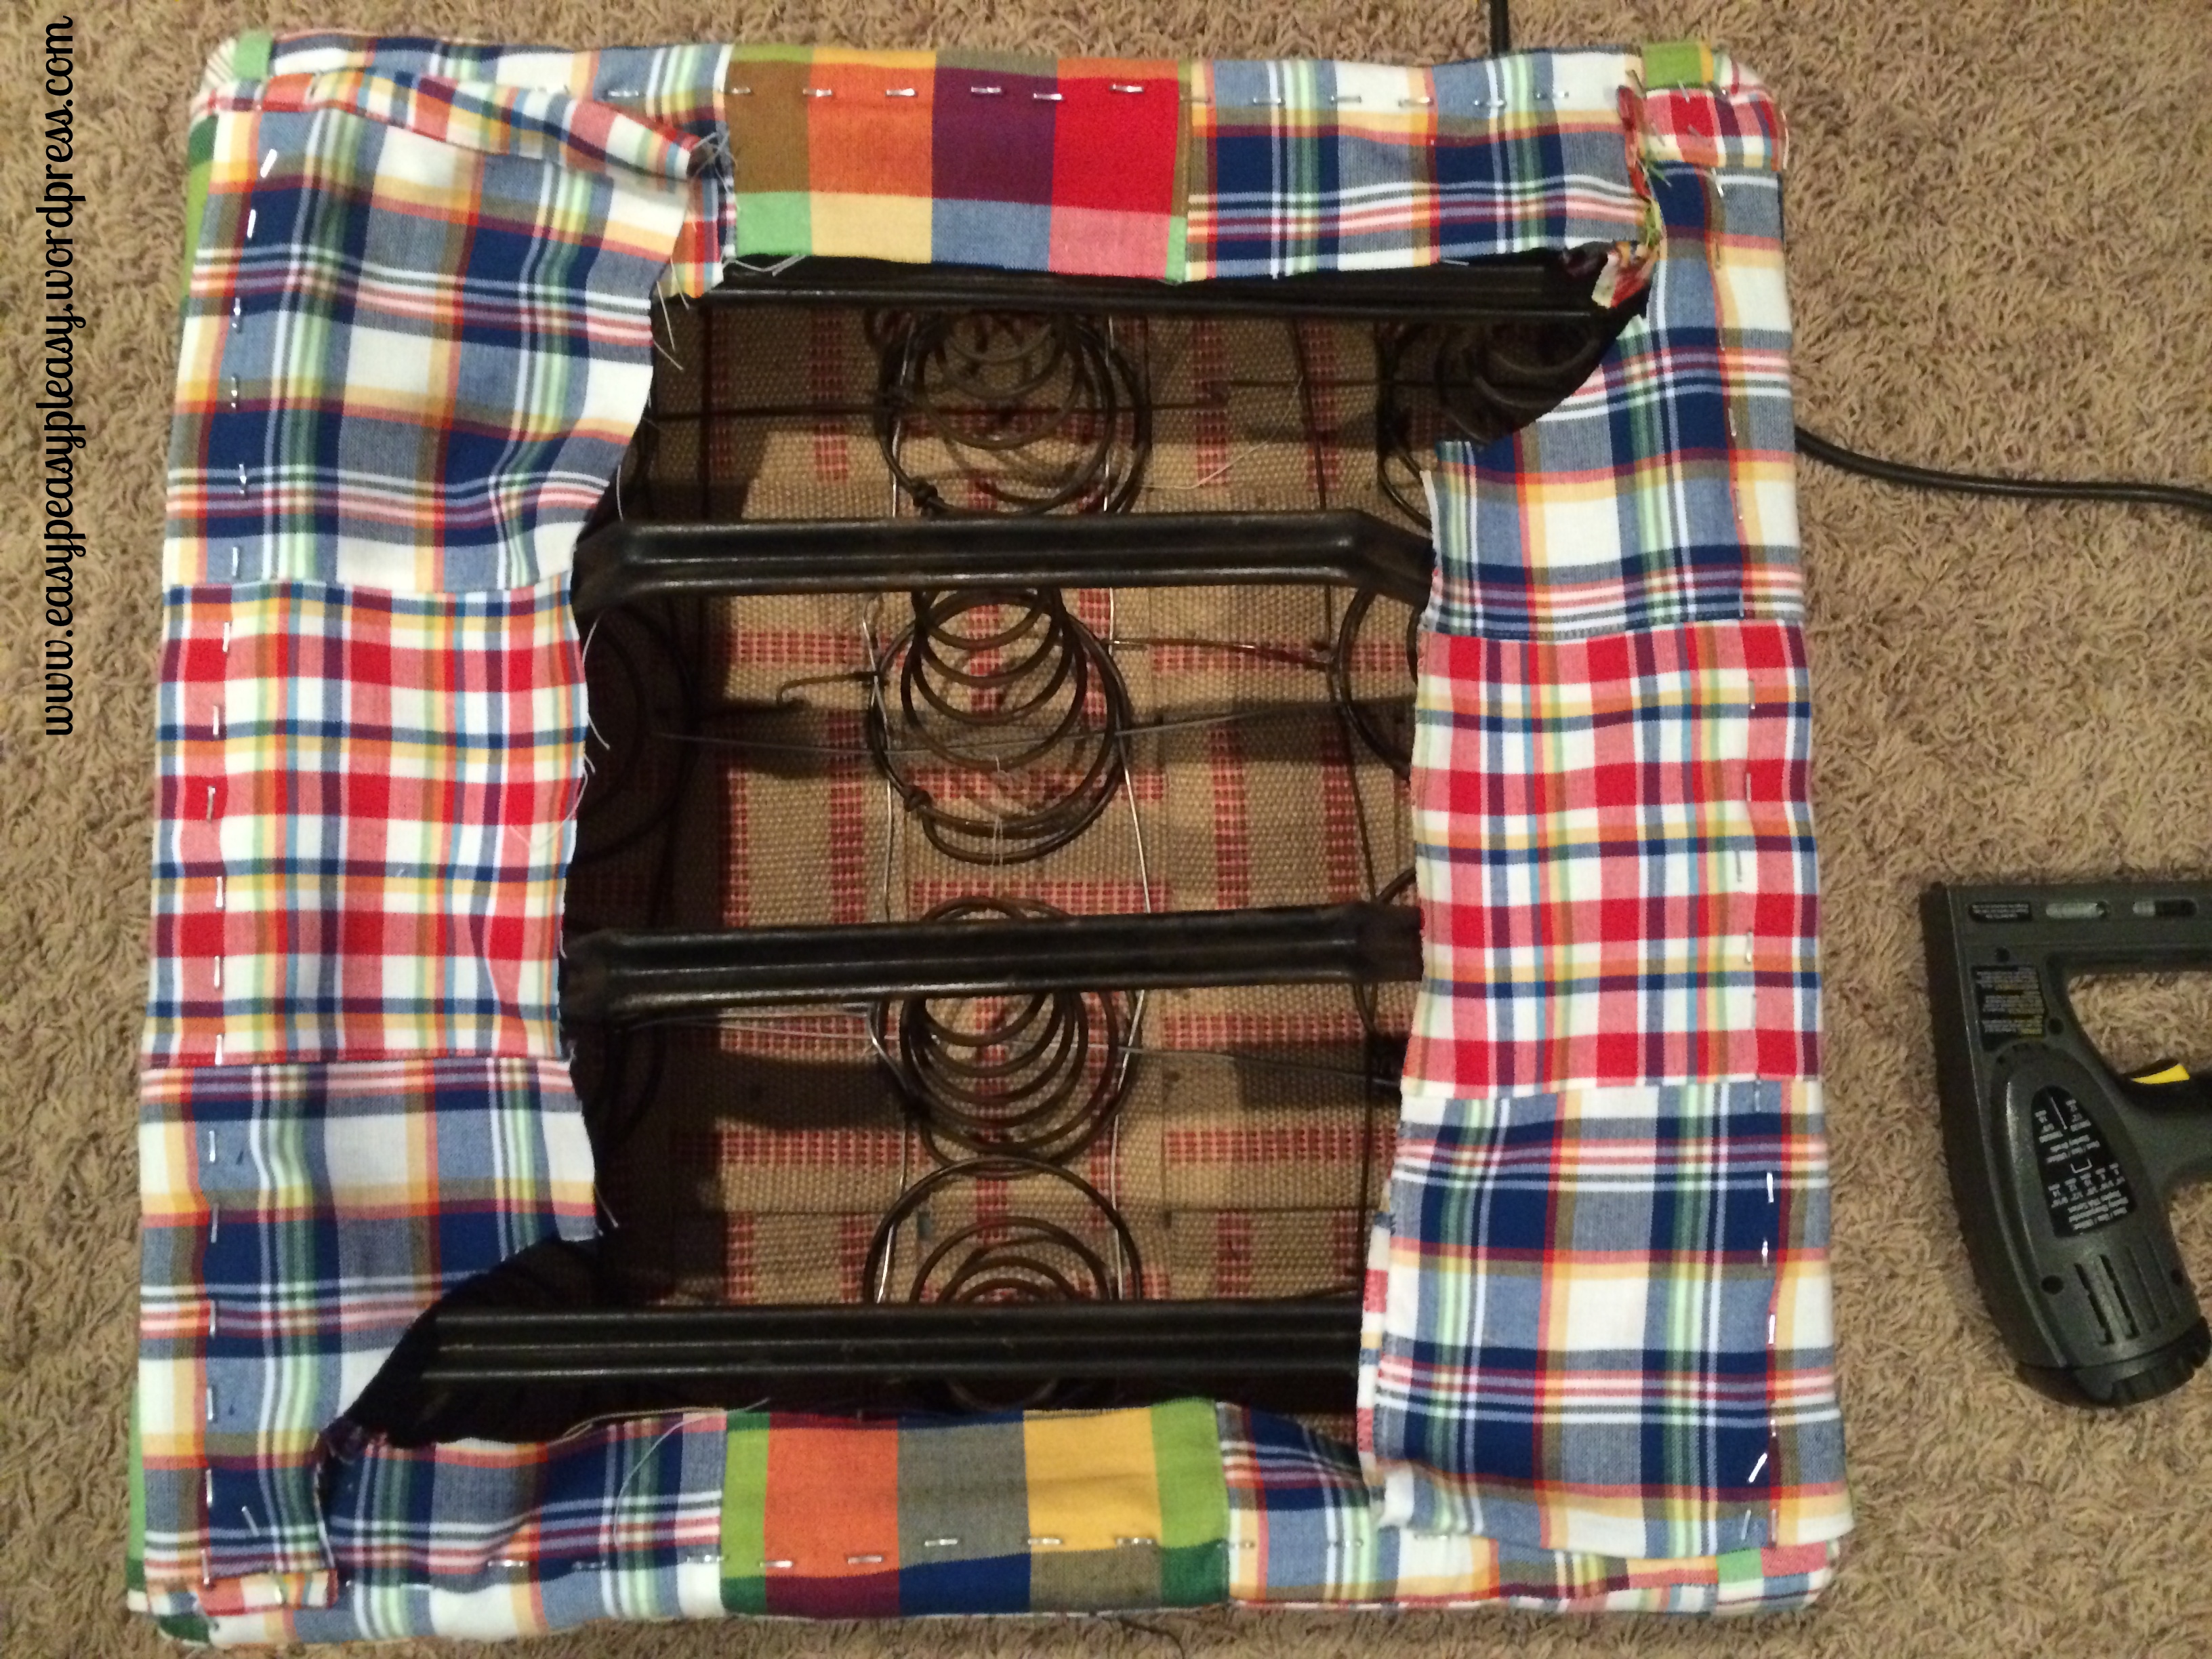
To finish off the seats, I added the fabric in the same manor as the batting. If you use a fabric with print you will want to make sure the design lines up correctly when completed.
I laid the fabric right side down then flipped the seat over and laid on top of the fabric. I started with one staple in the center of each side. I stapled the fabric on the underside of the seat. By doing this all the staples are now hidden.
All that was left was to cut off the excess fabric. I used pinking shears so the the fabric wouldn’t fray.
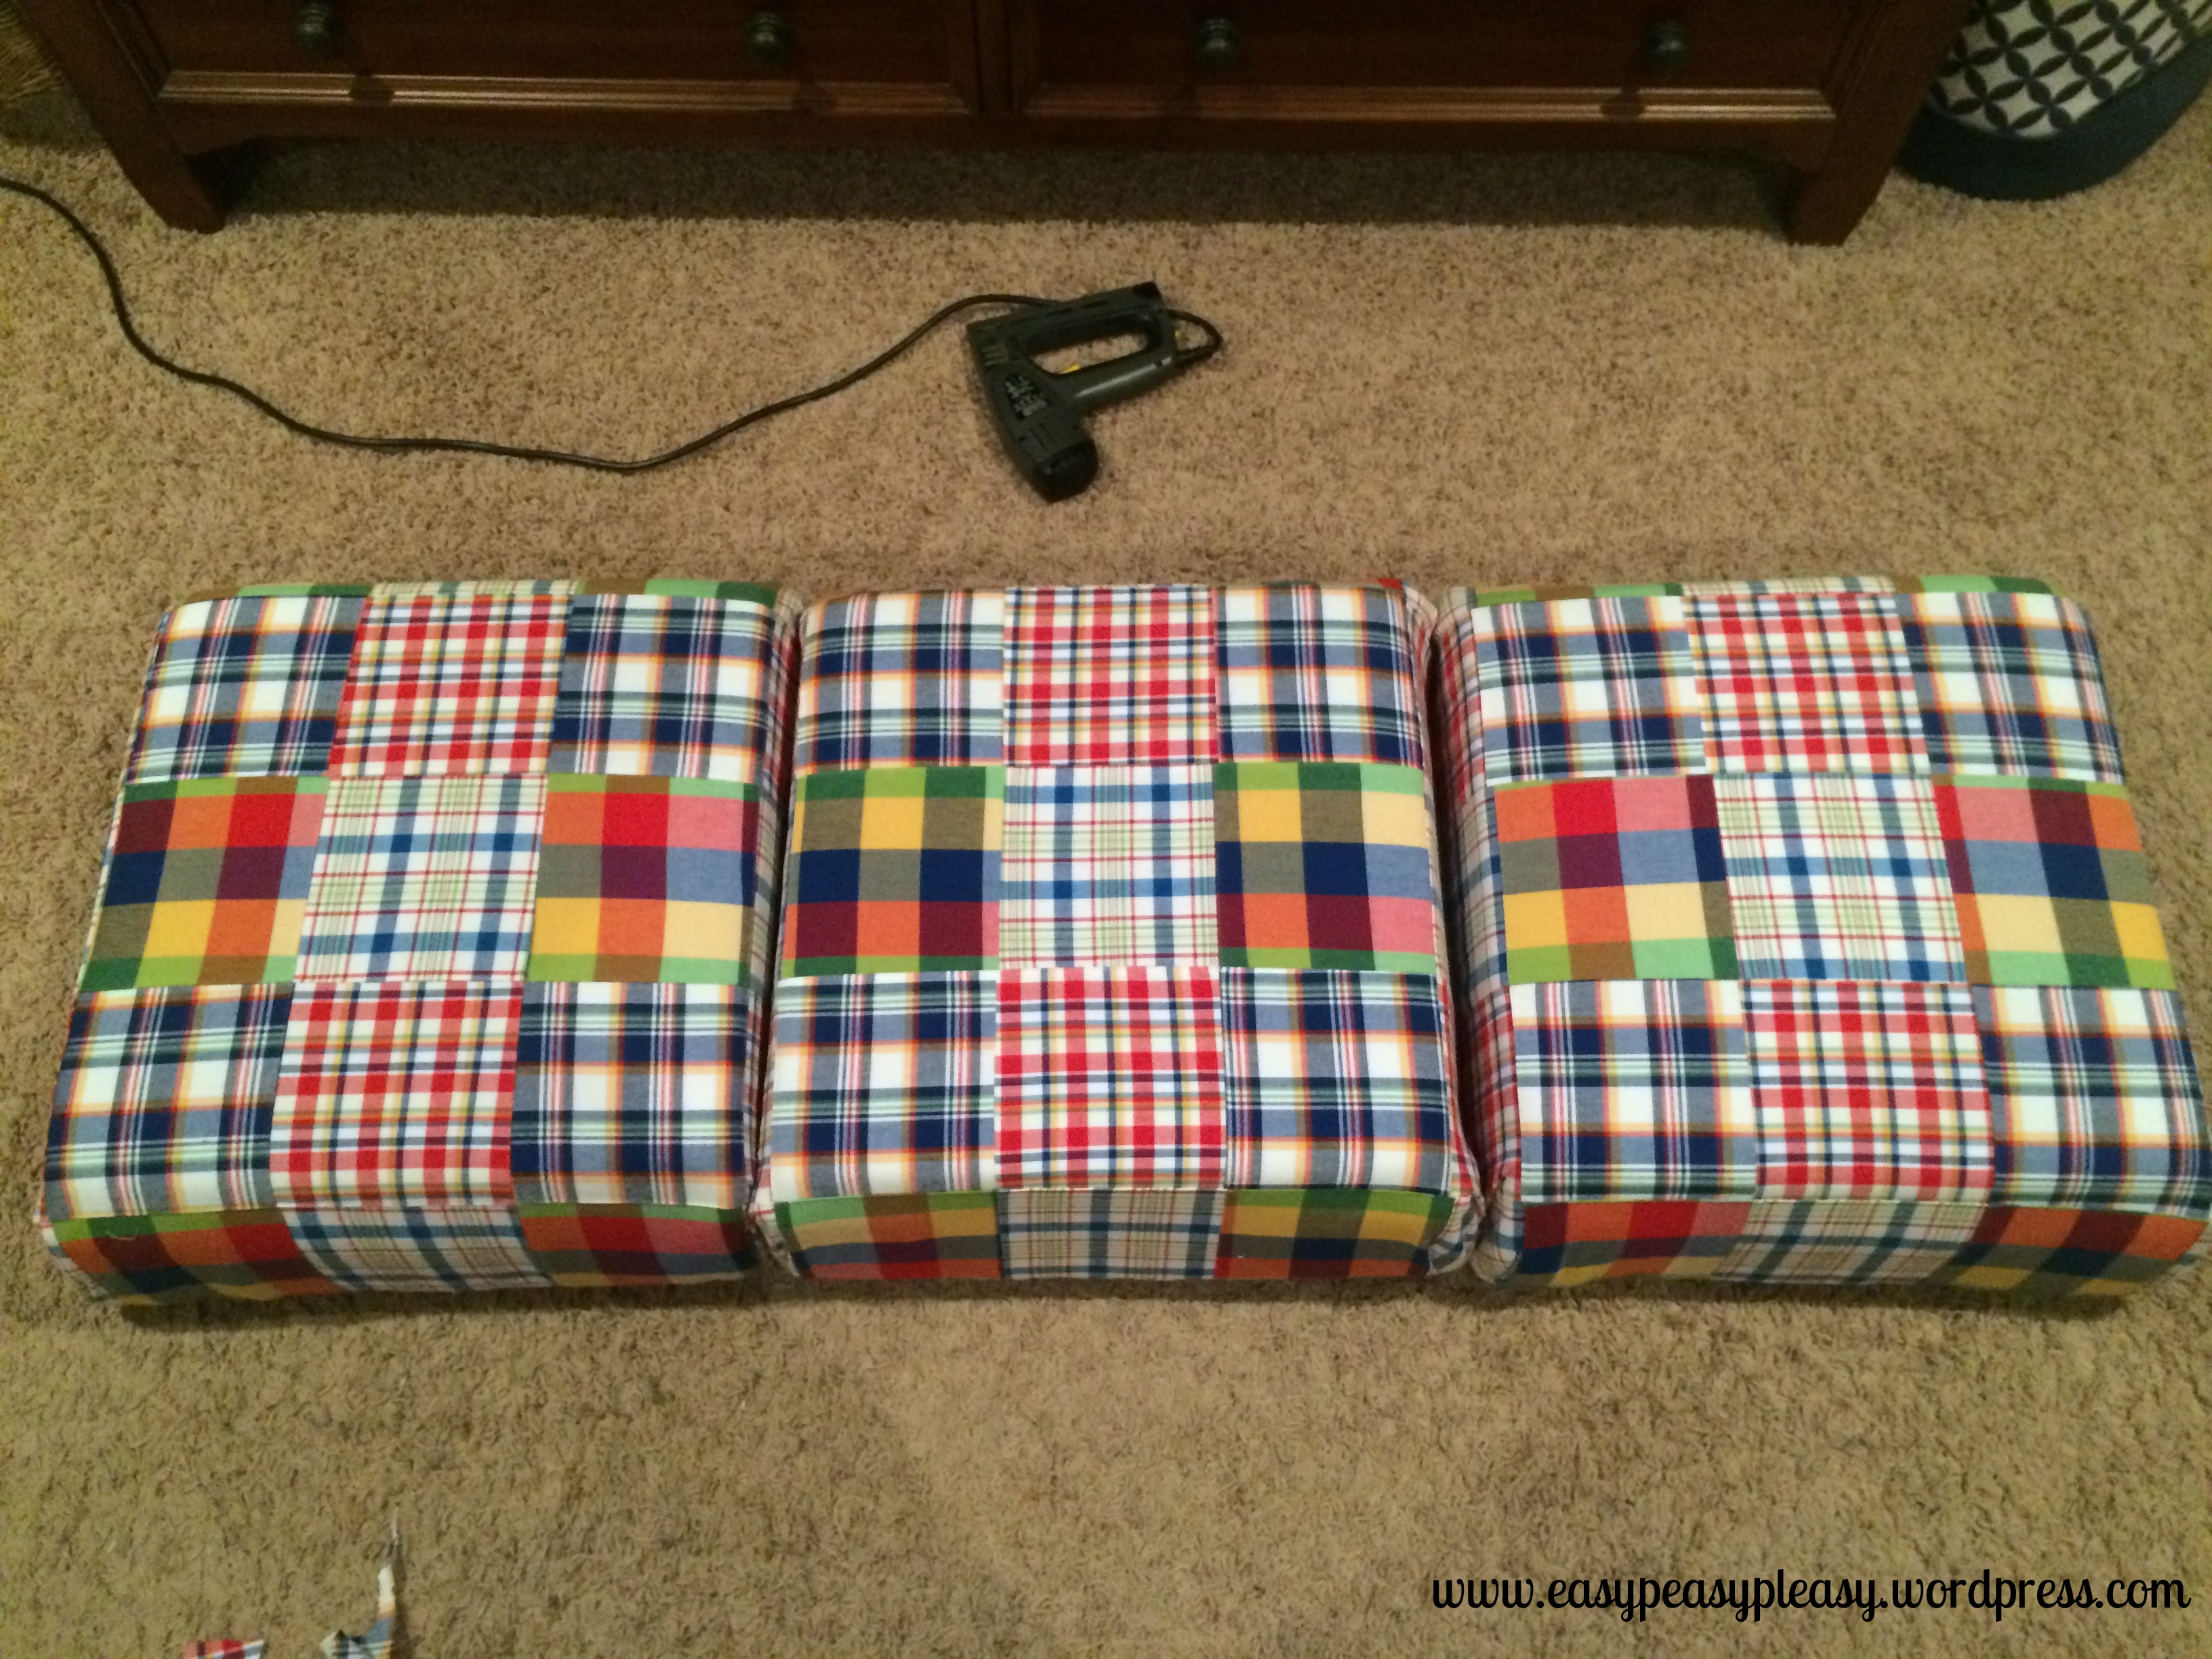
The seats are complete.
Next on the list was to paint the actual wicker piece. I debated this heavily in my mind due to it being such an old piece. But design wins out in the end. It was screaming…paint me!
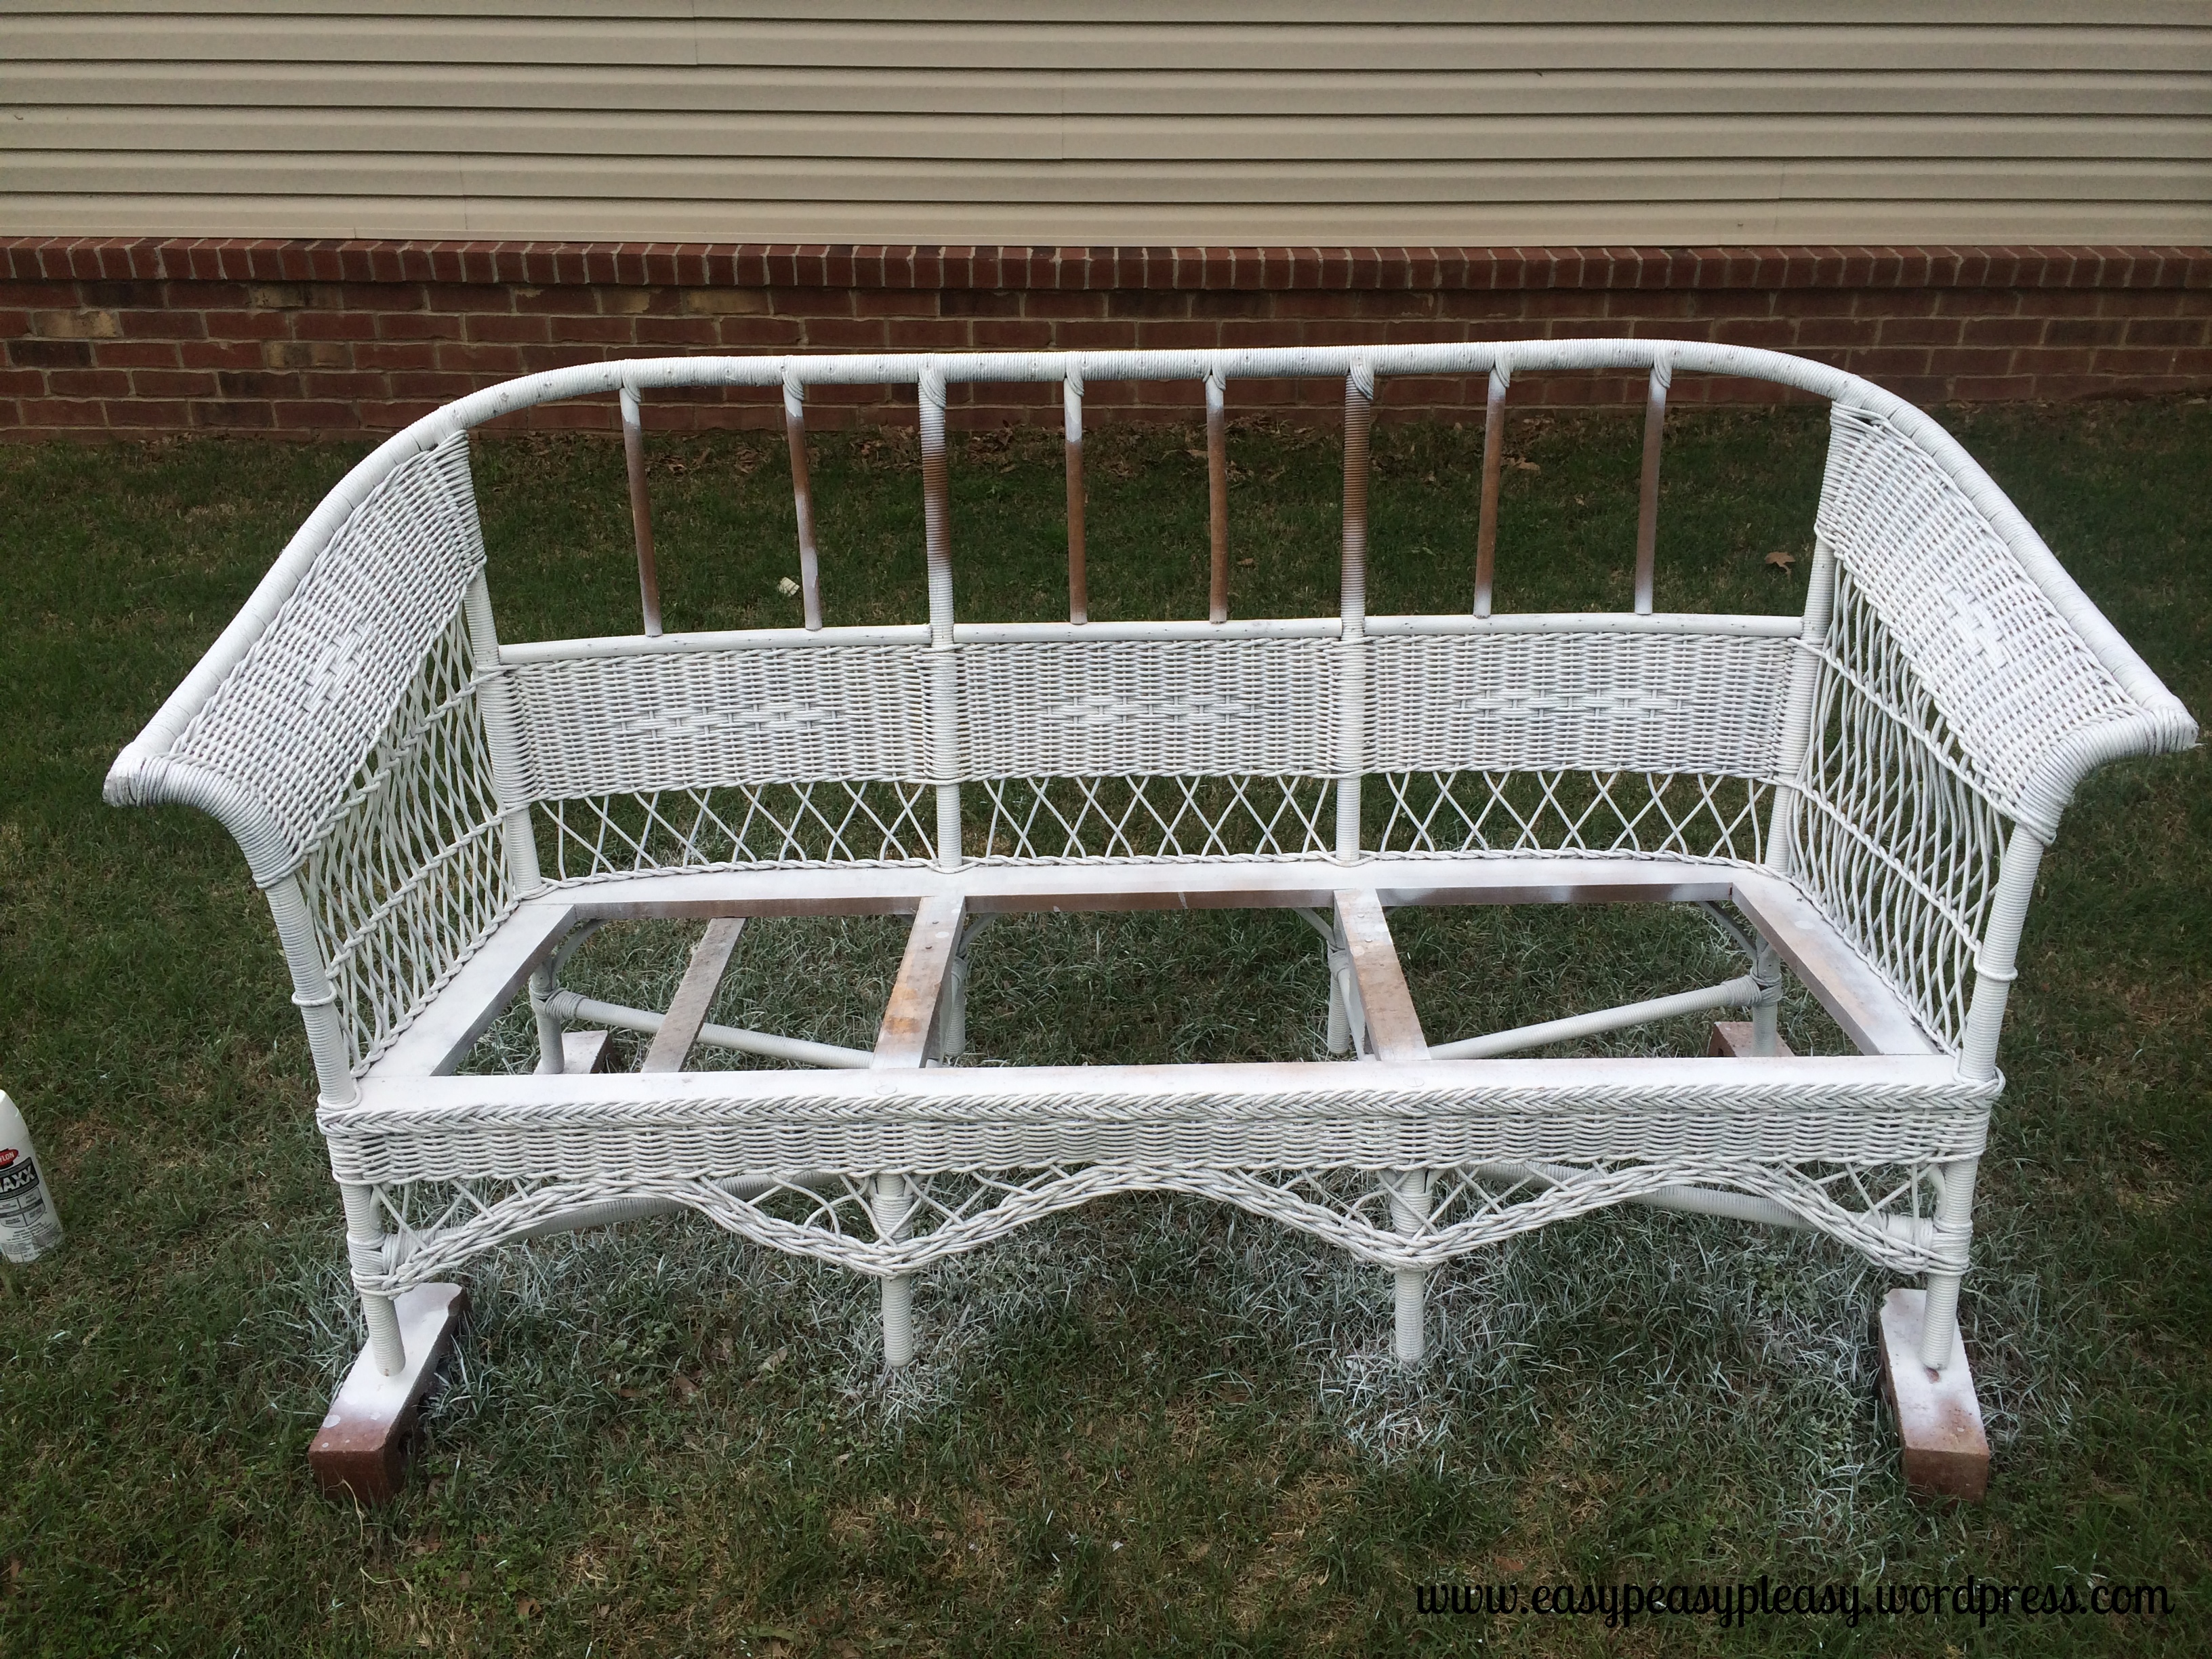
Once the wicker has been cleaned thoroughly you can use spray paint to get even coverage. I used white Rustoleum. It took about 8 cans in all. Make sure and flip your piece upside down for a few cans of the paint. I noticed by spraying the same areas but at a different angle it really covered well. Finally, I used 2 cans of clear coat to give some added protection and shine. In this picture you can see a big gap along the back. Let me show you what I used in this area.
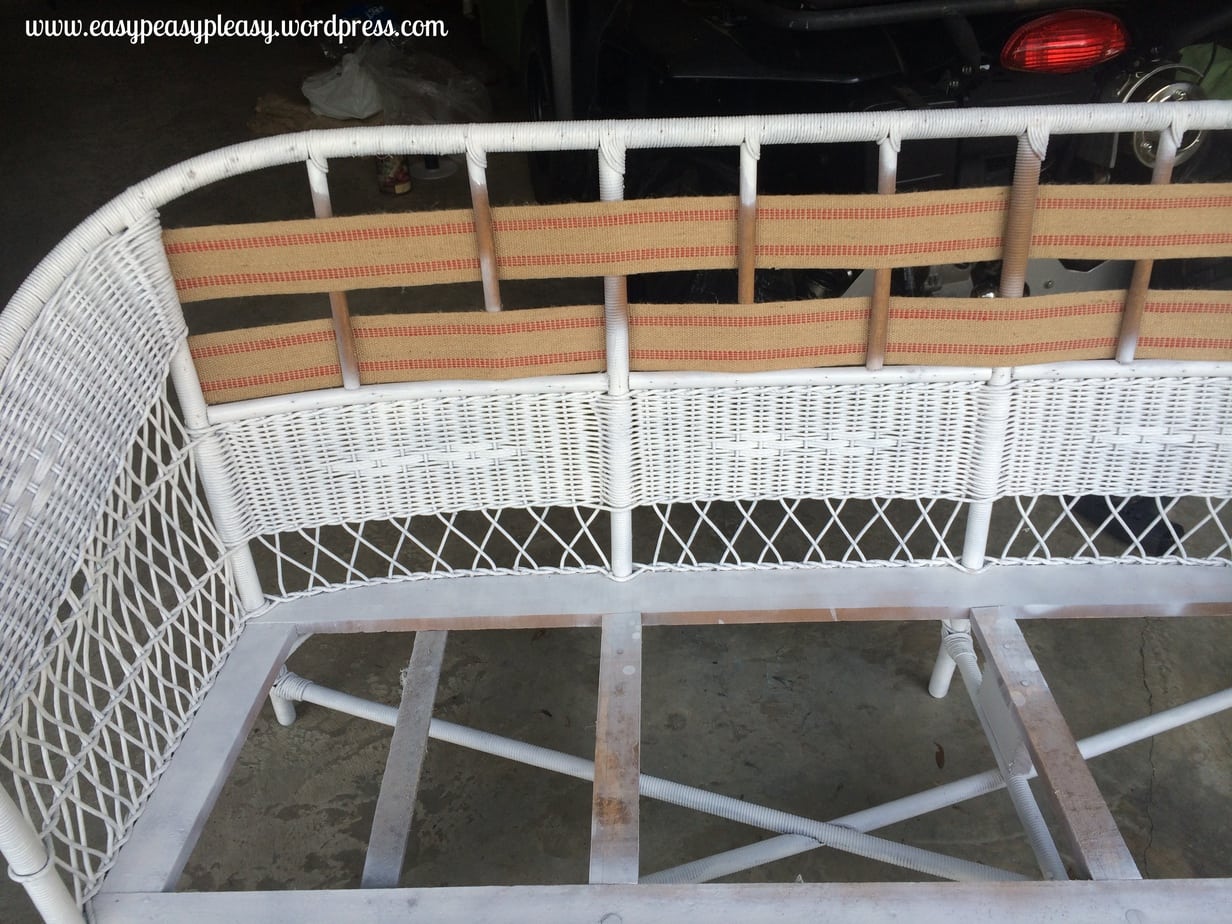
First I weaved some jute because I knew I wanted to add a cushion to the back. The jute would hold the cushion in place and not allow it to be pushed back.
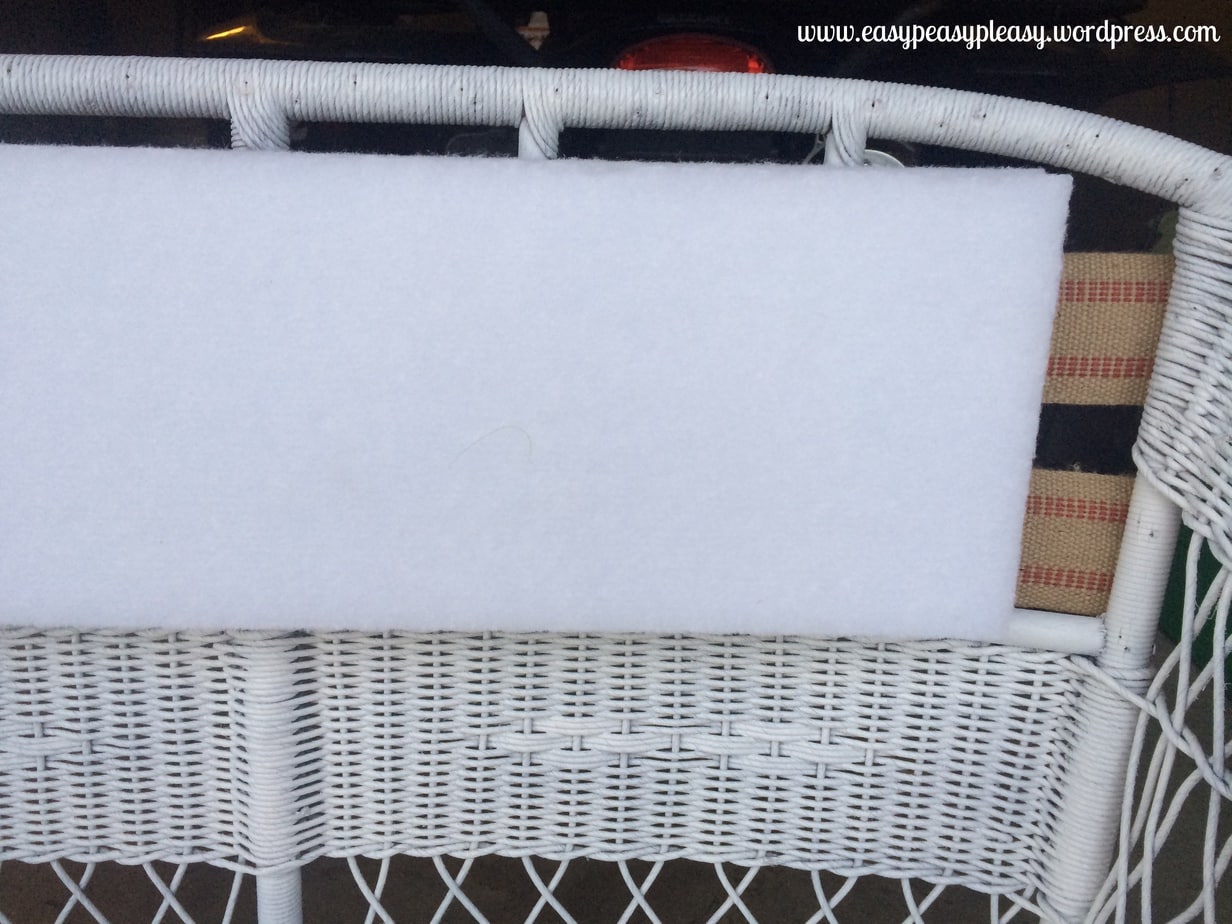
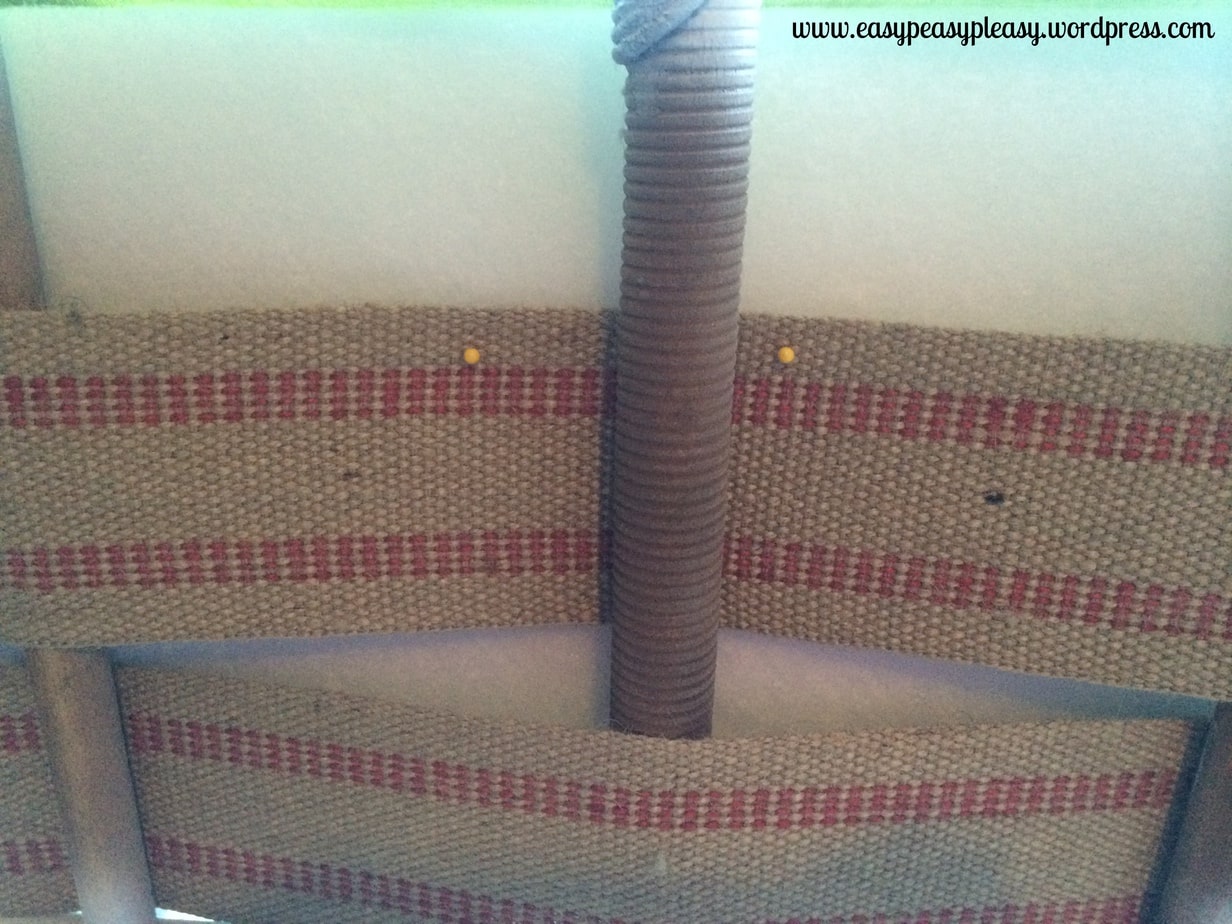
You are gonna love this! I used baby bumper pad cushions for the back. I doubled them up and held them in place with straight pins.
See the yellow dots? Those are the straight pins.
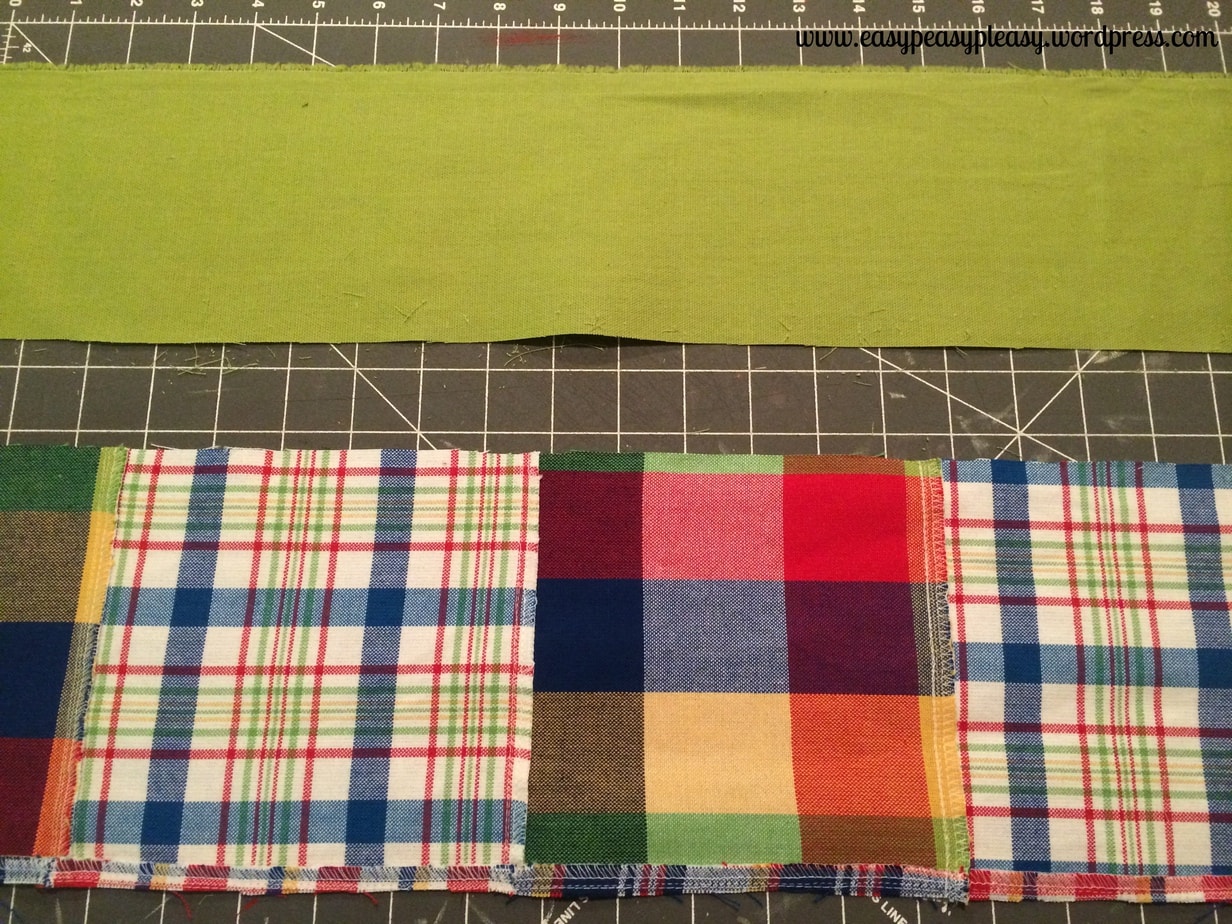
I measured the back and measured again. I wanted to make the back with a little contrast so I decided to use a strip of plaid and 2 strips of green.
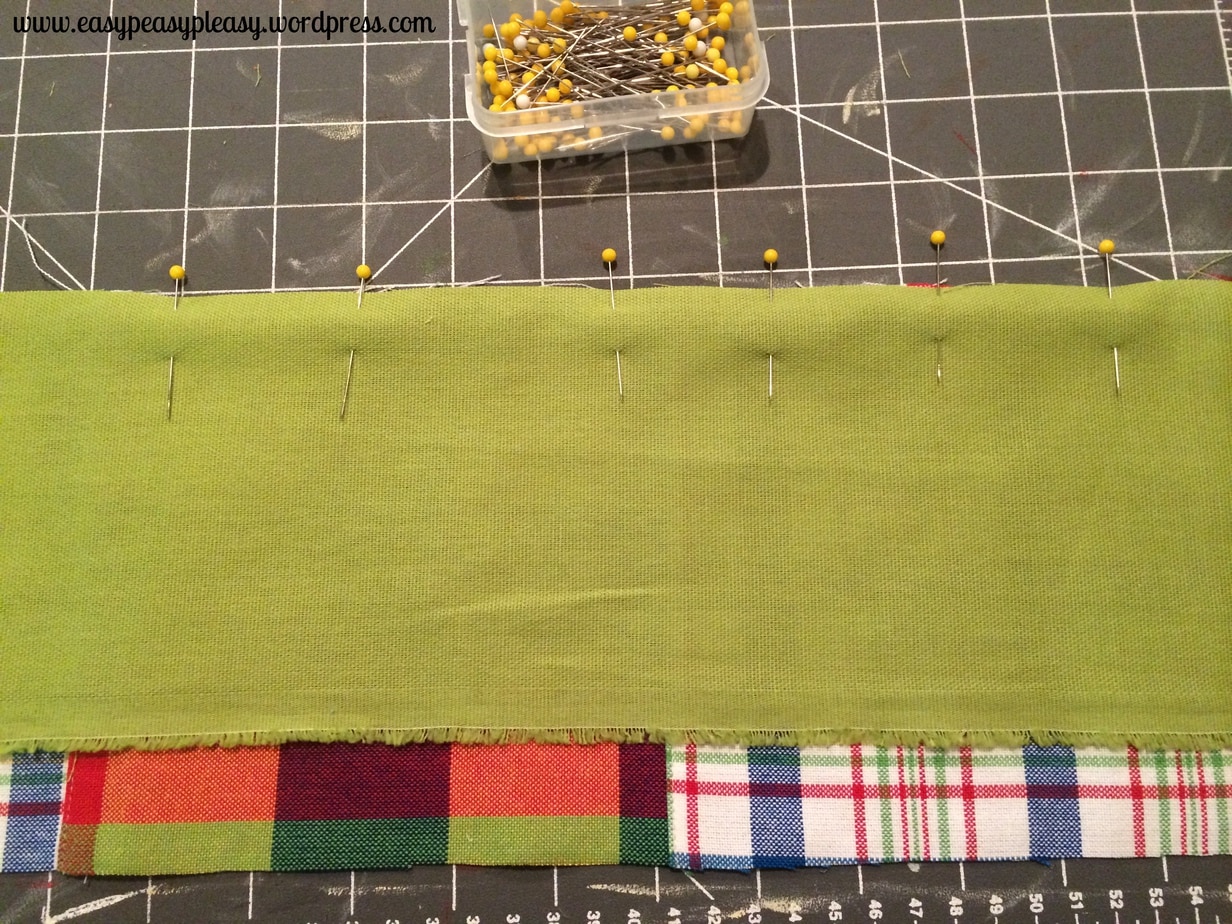
I pinned the first green strip right side to right side.
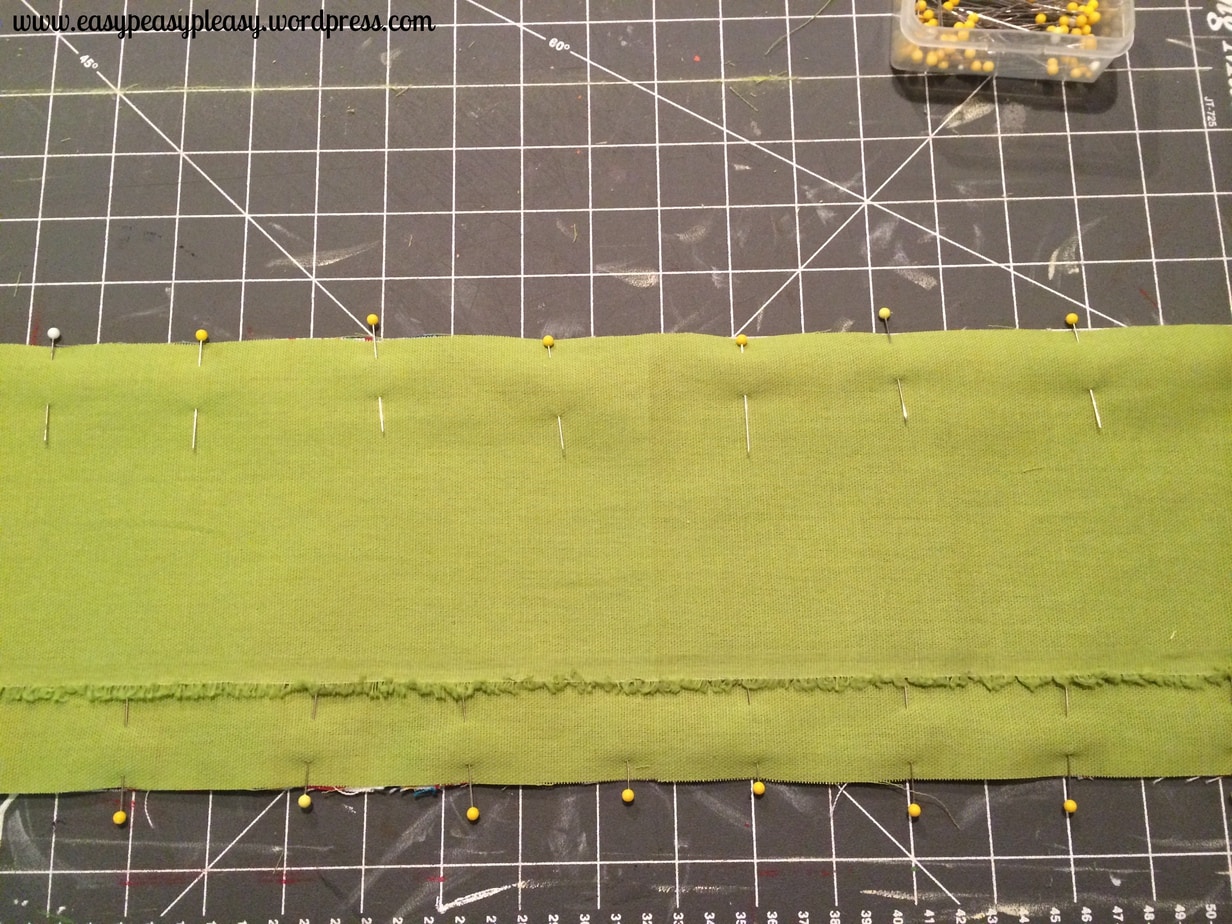
Then, I pinned the second green strip right side to right side and sewed it up. To make it easier and less hems to sew, I used the selvage sides of the fabric.
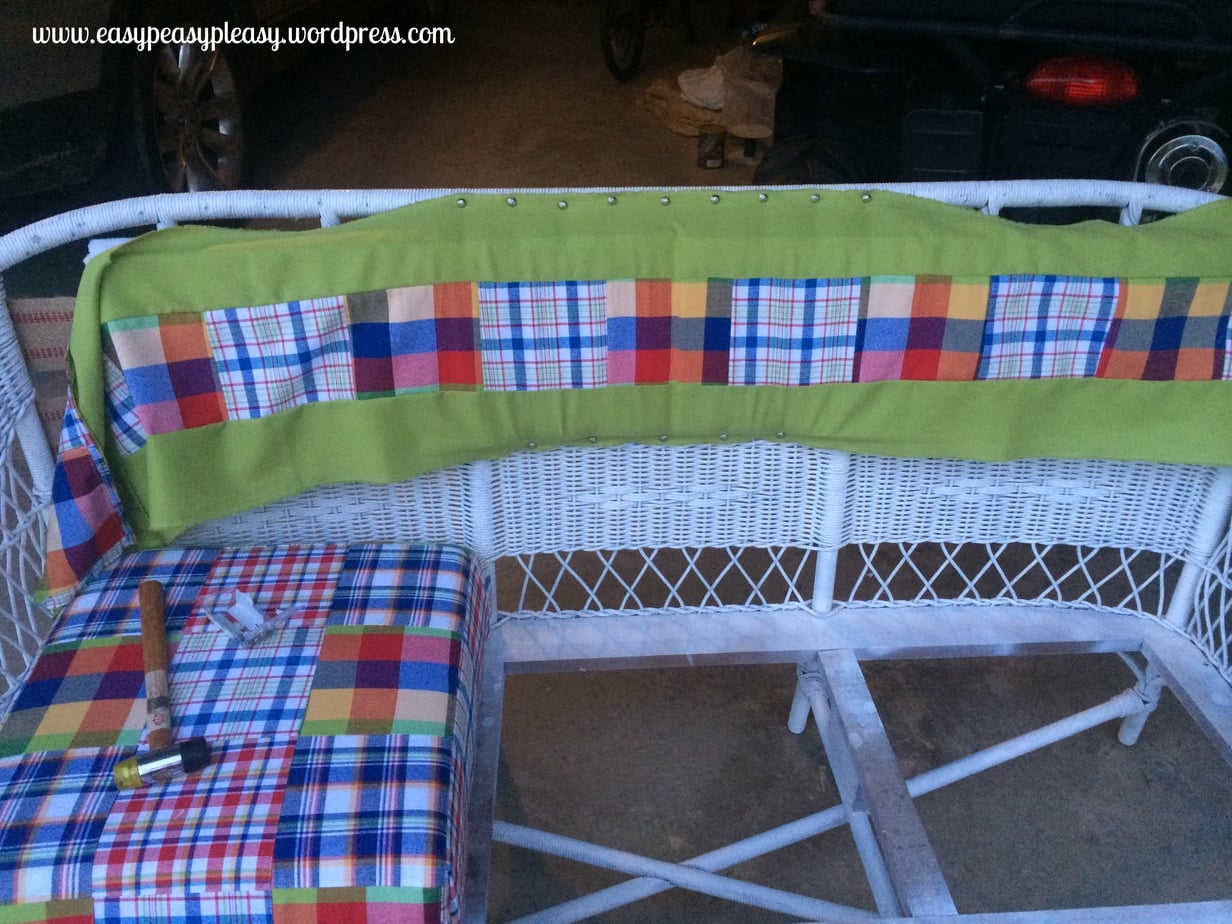
Finally, it’s time to attach the fabric to cover the back cushion.
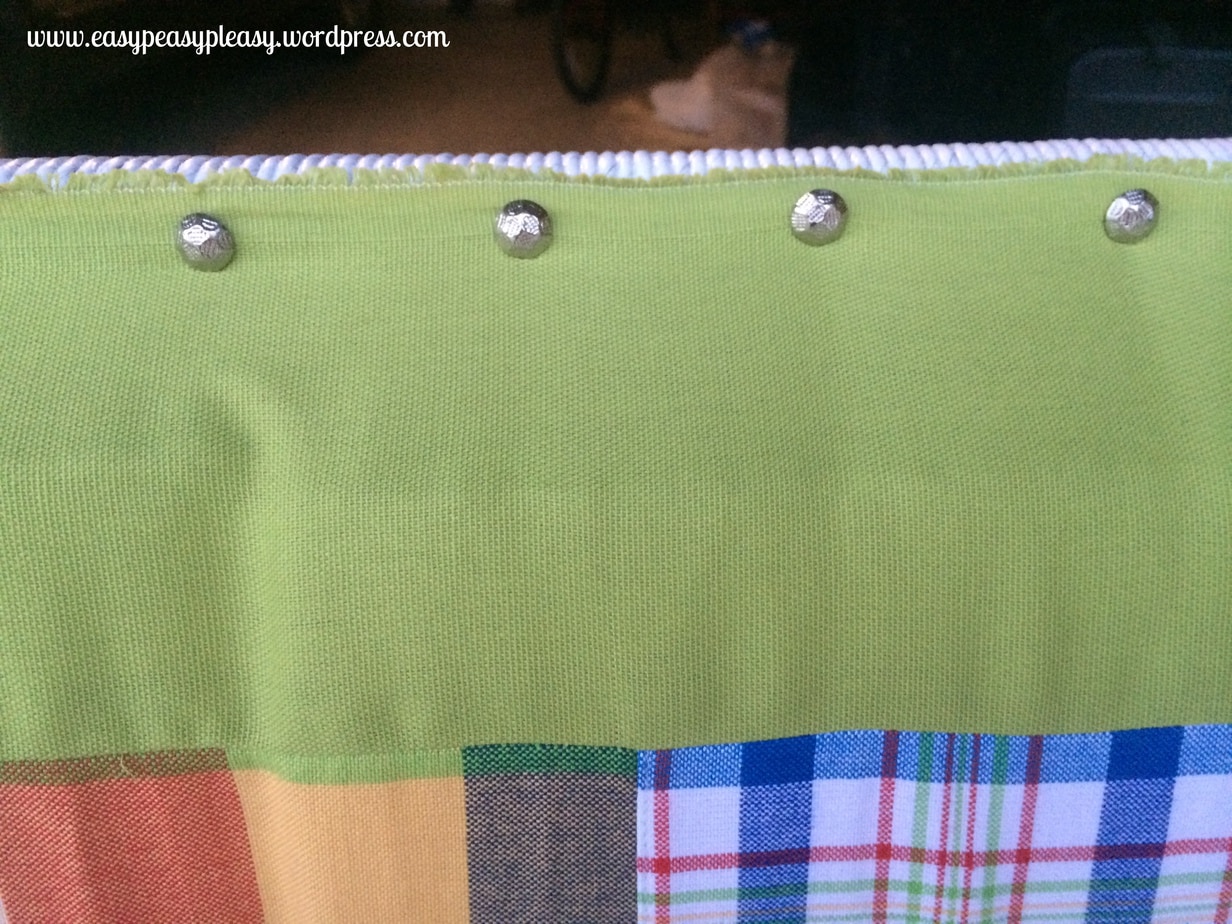
I used a bunch of cute upholstery tacks. I picked a tack that had a hammered look. I knew I would probably have to hammer some of them in and figured this way the tack wouldn’t look scuffed up.
I started in the middle and worked my way toward the ends. I just used the existing holes and hammered away!
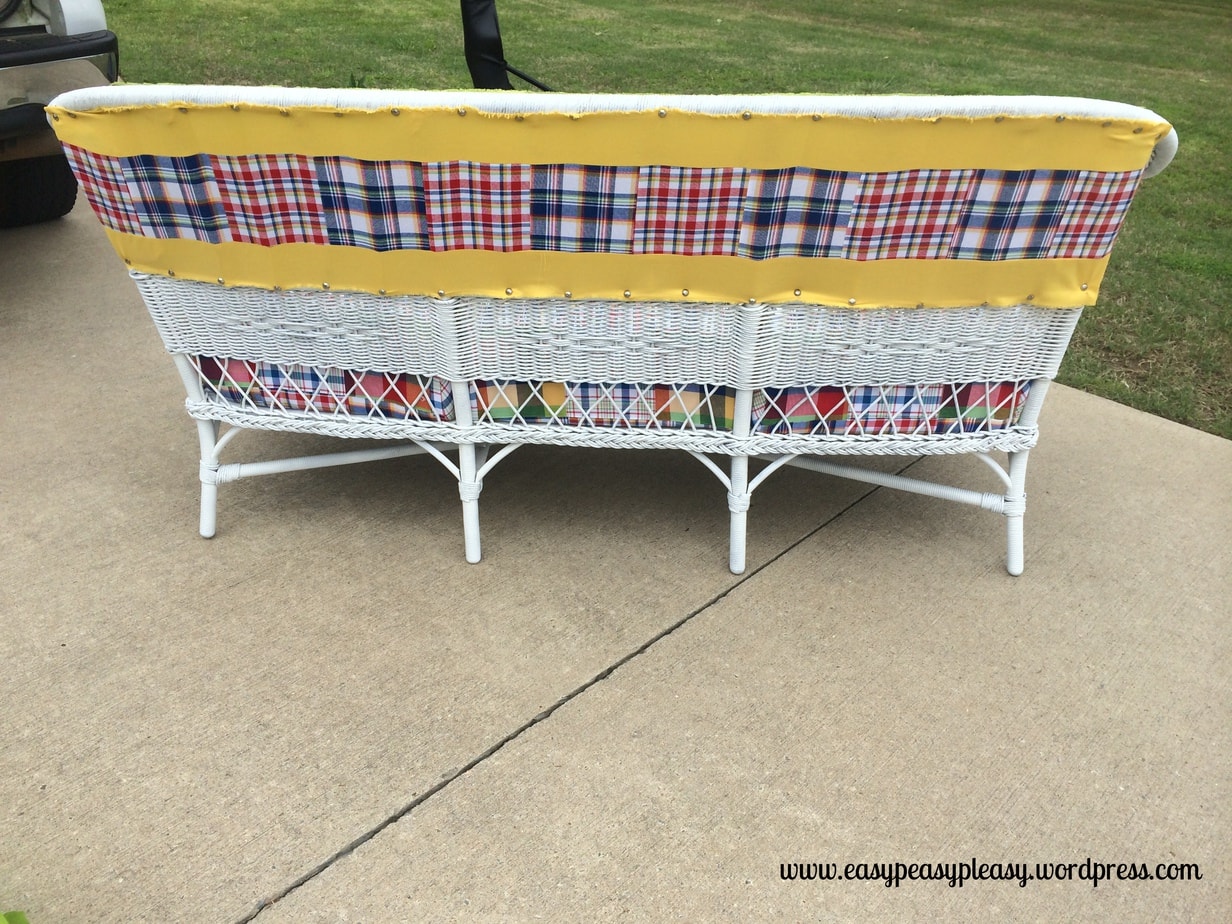
I also made a piece for the back.
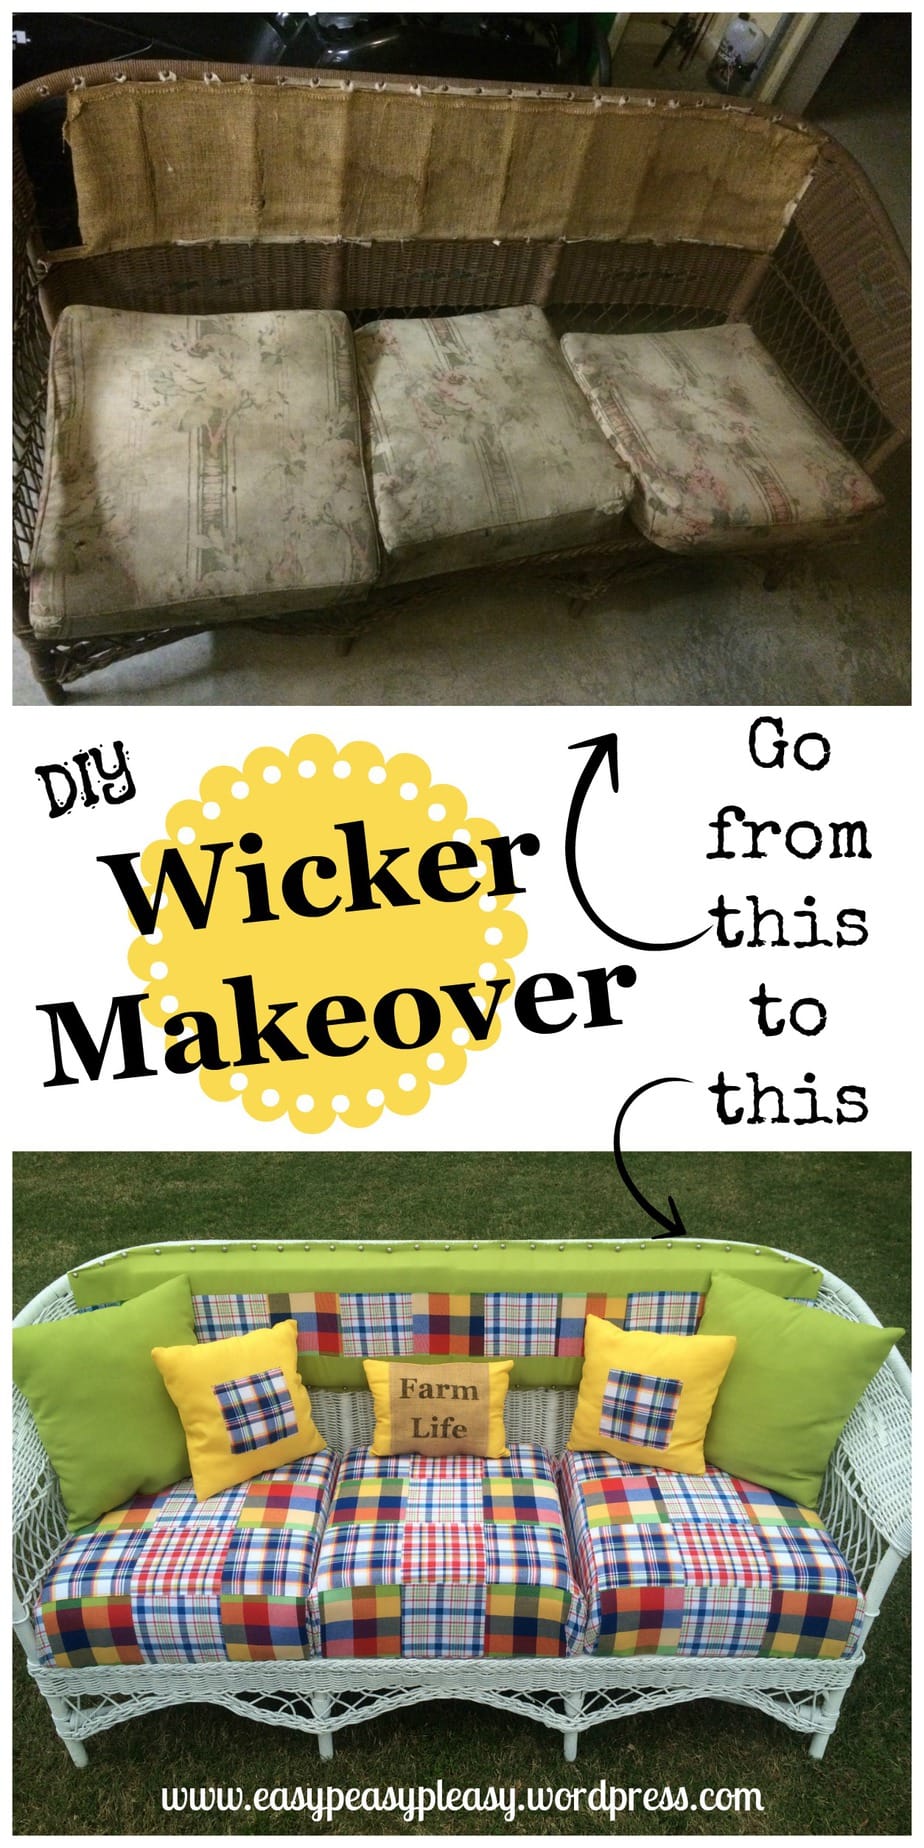
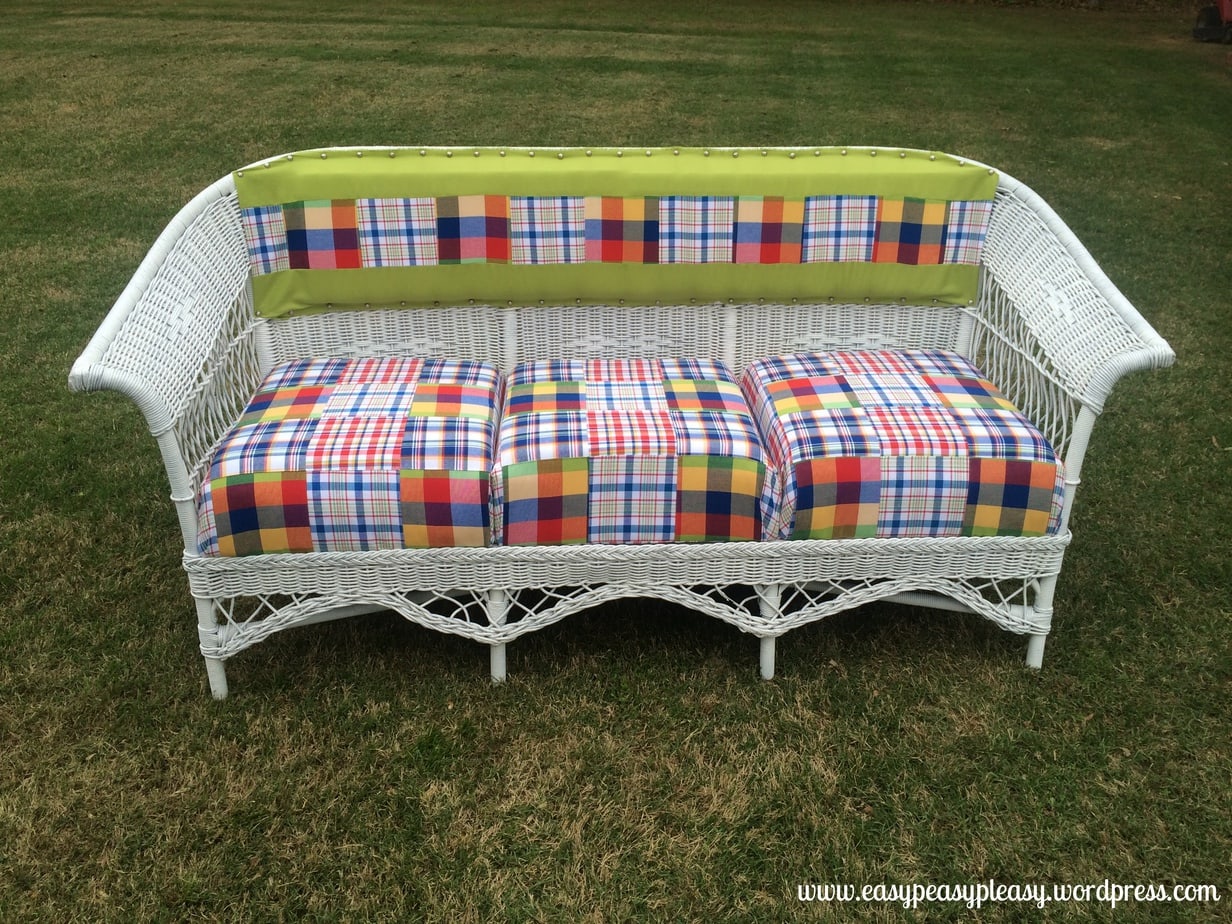
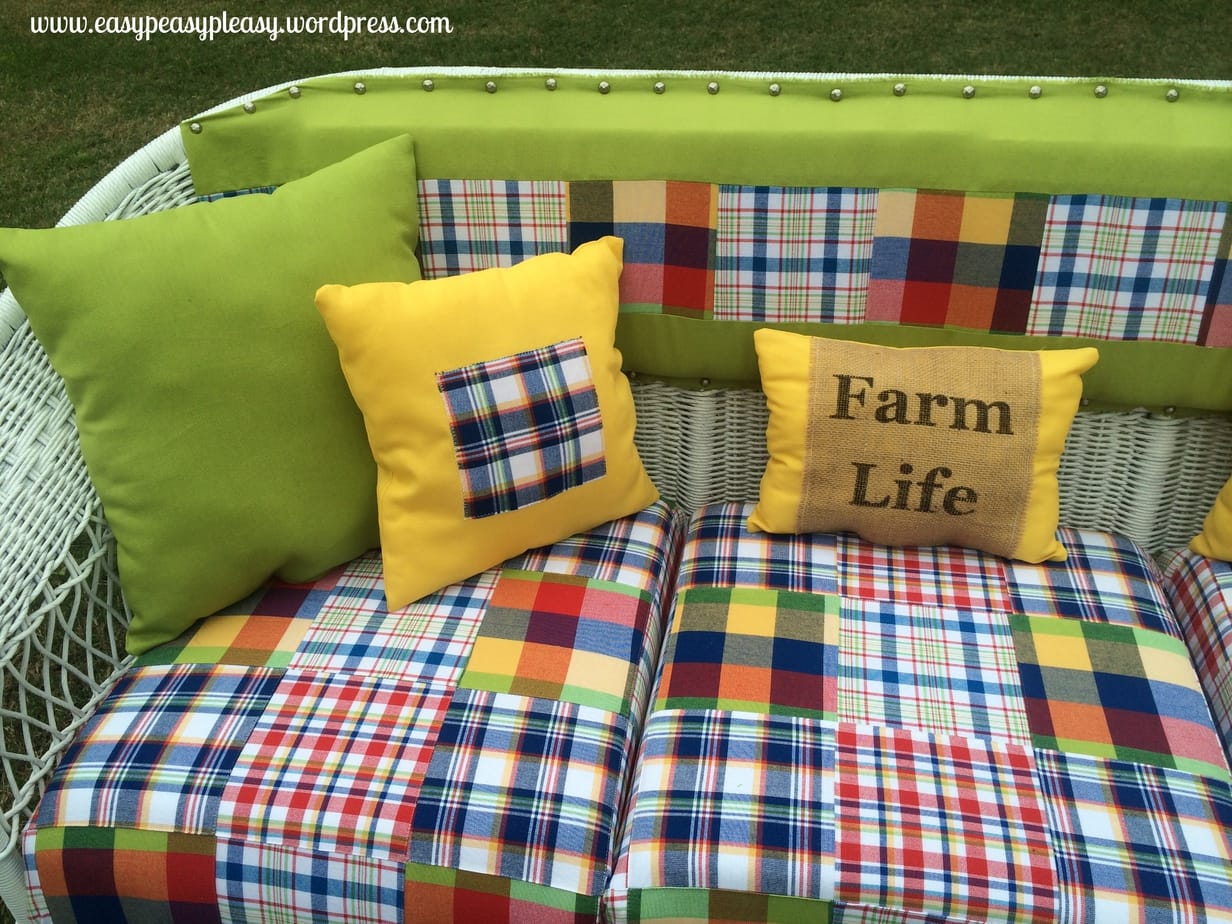
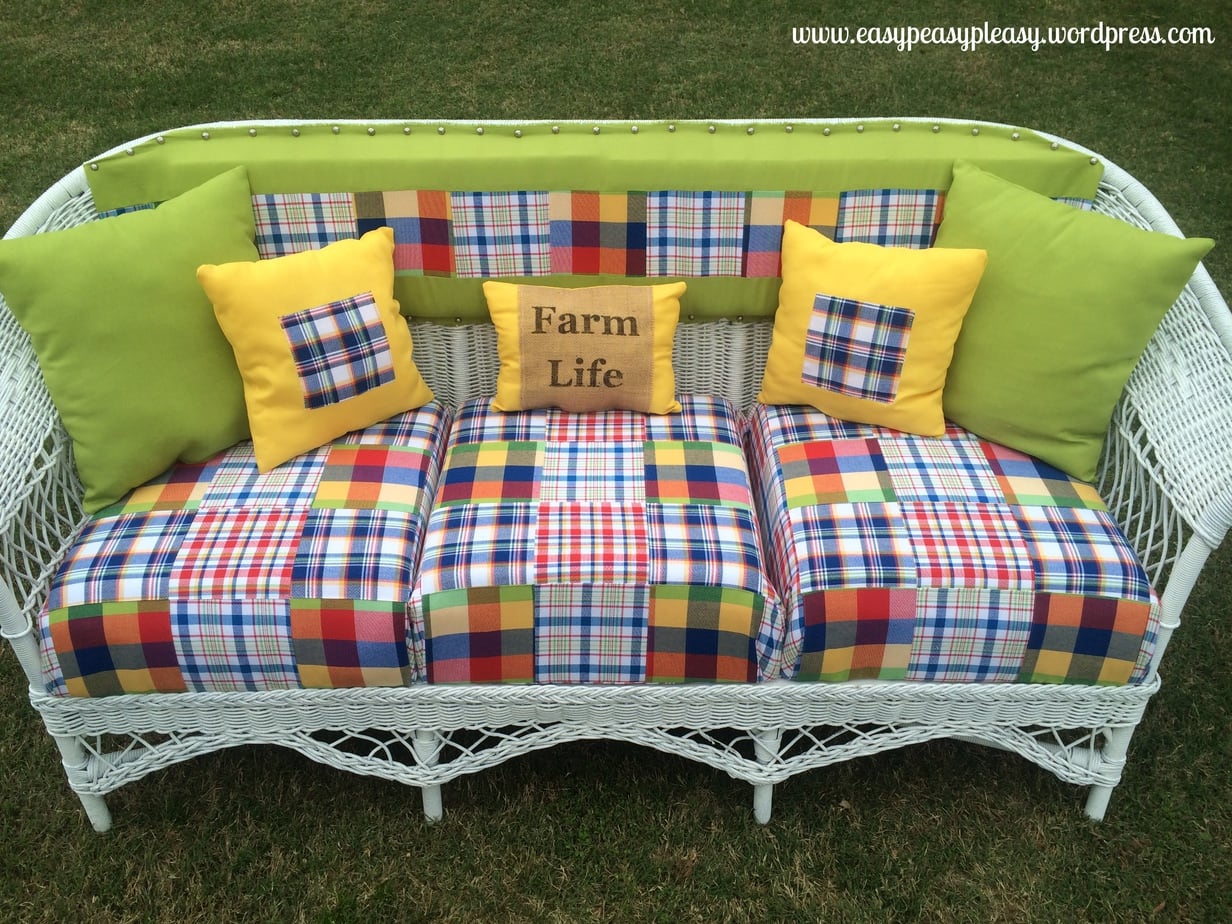
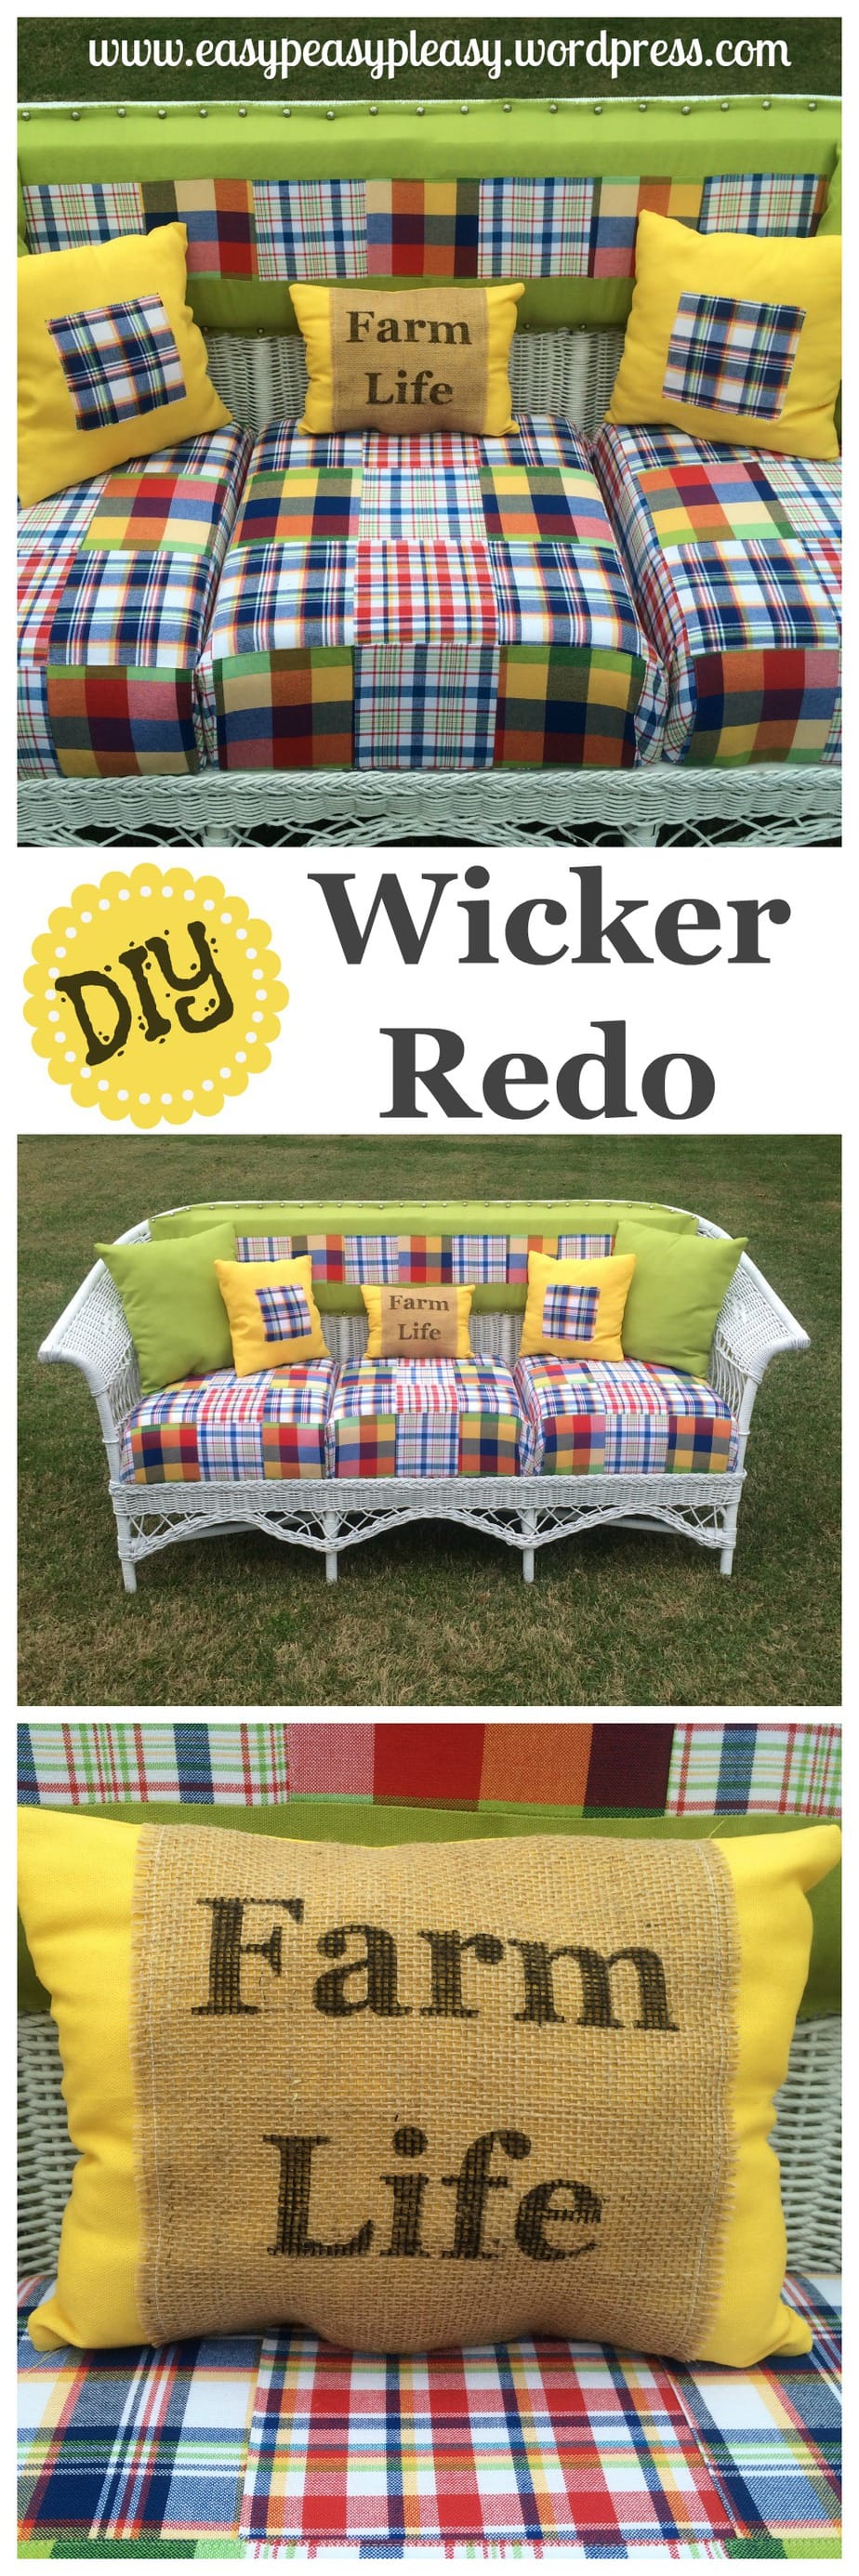
Voila! Completed wicker davenport!
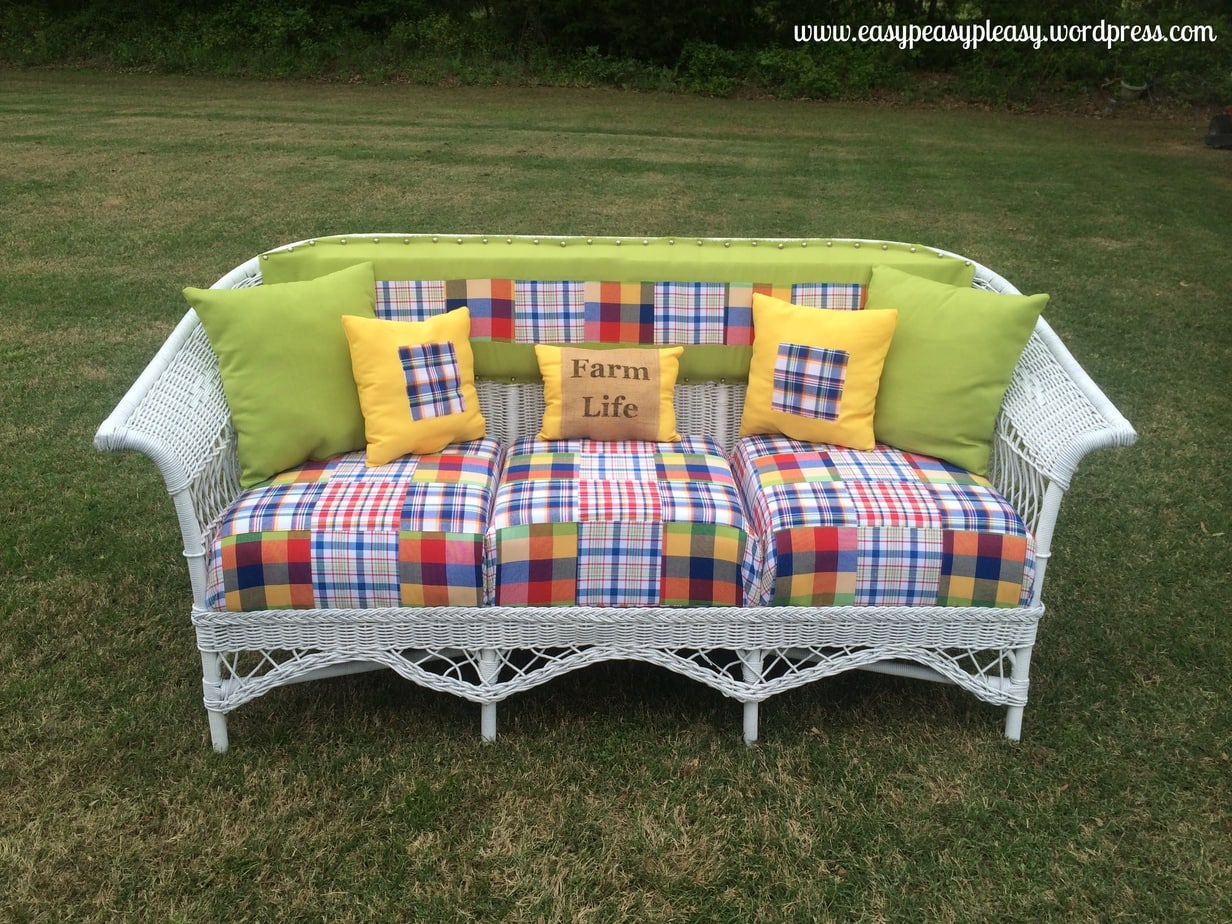
We had plenty of fabric leftover so I decided to spruce it up a bit more with some throw pillows.
I have a great tutorial for making envelope throw pillows here and a printable measurement cheat sheet here.
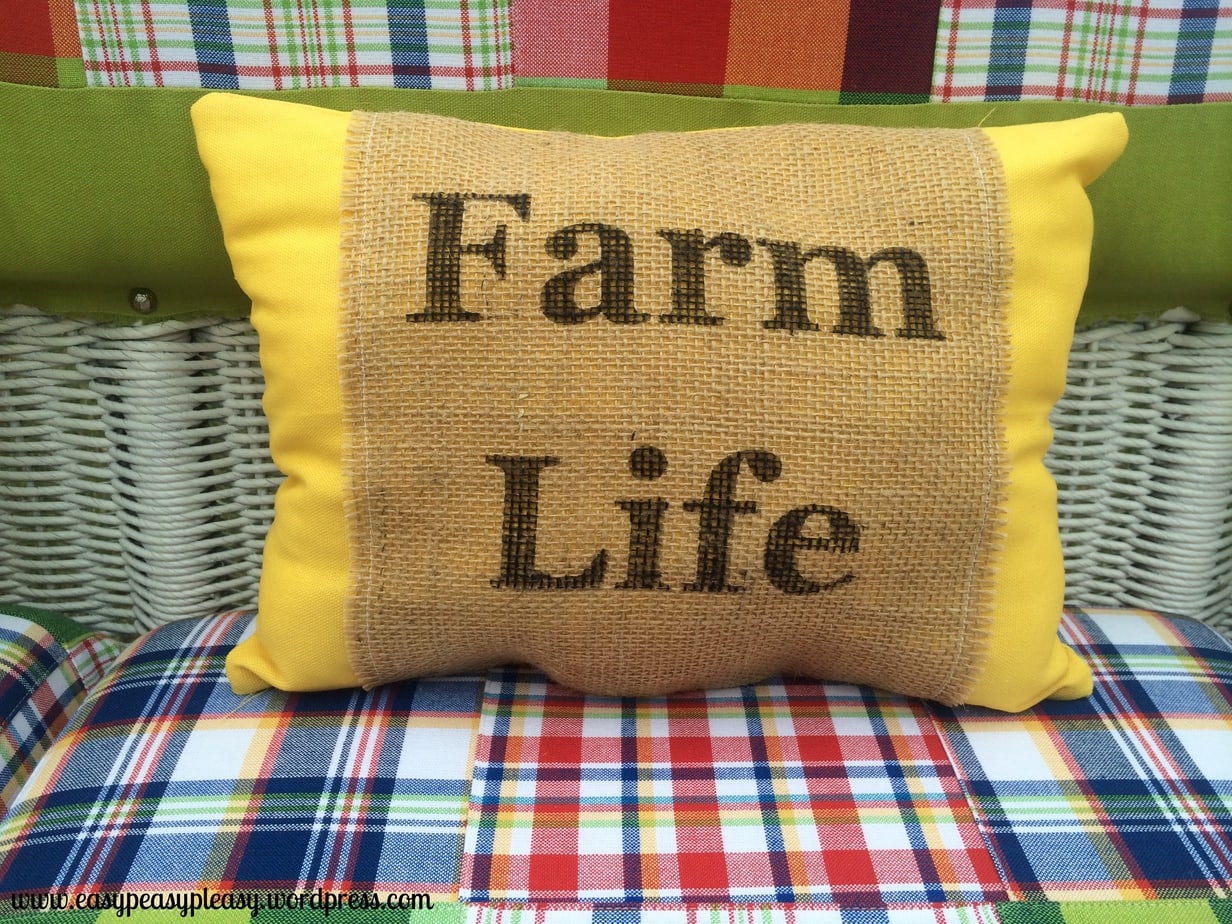
If you want to learn how to print on burlap, you should check out my tips here. Once I printed the burlap, I sewed it to the fabric and finished my pillow.
All in all the project wasn’t that hard. I just wasn’t real sure of the supplies I would need when I began. I kept getting on a roll and having to break my stride to go and purchase unforeseen items. I love how it turned out and was really sad to see it go. Debbie took it home and put it on her porch and asked Mrs Hannah to come over. When Hannah saw the piece she said, “I want it back.” That right there is all I needed, to know I had done a good job.
I have since found out that Hannah has a wicker rocker that goes with the Davenport. I am just patiently waiting to get my hands on that piece!
If you like this DIY project you should check out my other DIY projects. Just click on the DIY Category. Also, don’t forget to sign up to receive all things Easy Peasy right to your inbox.


Wow oh wow Lacie, you did an amazing job! I was there for a tiny bit of this remake and know you worked very hard on this project. Well done!! I’m sure Deb is thrilled.
(Mom stands in line patiently with arms flailing) My turn, my turn. Meaning I need your talents and energy at my new house where we have an enormous amount of projects awaiting us. Can’t wait. Hurry over!
Love love love my wicker davenport! You did an outstanding job and it looks wonderful on my porch! I so appreciate you girl!
Anytime!! I’m ready for the chair whenever you can get your hands on it!
I can’t believe you EVEN THOUGHT ABOUT REDOING THAT! I looked at the before picture and thought it was trash. I’m not one to throw stuff away but that things was dead. I can’t believe how much love and life you gave to that thing! I’m so very impressed, and now I want one for my porch (future porch anyways…). Amazing!!!
Thank you Melissa! It was a labor of love!
I found you from sew can do linky party and WOW! What a transformation! Great tutorial as well!
Thank you Shantel! It was a labor of love!
Just BEAUTIFUL! I love it!
Thank you!
This is such a STUNNING transformation! Seriously, you brought it back to life! Great job….I’m highly impressed! Pinned and shared on FB. 🙂
Thank you!!!
Oh my gosh – that is one spectacular makeover – the fabric is just perfect for the “” davenport “”
( I feel fancy saying that too lol )
xxx
Thank you! I’m cracking up right now!
OMG! You did a great job with this makeover! It looks great, especially compared to how it used to look! I love the plaid and green fabrics!
Navy Wifey Peters @ The Submarine Sunday Link Party
Thank you so much!
What an incredible makeover!
What is that fabric–I love it!!
Thank you! It’s similar to Cotton duck.
I loved reading all about what goes into restoring a piece like this… I think I would have felt completely overwhelmed when those wire springs were revealed! You did such a good job at not just re-covering the piece but restoring it! Now I bet it will last the test of time! Thanks for linking up with us at Welcome Home Wednesdays… can’t wait to see you next week!
You did a wonderful job, wicker is so hard to work with or even paint. I am in the process of cleaning and giving my front porch wicker a new coat of paint, not looking forward to it. I loved the material you used in the upholstery.
Thank you so much Sandy! Wicker is definitely not the easiest to paint. I think the worst part is the fact that it soaks up so much paint so it’s a little time consuming. Sometimes you just gotta put your mind to it and get it done. You will love it so much more once you put all that work into it!
Wow Lacie! What an wonderful job you did on this wicker Davenport. It looks fabulous painted white and the fabric is so fun. So many great tips in this post too, and a great story. I’d love if you’d share this amazing rescue at Vintage Charm, which is all about vintage, repurposing, and upcycling. The party’s on right now. I hope to see you there. Tuula 🙂 P.S. Great pillows too. http://thriftyrebelvintage.com/2016/02/vintage-charm-19.html/
Thank you Tuula! I headed to your link party! Thank you for the invite! I will grab your link party button ASAP!
Hey Lacie! I just wanted to pop back in and say thanks so much for sharing this amazing makeover at Vintage Charm. I’ve pinned it and shared on Facebook. 🙂 Tuula
Wow. I bought a couple of matched glider rockers in wicker, that were rather damaged, just knowing there was some way to fix them.
Now I know the way!
Just have to get up the nerve! 🙂
Thanks for this inspiration!
Hey Katherine! You can do it!!! I was scared too but finally managed to tackle. If you get stuck just let me know. I’m always here for advice.