I have been knee deep in DIY projects lately. I finish one to start another and finish that one to start again. I love it though! I like to keep the creative juices flowing. Plus, when my family or friends need a helping hand, I just can’t refuse! I have posts coming soon about all these DIY projects. I’ve been giving little sneak peaks on Facebook and Instagram, so check those out if you want to see what’s coming up. During these big DIY projects, I did squeeze in a couple smaller projects I want to share you. This project is so easy! If you have a sewing machine, you can whip this up in an hour.
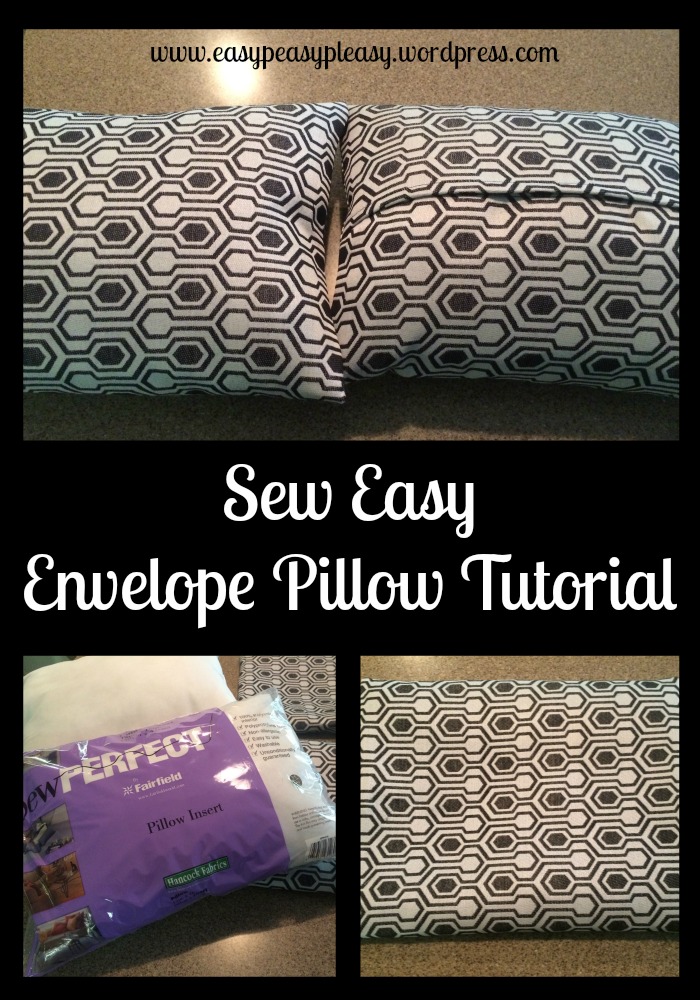
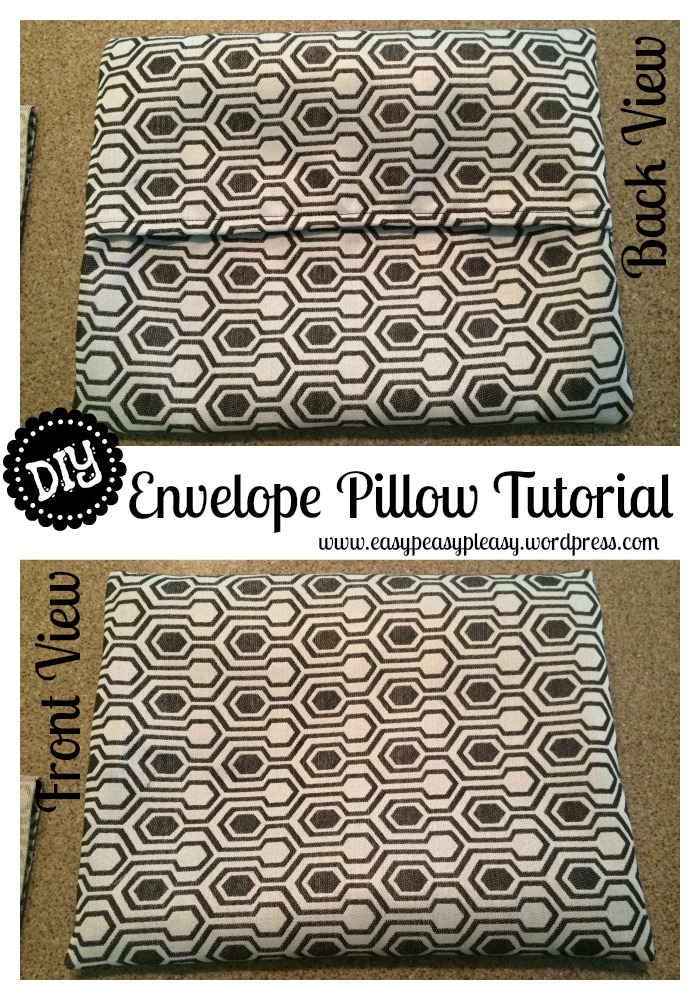
I worked on a project with some really good friends last weekend (post coming soon) and was asked if I could make some throw pillows. My answer…heck yeah! Throw pillows are about the easiest thing you can make! My tip is to buy pillow forms and make covers. You will always have the pillow forms and if you get tired of the design on the cover you can always make new covers. These easy envelope pillow covers are quick to make and you can change them out anytime your heart desires!
The first step is to pick out the size pillow form you will be using. The pillow forms used in this tutorial are 12×16. If you are using this size then you can go ahead and cut your fabric out with the measurements of 28×18. Basically you want to double the first measurement and add 2 inches for seam allowance and overlap. Then with the second measurement you want to just add and inch for each side hem. I have a handy guide for all different size pillow forms here.
Now that we have the fabric cut out, it’s time to hem the short ends.
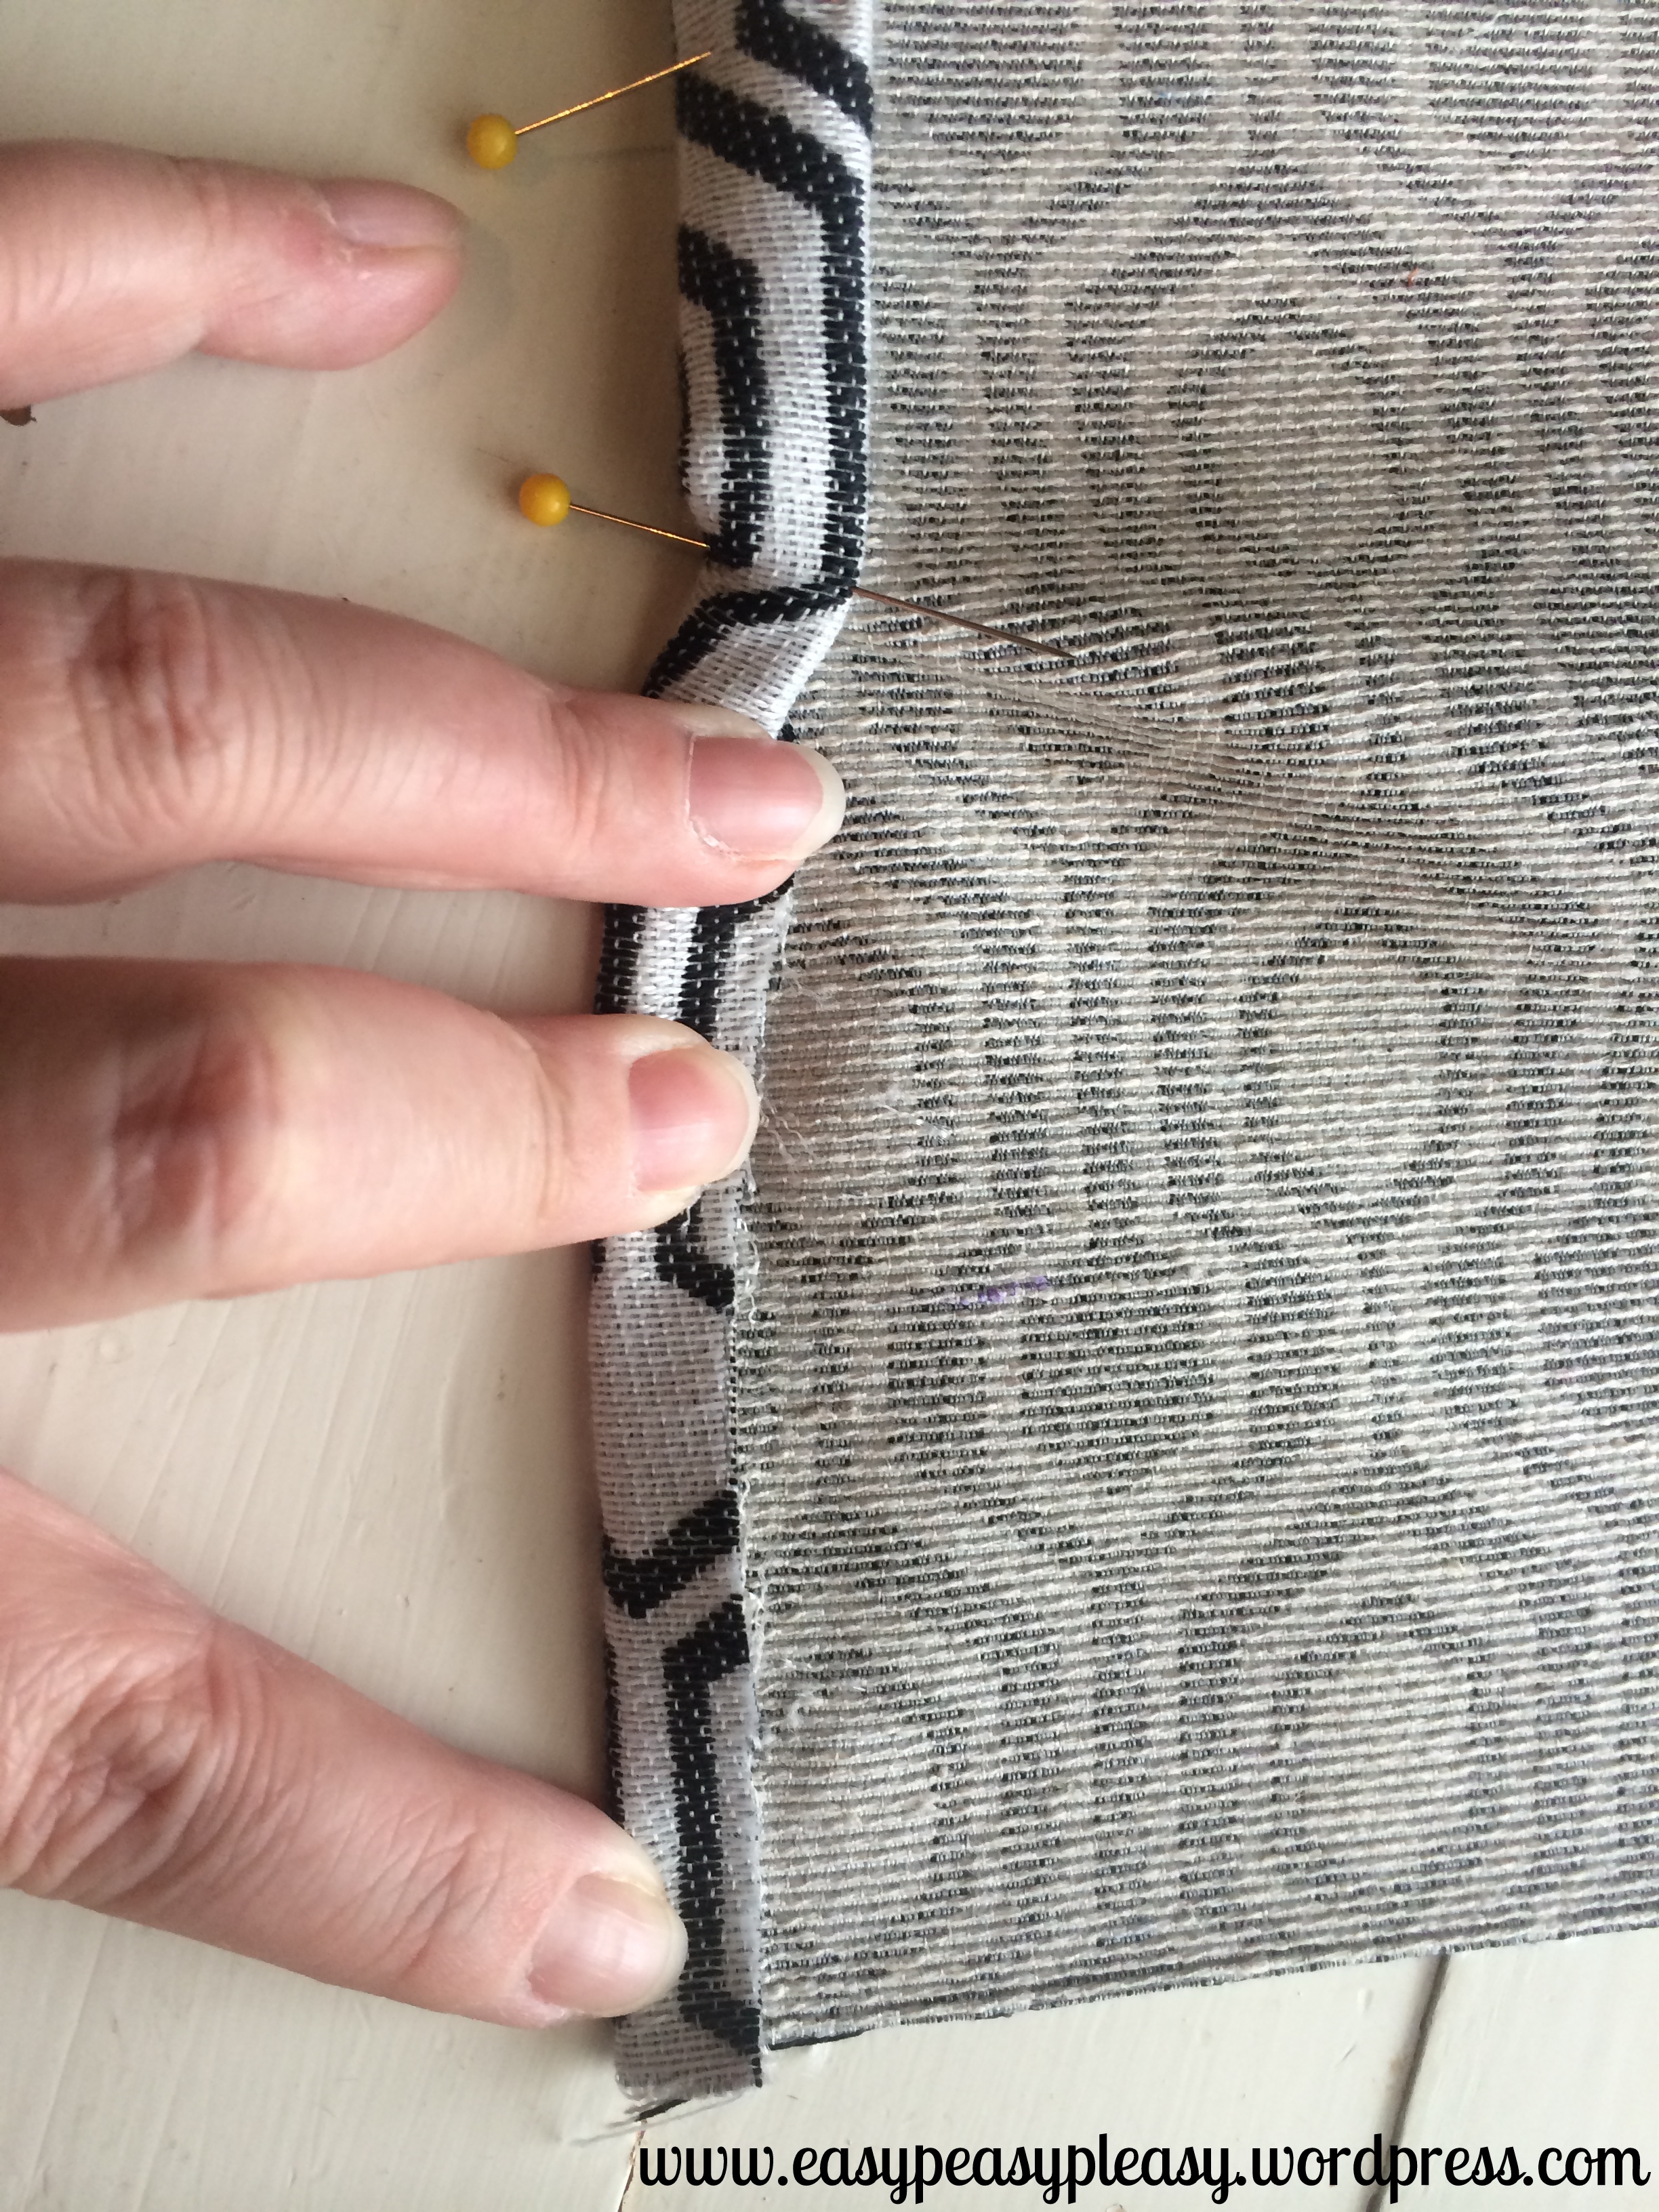
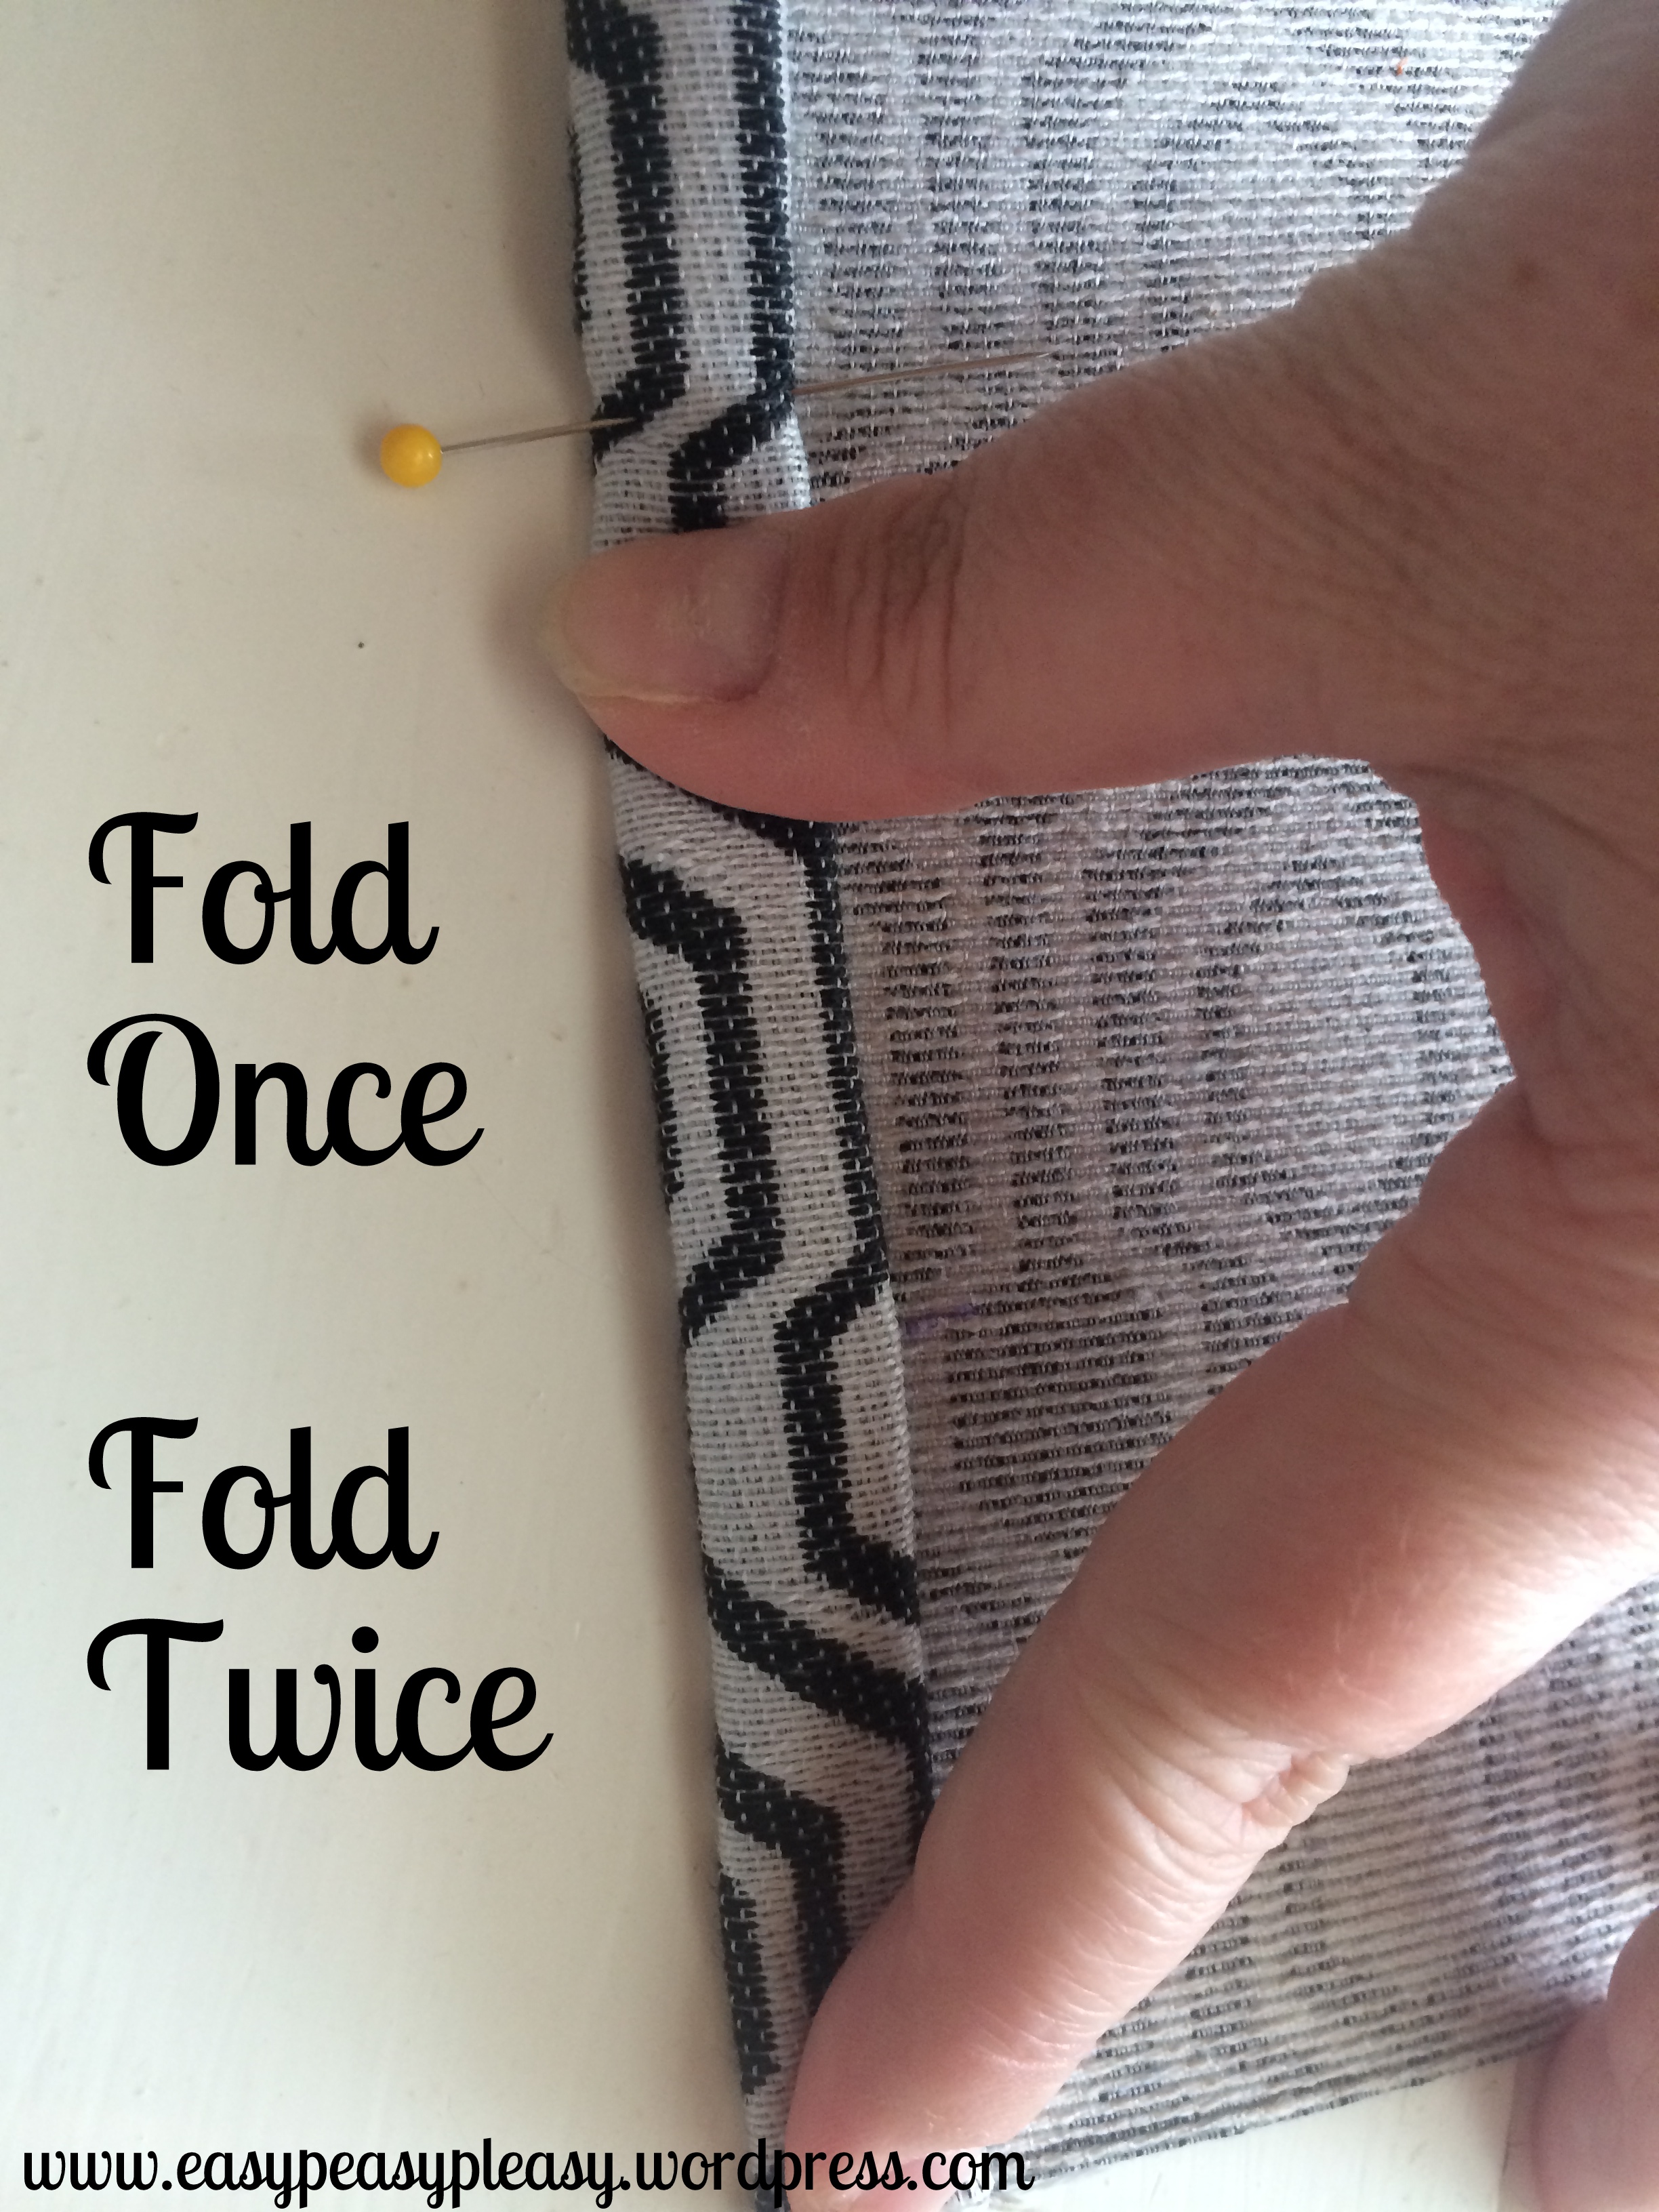
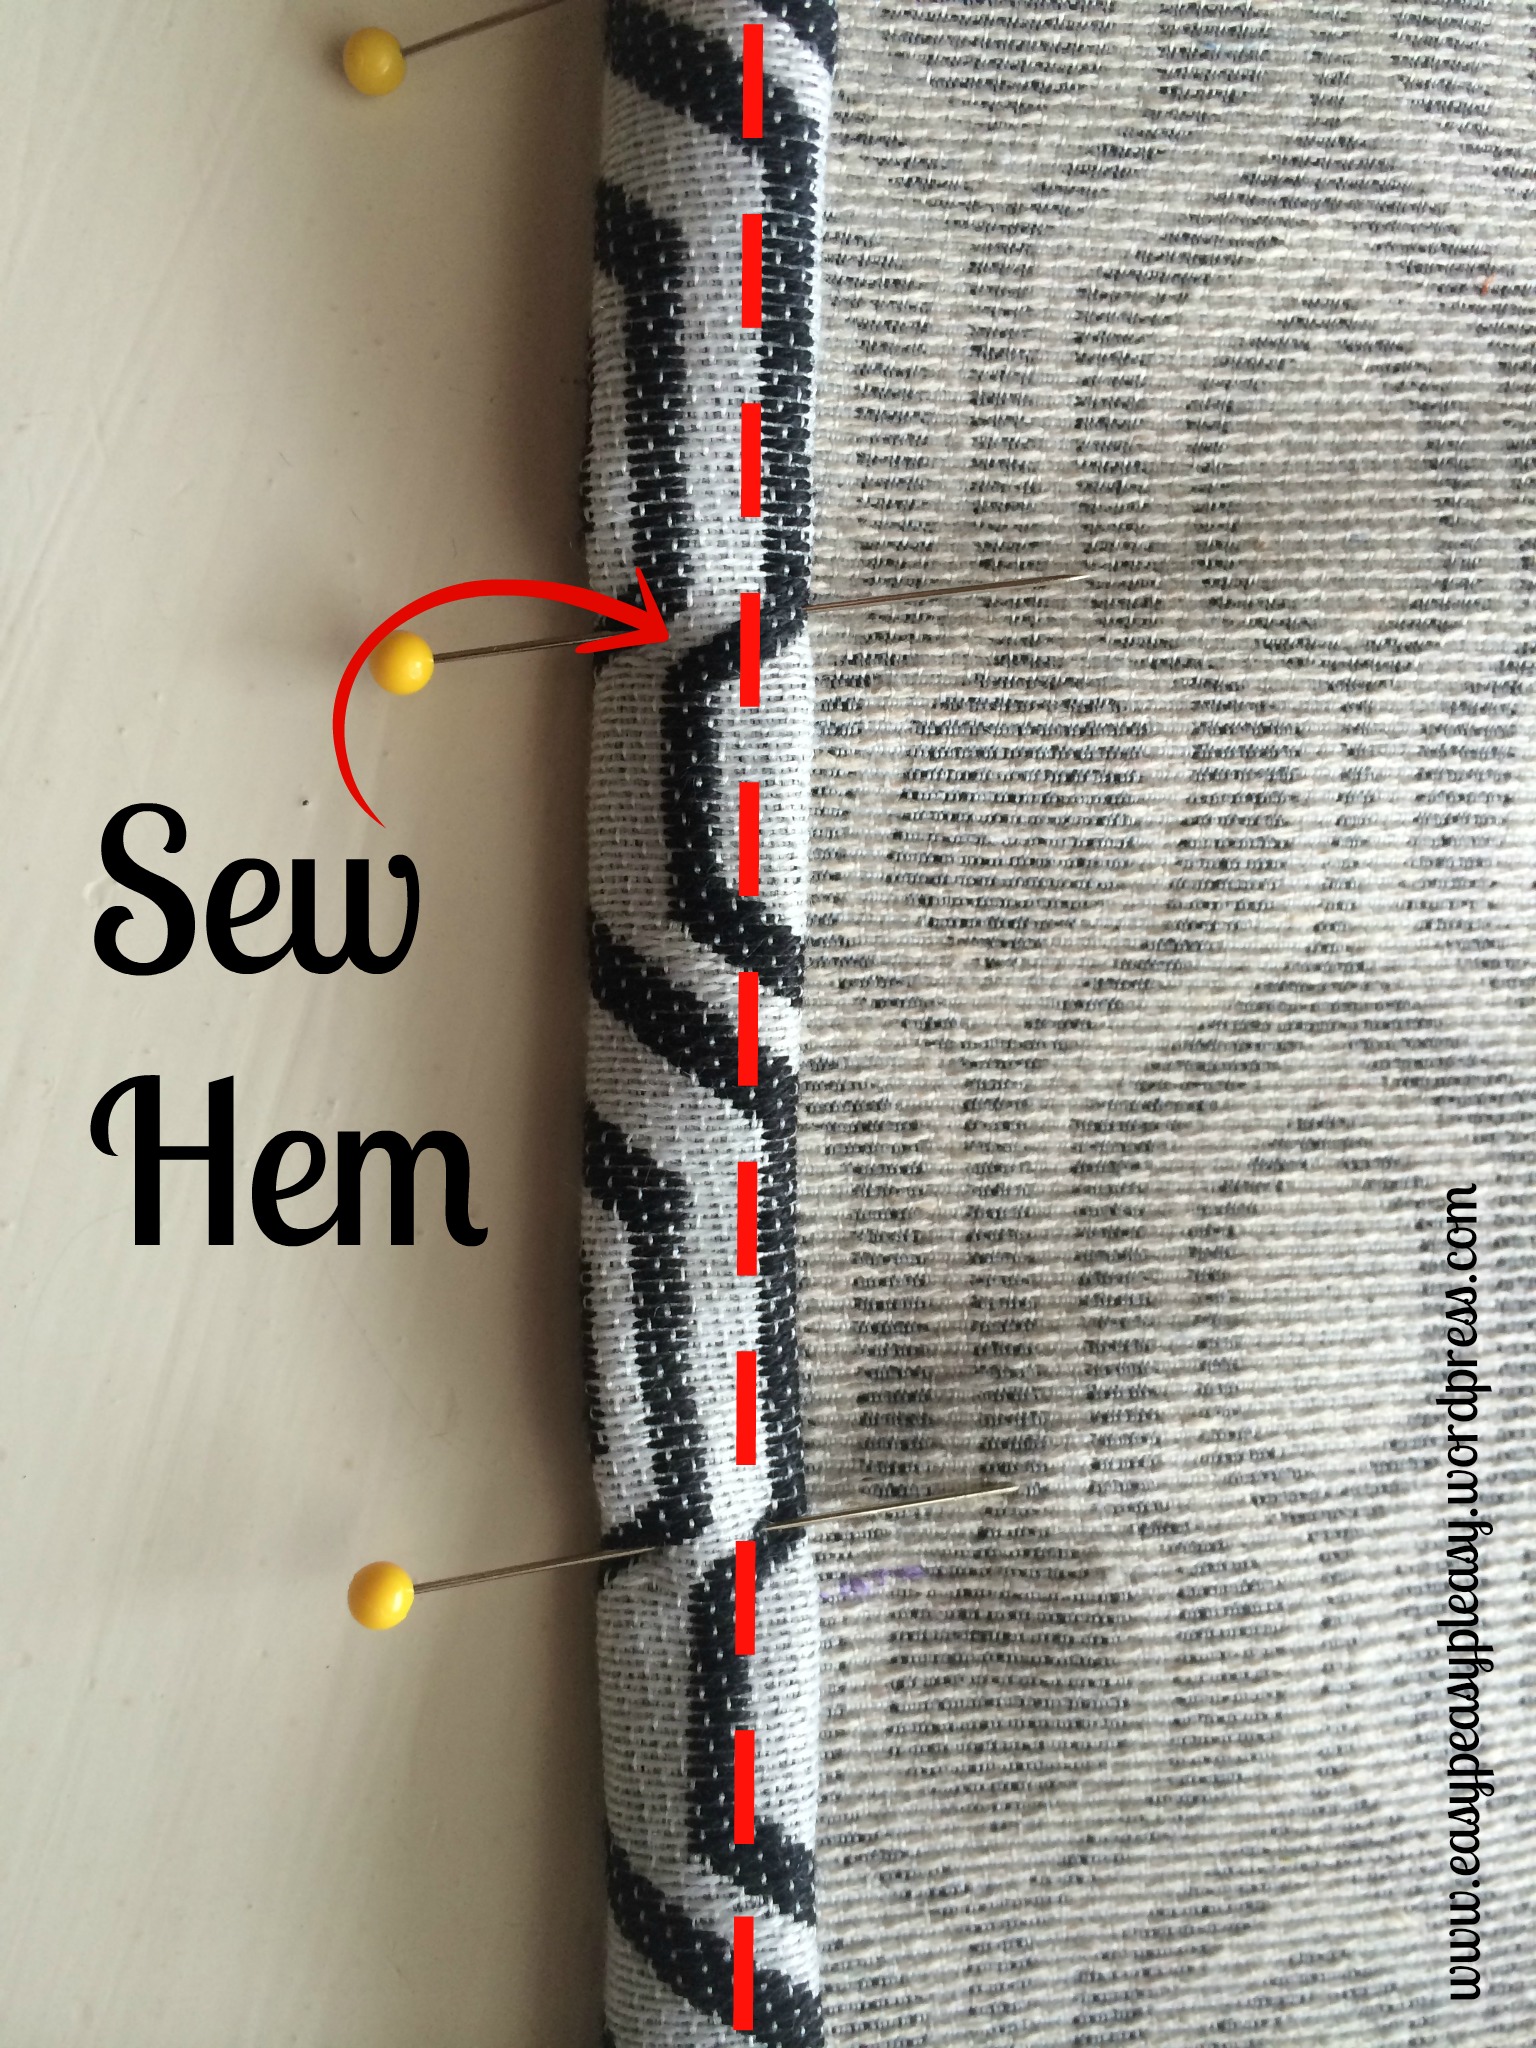
Fold over once then fold over again. This will give a clean finished look.
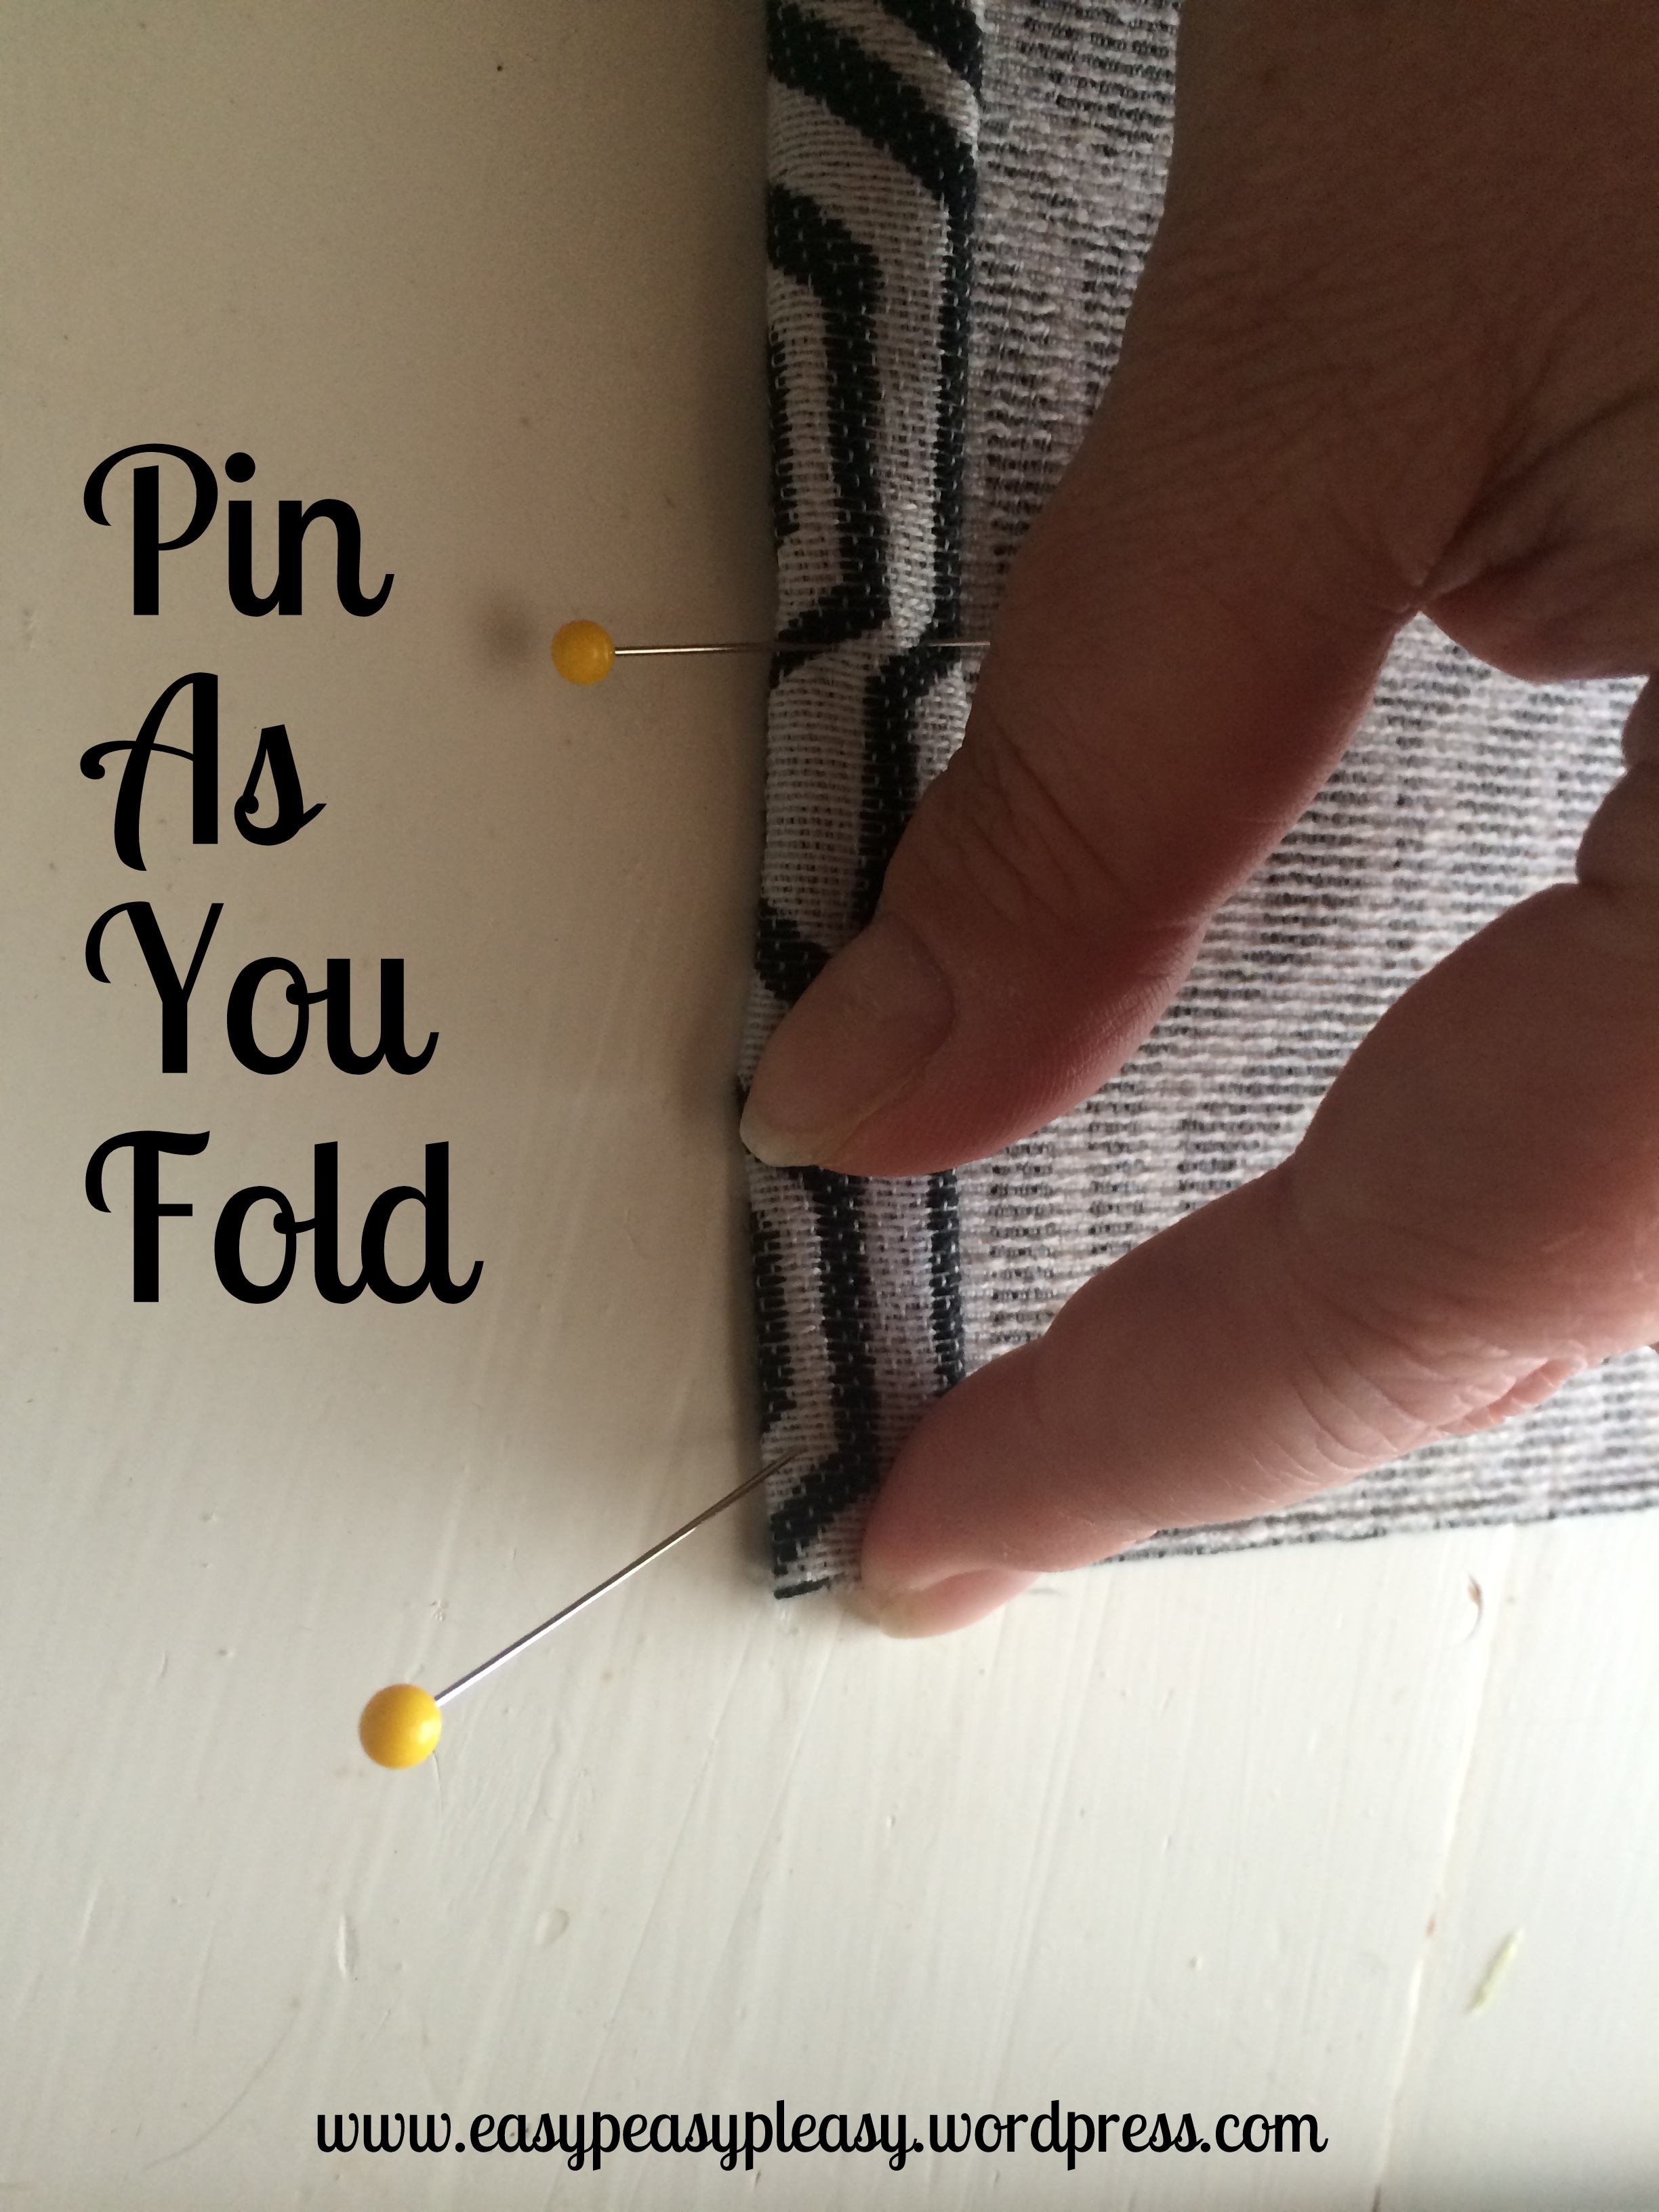
As you go down the line folding your hem, insert pins to hold the second fold in place.
Do this on both short ends and sew.
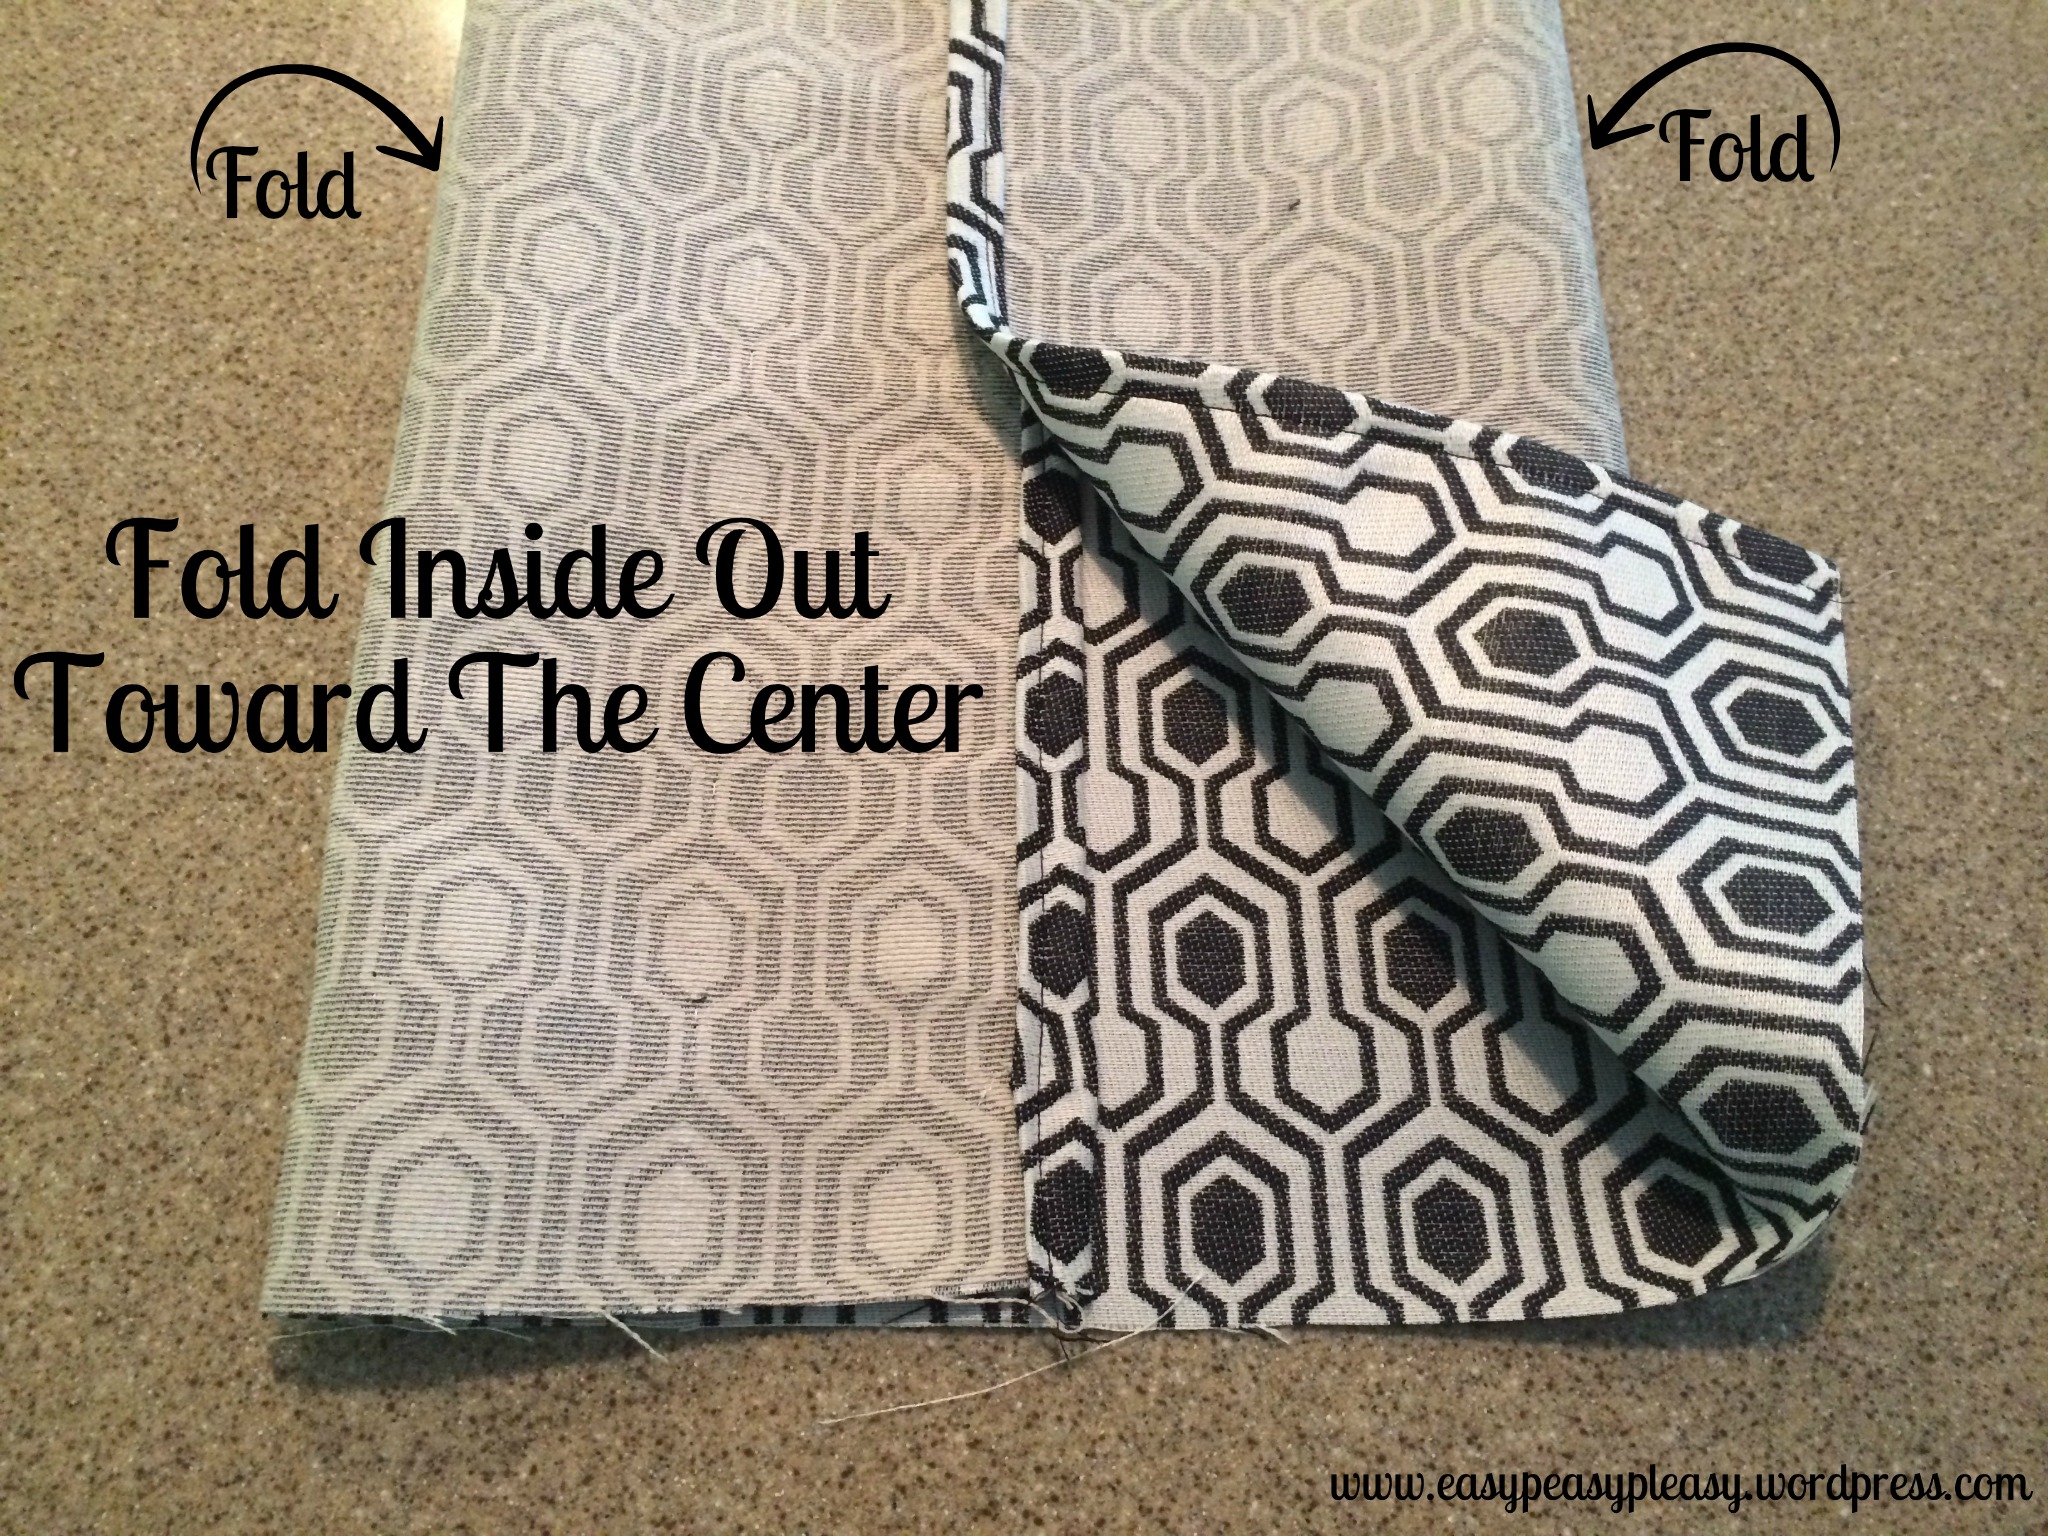
Now that both ends have been hemmed, it’s time to fold the fabric and sew the long side seams.
You want the fabric right side up. Pull each side toward the center.
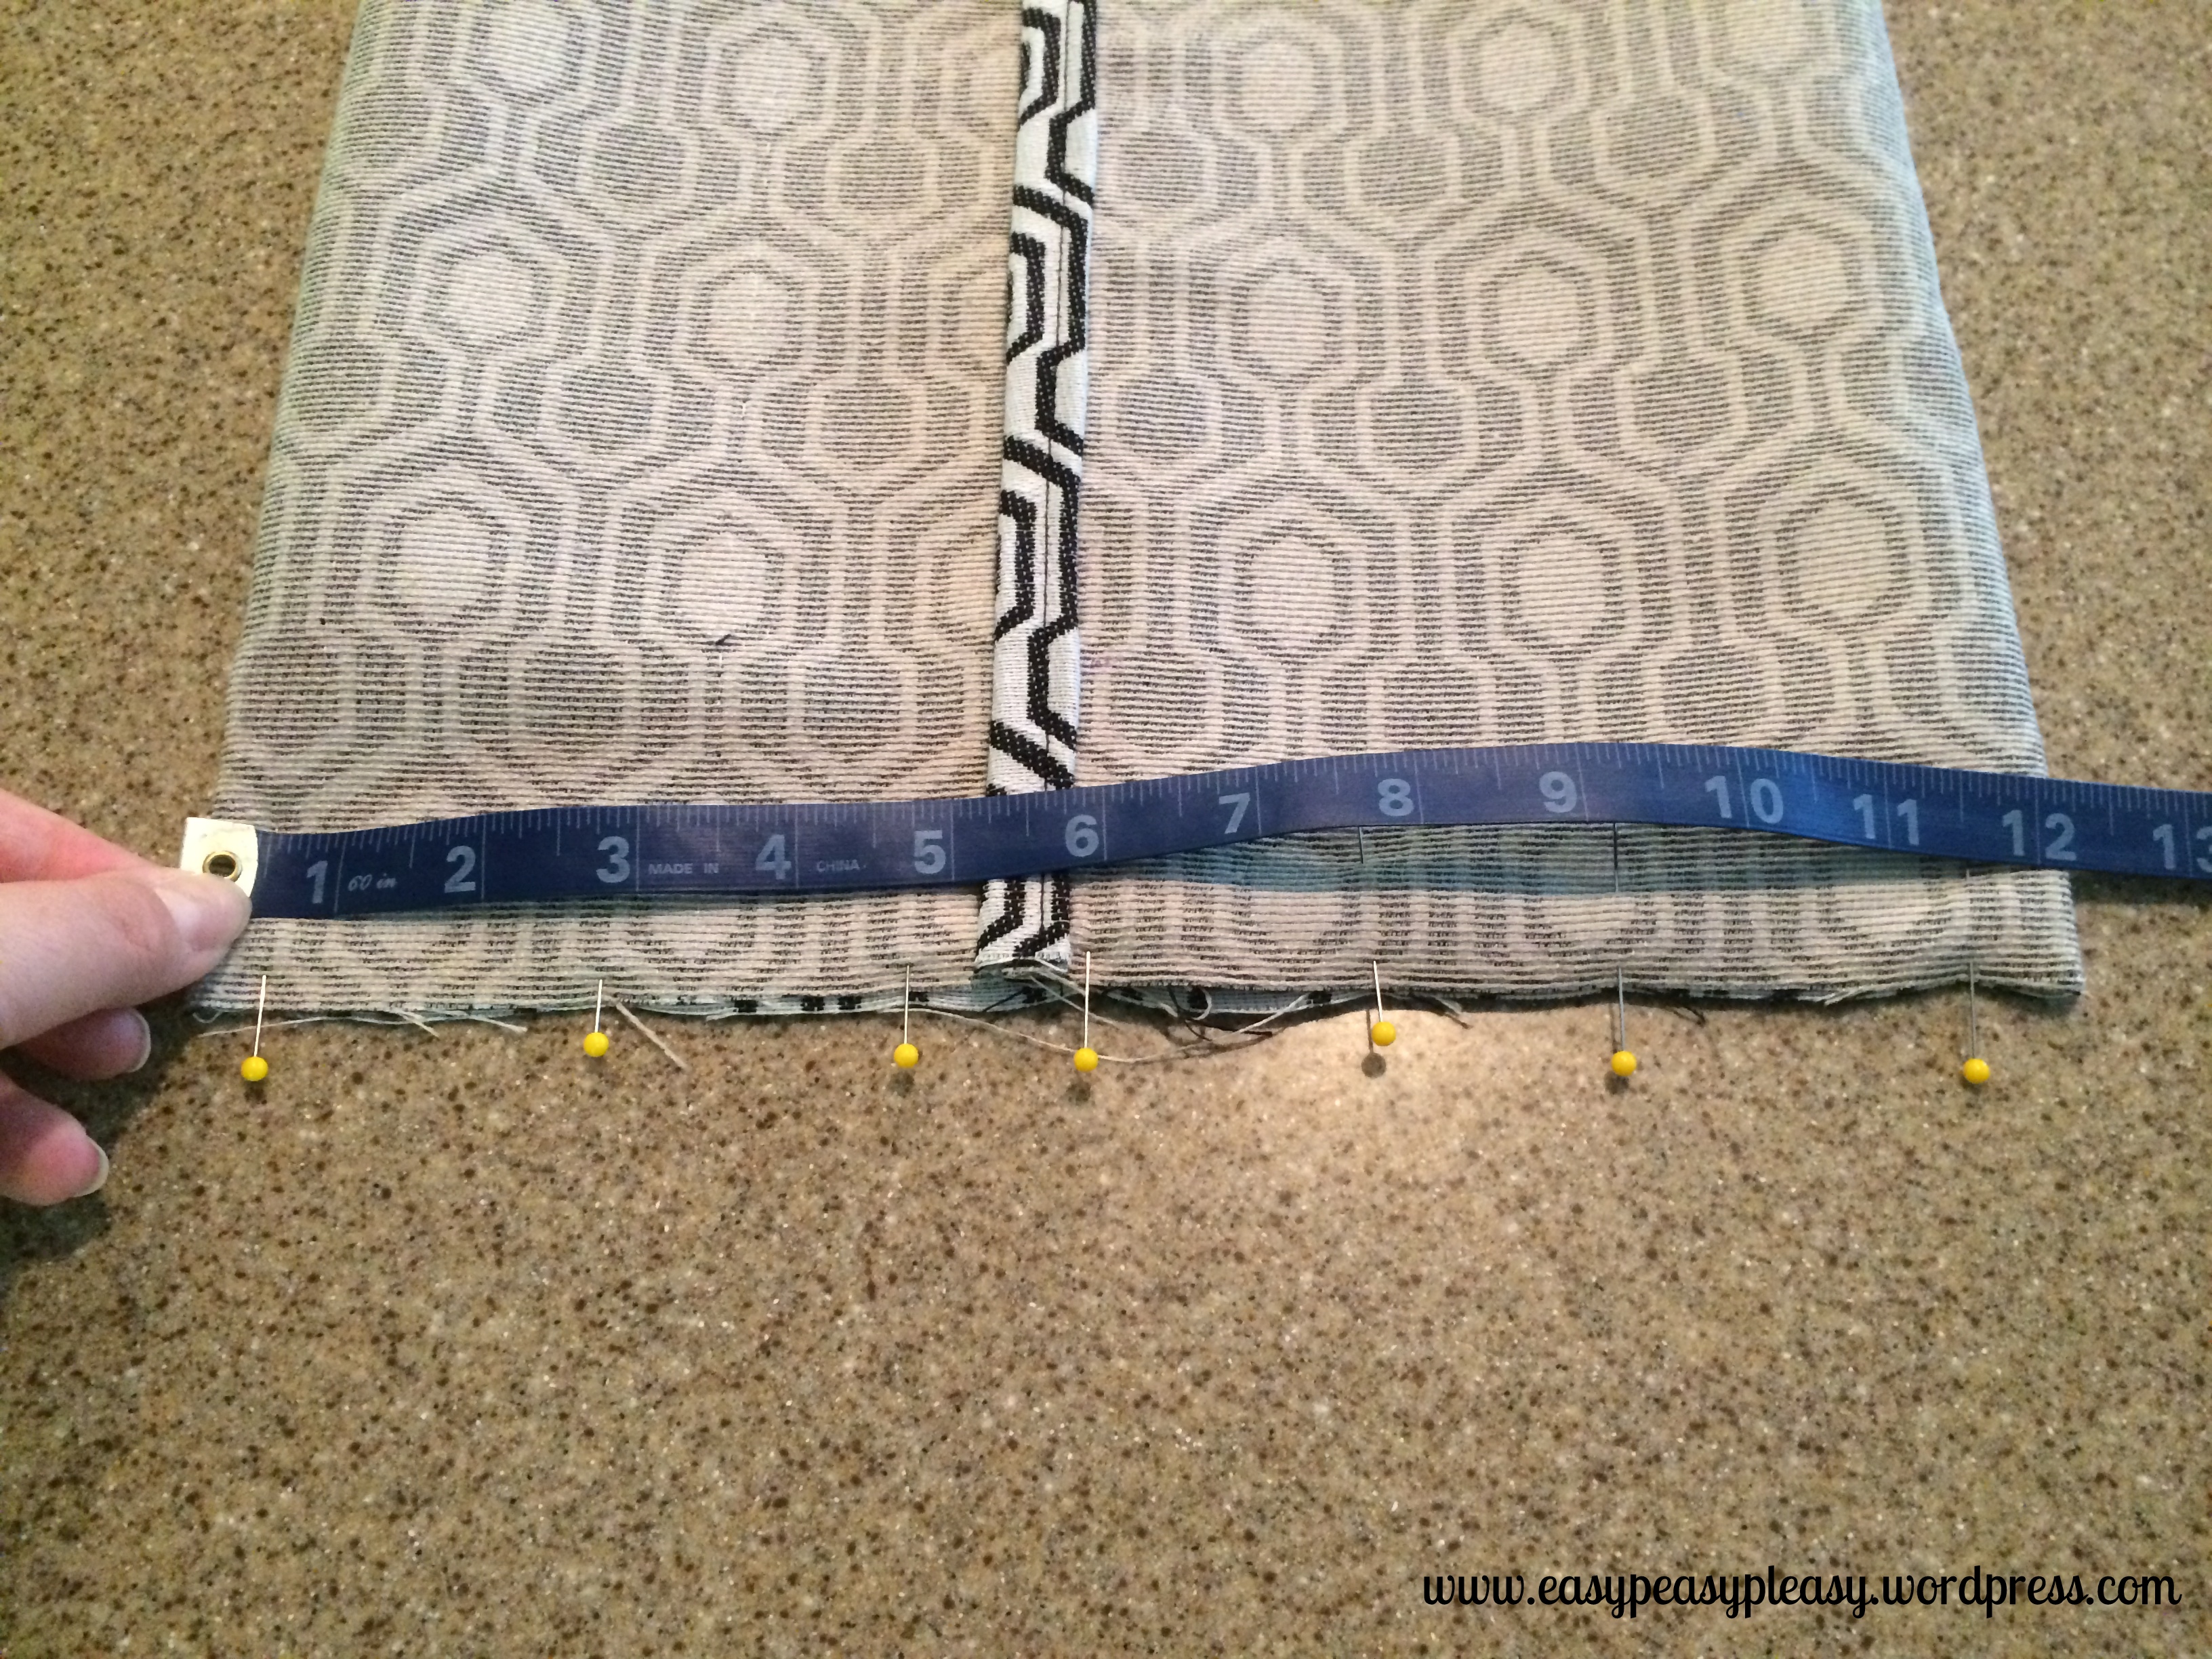
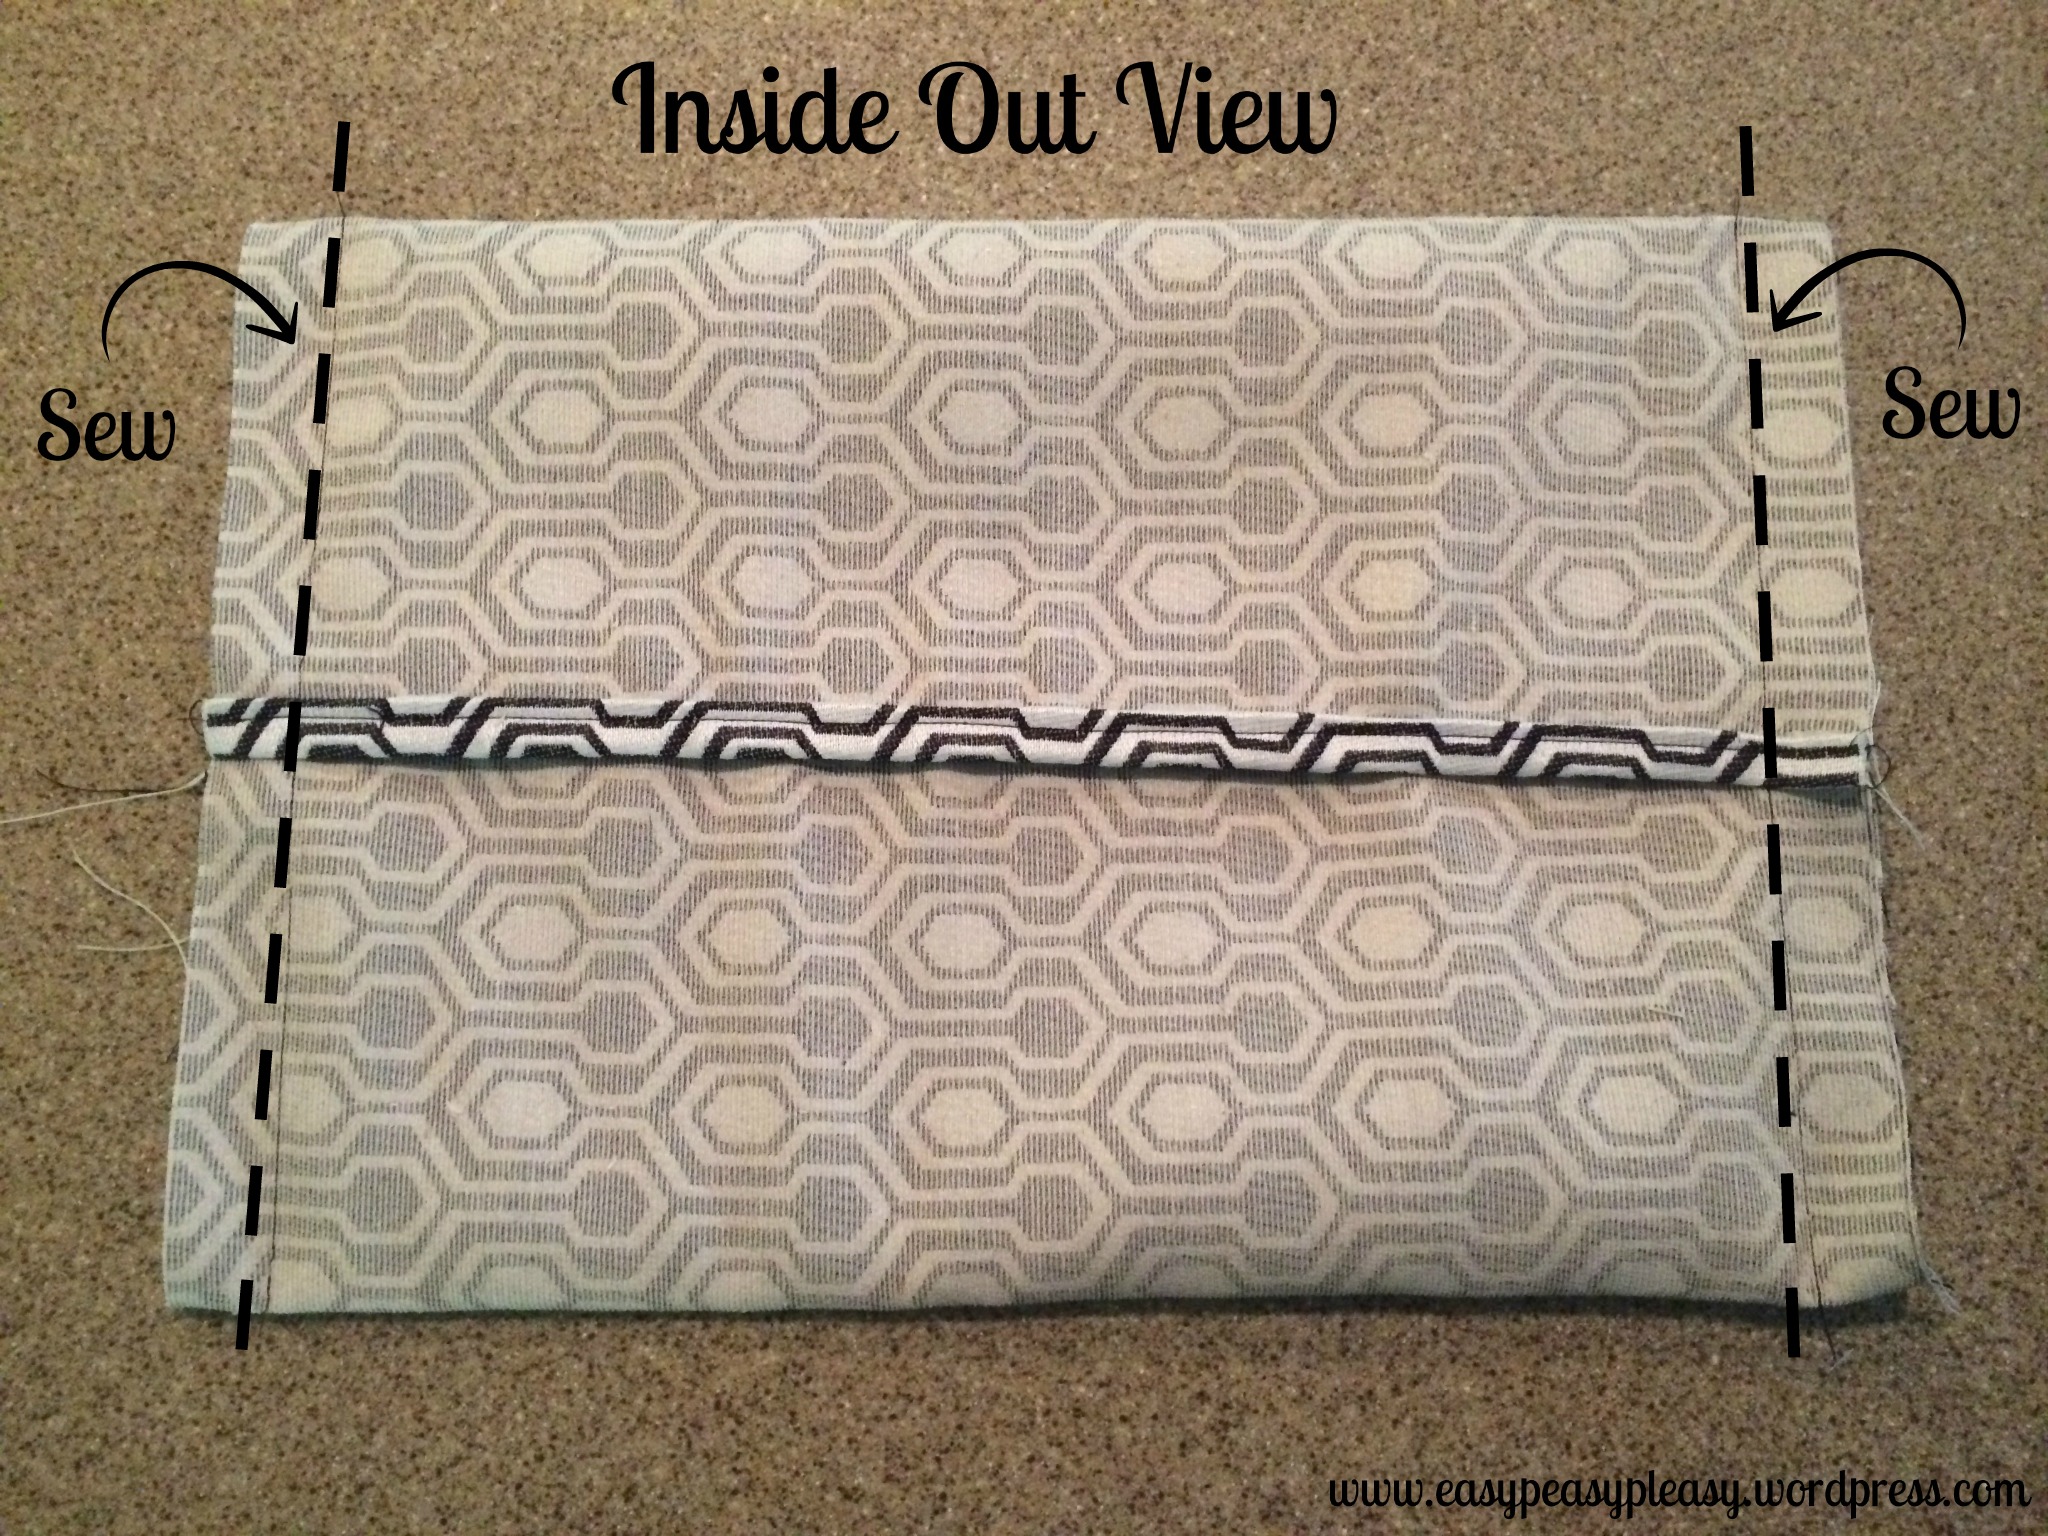
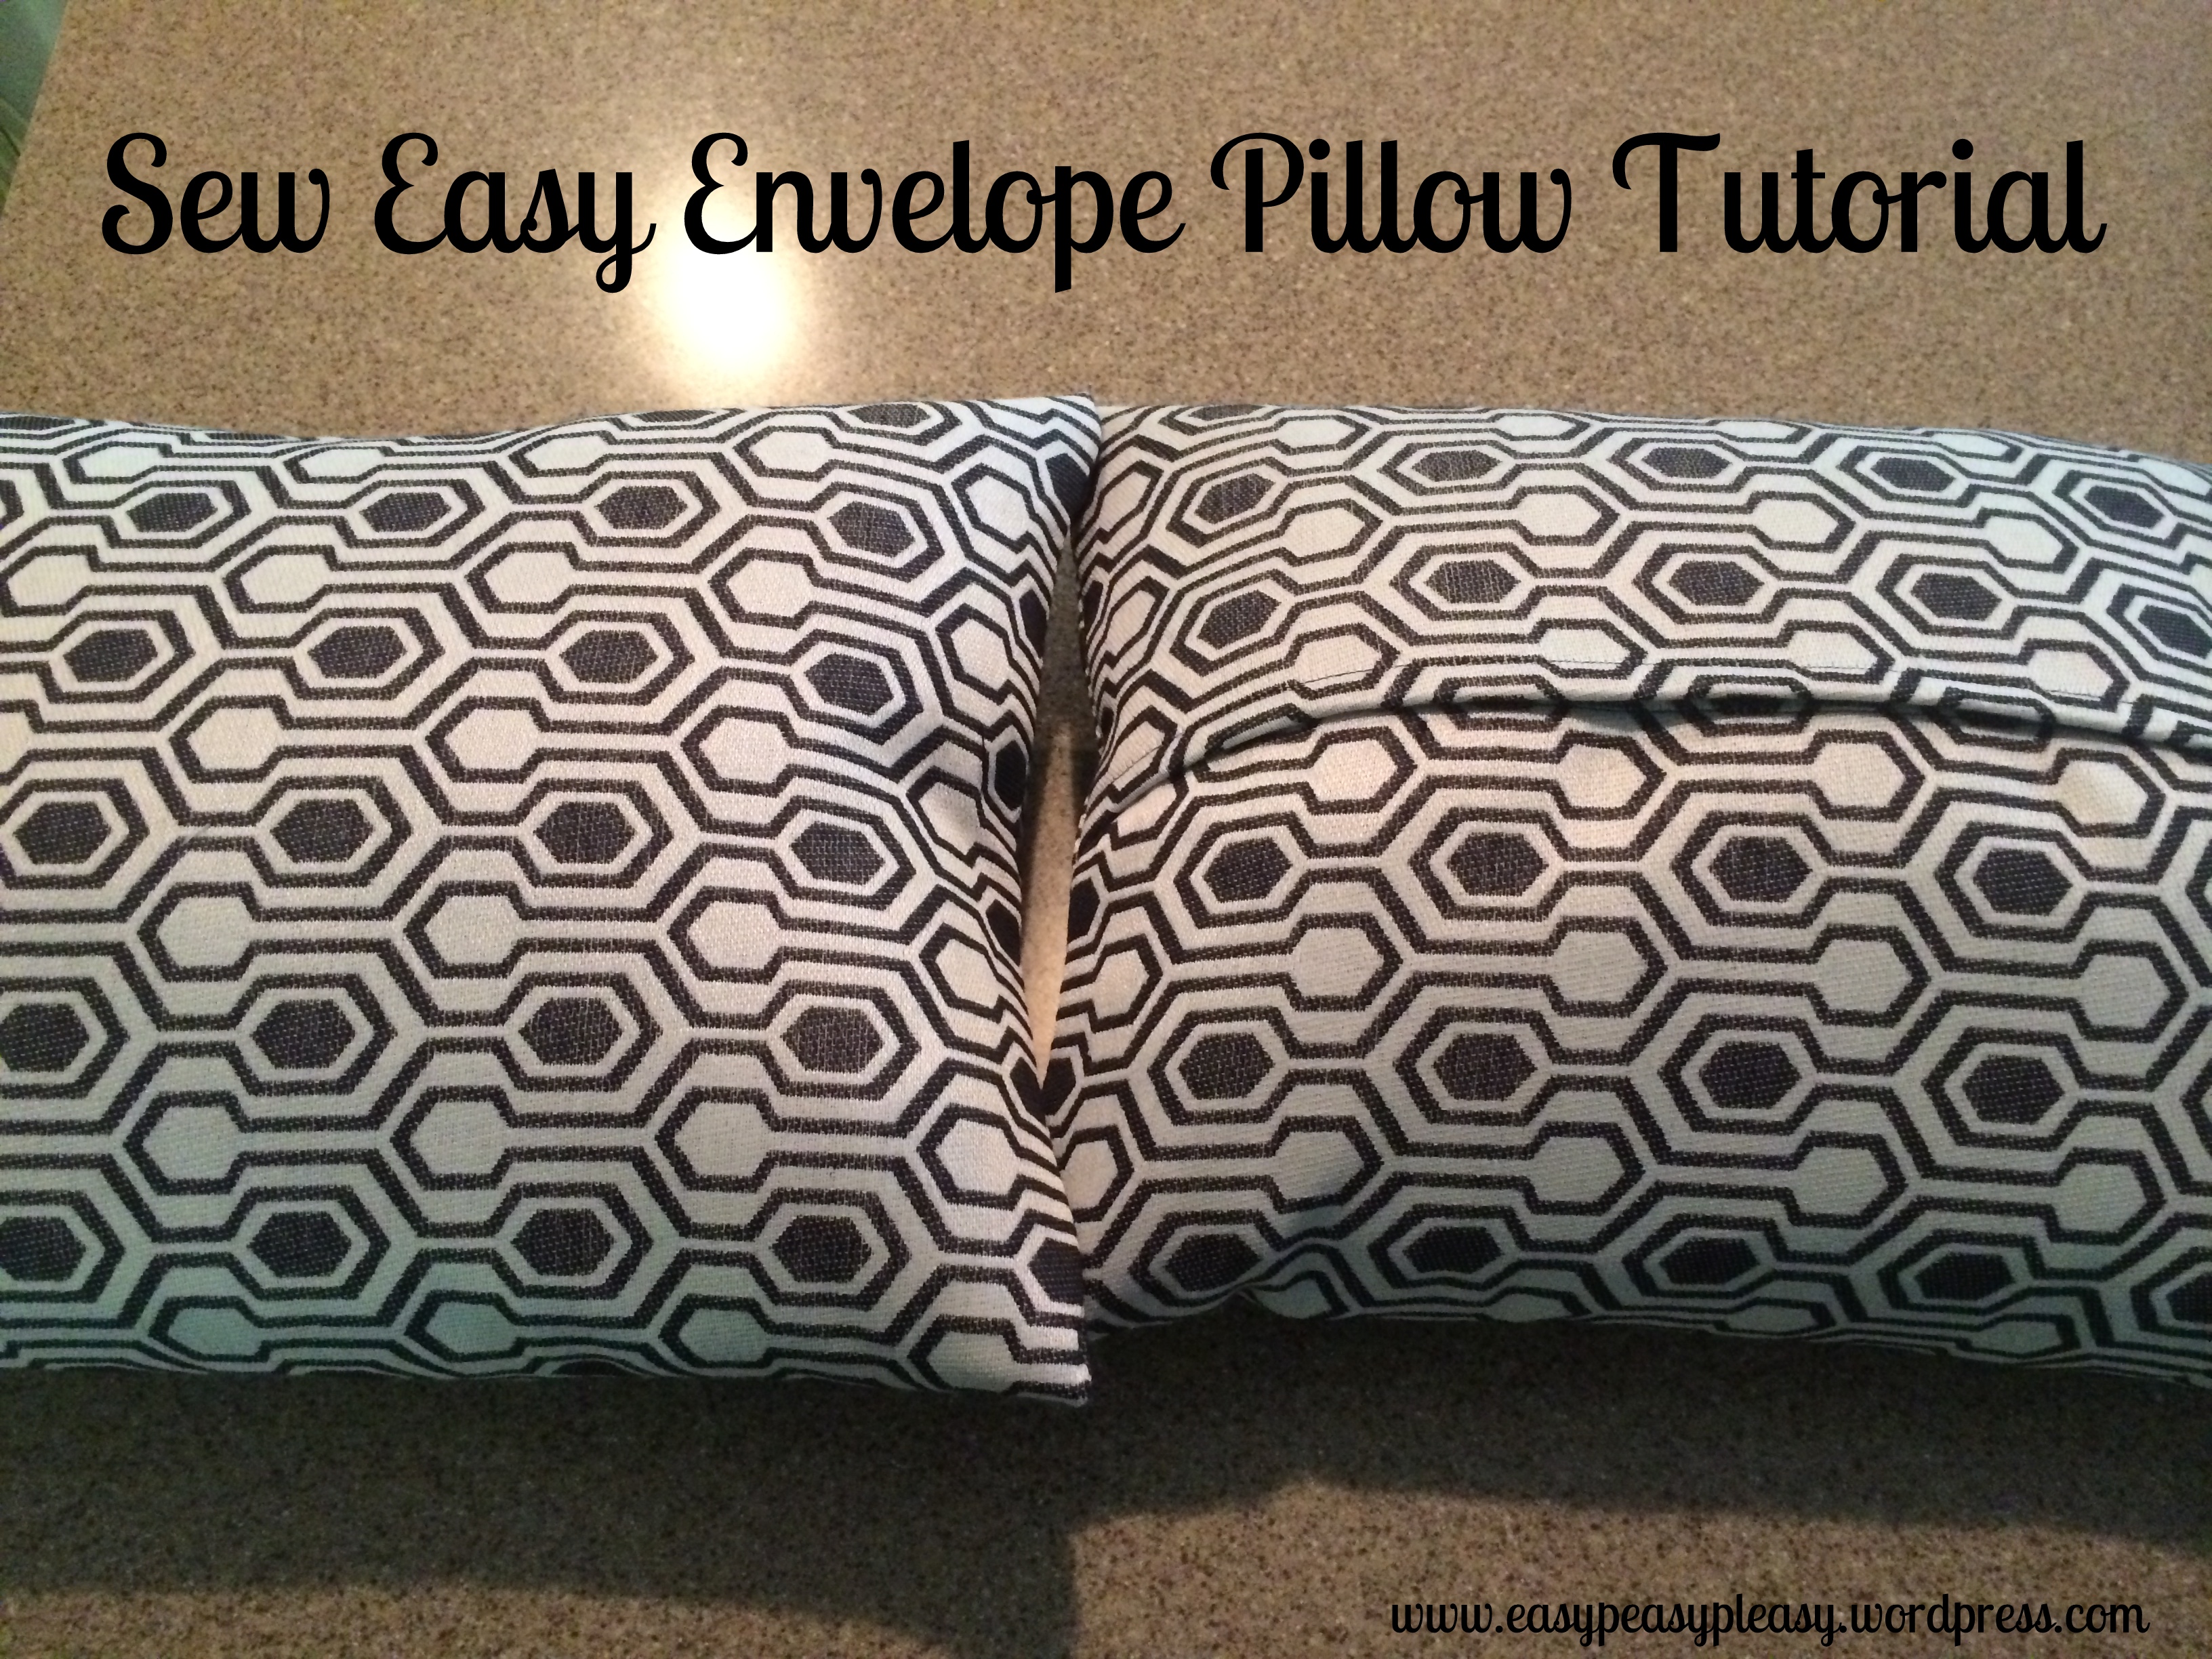
Keep working with the fabric until one side overlaps the other and the measurement is the same as your pillow form. Now pin. Spin your fabric around and measure the opposite side making sure it measures the same and pin. Sew up the side hems.
Now flip the fabric to right side out.
Put the pillow form into the cover and your done!
If you’ve ever wanted to try your hand at sewing, envelope pillows are a great place to start! It’s probably the easiest of all sewing projects and there is no need for a pattern.
Don’t forget you can find an envelope pillow cover measurement cheat sheet here.


Awesome job, Lacie! Folks just in case you don’t know this, Lacie is a painting maniac!! She has been helping me paint my new home my husband and I recently purchased.
I don’t know where she gets the time and energy to whip up projects and help me. I’m the luckiest Mom on the planet!!
She is extremely talented and in case she hasn’t told you….she’s helping me decorate the place as well…(jumps with glee).
I don’t know how I was so lucky to have her as my daughter, but why question the best things in life.
Thank you, Lacie and a quick shout out to Shayla for her help too (another painting maniac). Love you girls 🙂
Thanks momma!
You’ve made a lovely cover! 🙂 great print. Thanks for sharing!
Thank you!
Looks so easy!!
These are great! I need to get my sewing machine out from the junk closet and make some of these!!
They are so easy! It’s my go to pillow. It’s much easier than stuffing batting and having to see a hidden seam. Pull out that sewing machine!
Yes mam!
cool love this idea
best tutorial I’ve found! Very easy to follow. Thanks!
Thank you Marni!!! I’m so glad it helped and was easy!
Your images are wonderful! It’s so hard to explain & show things when it comes to sewing and have it make sense. At least I think so! 😉 These are perfectly understandable!
I know what you mean. Trying to take the pictures by yourself isn’t easy either. I’m glad someone can understand what I mean…lol!